Ayvee sketches
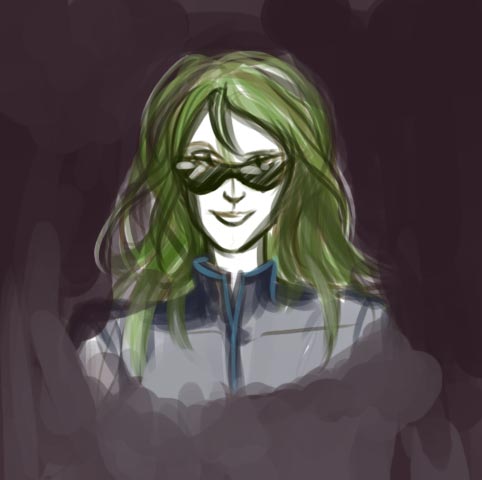
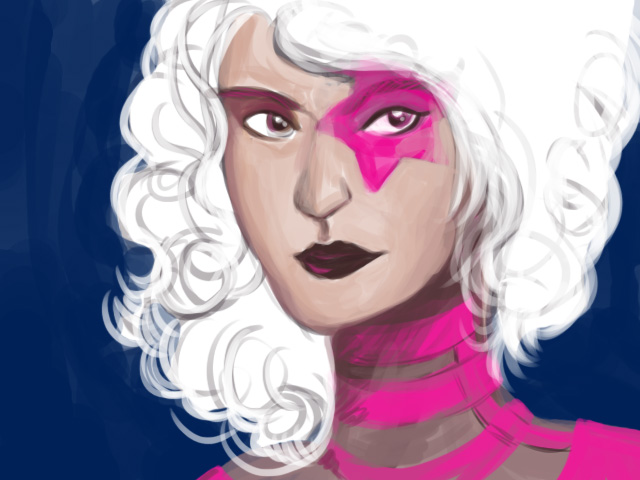
A bunch of sketches and scribbles of AVCon mascot Ayvee.
From t-shirt design brainstorming:
From trying to define some kind of style for the booklet comic:

The one on the right was the first drawn up, and was copied from a panel from this comic. Once I’d gotten a feel for the style I was aiming for, I drew the others.
And some fun scribbling:
Butterfly Cupcakes
Not quite as speccy as these butterfly cupcakes, but delicious nonetheless!
I found this recipe here and although it feels redundant, I’m transcribing the recipe in case that site disappears or something. I was pretty sad when the original blog post with my bacon and choc-chip cookies recipe disappeared…!
Ingredients
Cupcakes
115g butter or margarine
112g (1/2 cup) caster sugar
1/2 teaspoon vanilla extract (1 teaspoon natural vanilla essence)
2 large eggs, lightly beaten
225g (1 1/2 cups) self-raising flour, sifted (I never bother with sifting)
145ml (1/2 cup + 1 tablespoon) milk
Filling
188ml (3/4 cup) thickened cream
1 teaspoon icing sugar
About 2 to 2 1/2 tablespoons jam (about 60g)
Extra icing sugar, for dusting
Method
- Preheat oven to 200 degrees Celsius (180 degrees Celsius fan forced).
- Beat butter, sugar and vanilla in an electric mixer until light and creamy.
- Gradually beat in eggs.
- Add half the flour and stir in by hand. Stir in half the milk. Repeat with remaining flour and milk. Beat with an electric mixer for just a few seconds, to thoroughly combine the ingredients.
- Spoon the mixture into patty pans.
- Bake for about 13-15 minutes. The cupcakes are ready when a knife or skewer inserted into the centre of a cake comes out clean. Also, the cakes will bounce back when lightly pressed in the middle.
- Allow cakes to cool completely before cutting and filling.
- Hold a sharp, pointed knife at a downward angle and cut a shallow cone from the top of each cupcake.
- Cut the cone in half to create the ‘wings’.
- Whip cream with icing sugar until thick.
- Place about 1/2 teaspoon of jam in each cake.
- Top with a heaped teaspoon of whipped cream. Position the ‘wings’ in the cream. Place a small dollop of jam between the wings and dust with icing sugar.
Makes 15 cupcakes.
Flameface: Process and Progress
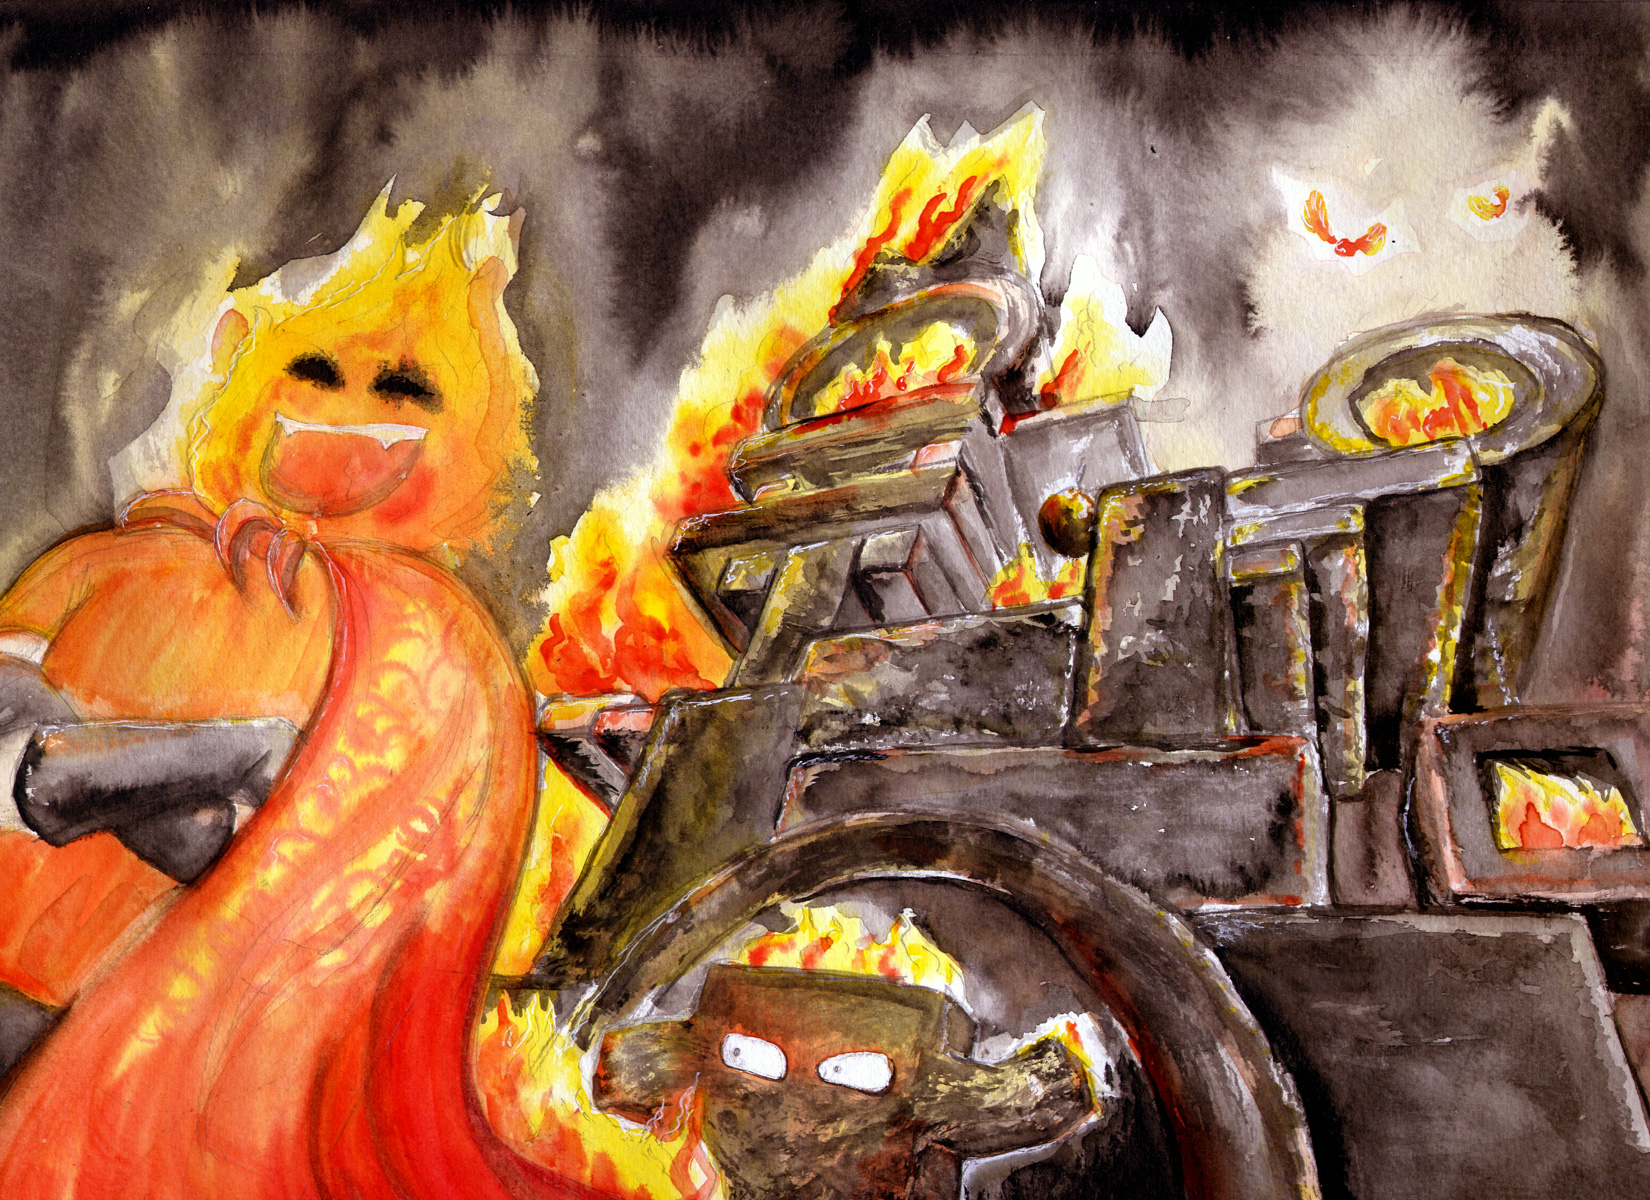
With the KoL calendar contest deadline extended by a week, I had just one weekend to put together a new painting. Here’s some pics from the working process and some explanations of choices I made along the way.
Thinking in 3D
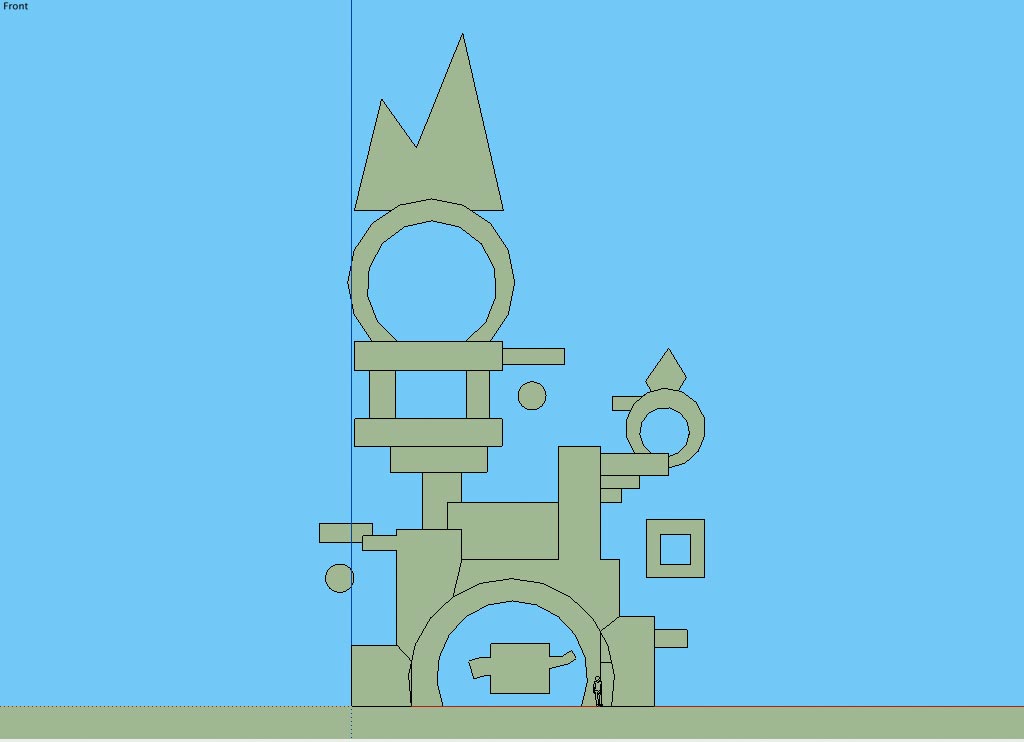
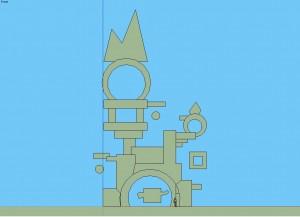
Once I knew that my piece was going to be based on the fire-fighting world event, I knew I had to illustrate Lord Flameface’s castle. And I needed to do so from an awesome angle, showing off the foreboding, smouldering fortress. Lord Flameface’s abode was a delightfully simple assortment of blocks so I knew I’d be onto a good thing if I created a model of the fortress in Google SketchUp first. I’d then use the 3D model to experiment with perspective and composition.
The Draft
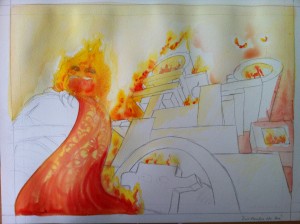
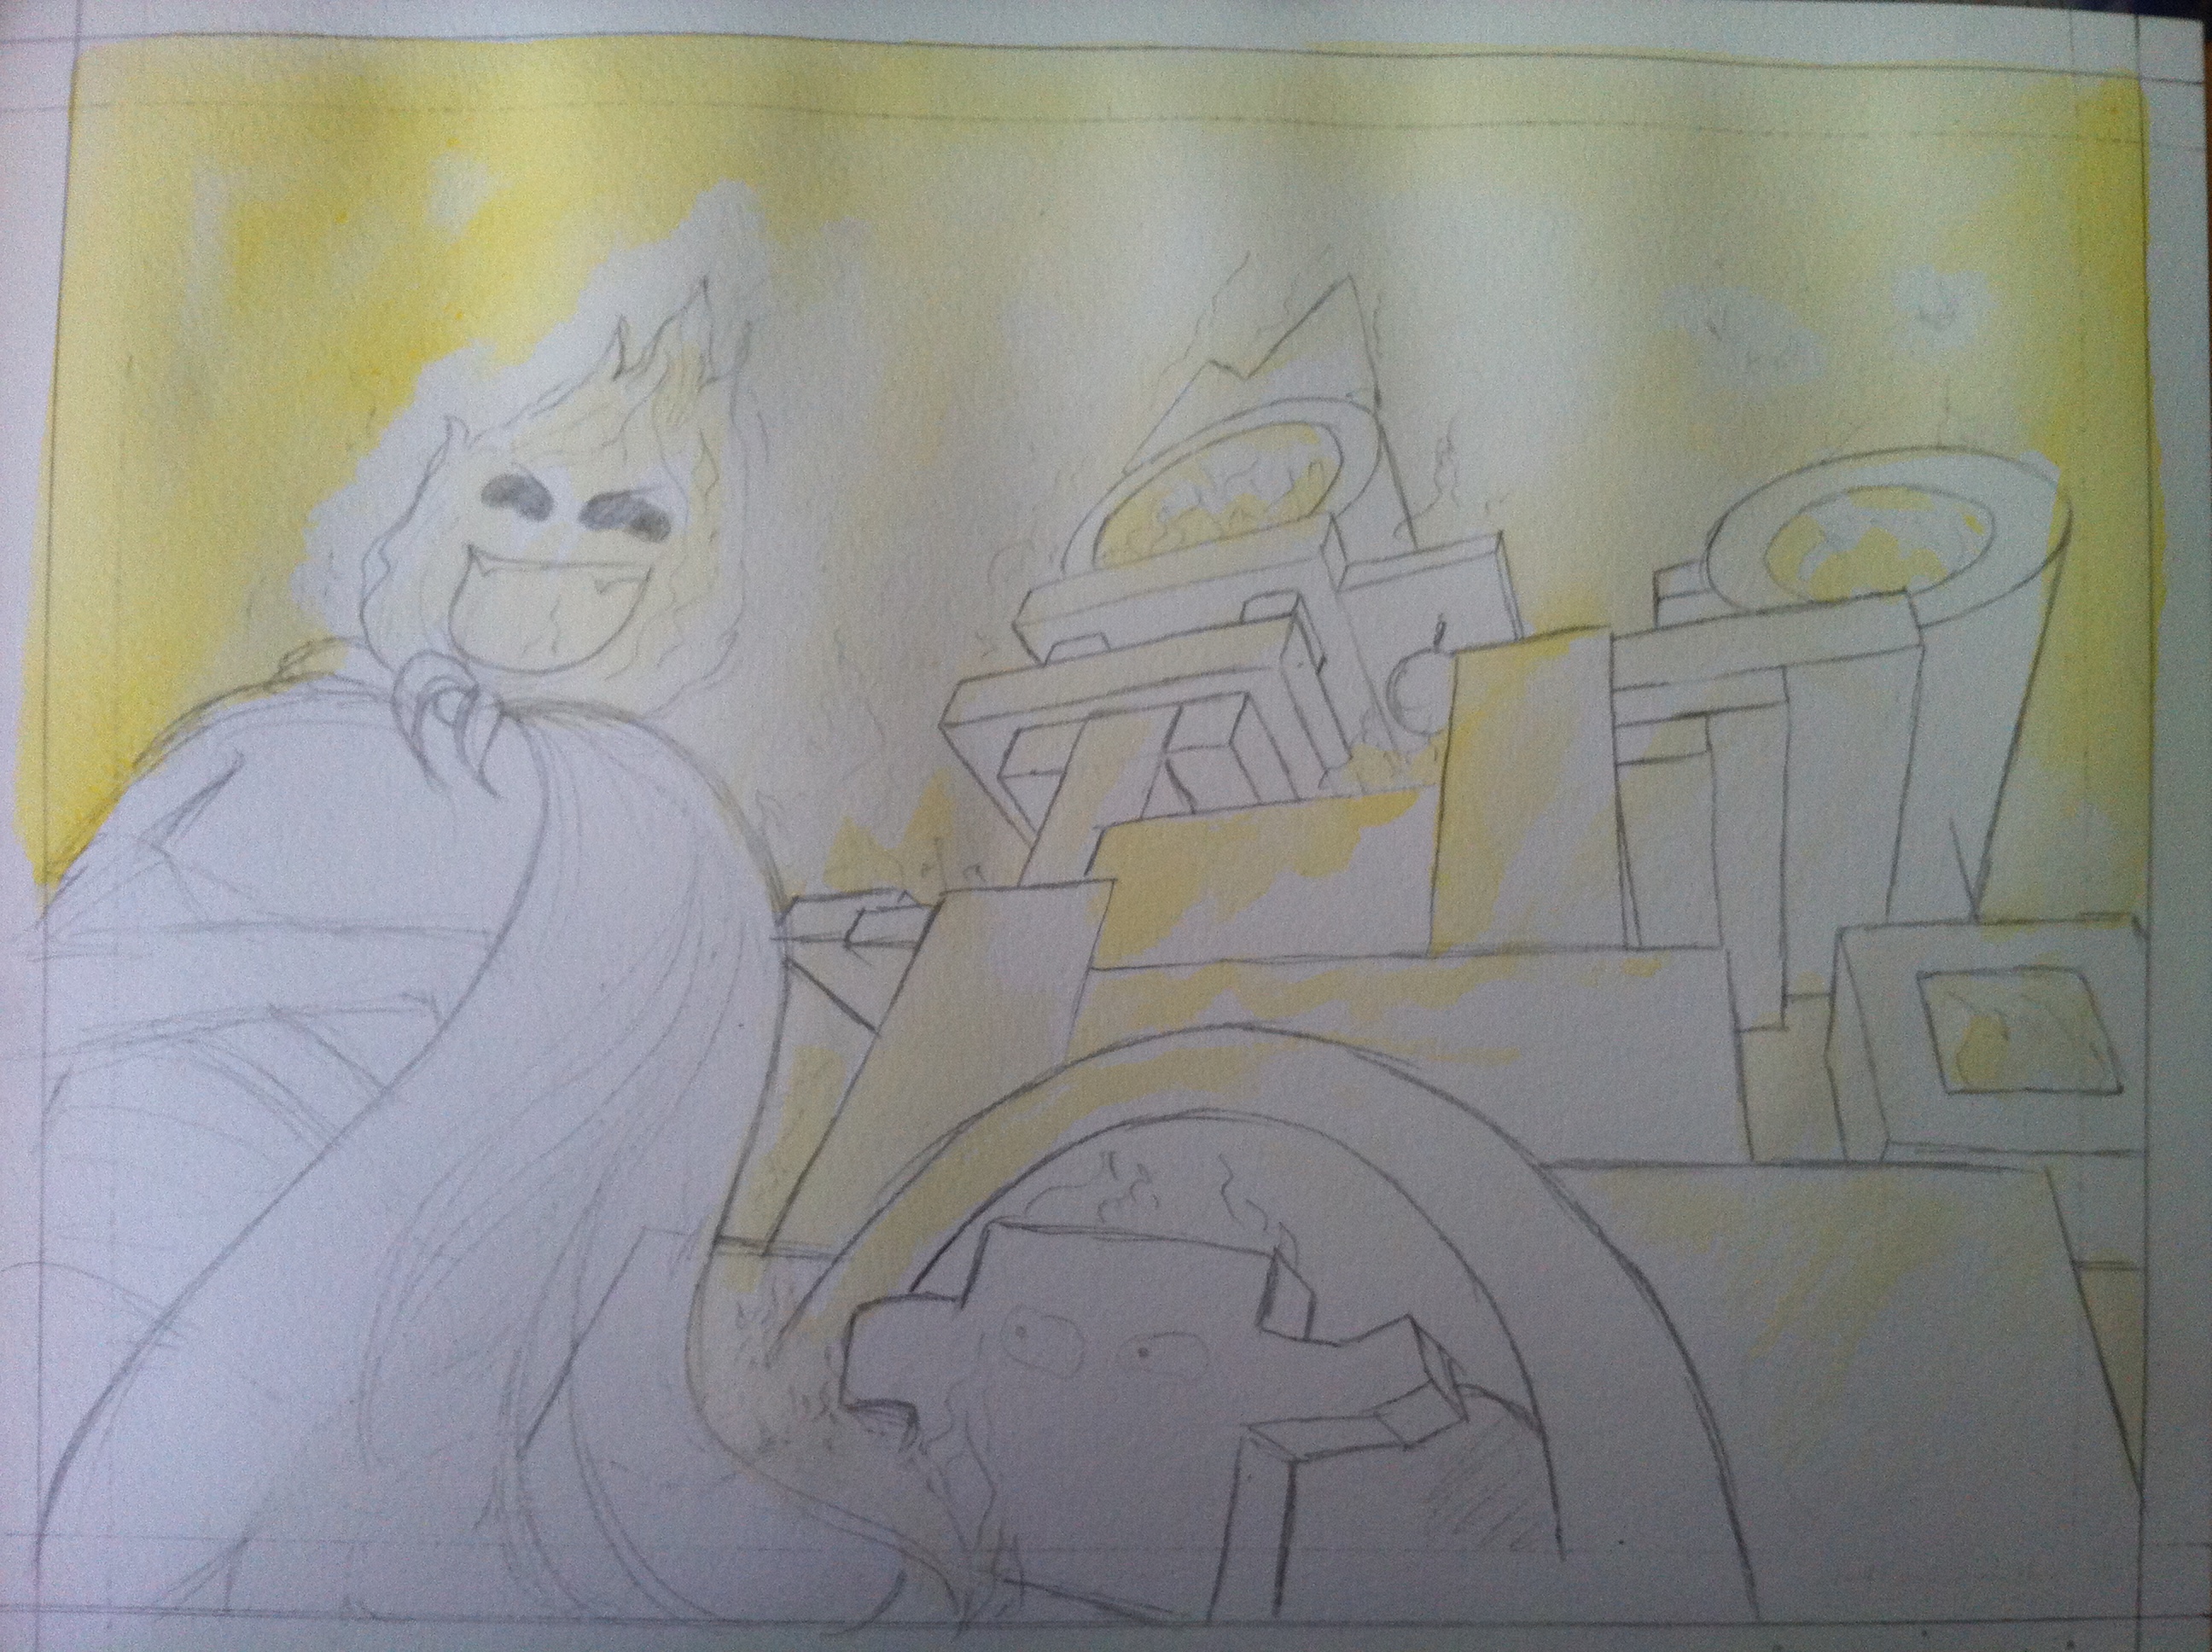
Using my lightbox drafting table, I traced the SketchUp lines onto a sheet of watercolour paper for a test-run. Since this was my first watercolour piece in many months I wanted to get to grips with the paints again, as well as identify any potential problem areas in the image.

I initially planned to place an adventurer at the base of the fortress all kitted out in firefighting gear.
I learned that anywhere I wanted to put the flames down I’d need to leave the white of the paper to shine through. I fiddled with basic portrayals of depth by shading surfaces differently but felt that I’d need something extra for the final thing to make the fortress look hot and fiery.
The draft taught me a bunch of valuable things and particularly helped in setting the pace for the final painting. I realised that I’d have to be patient with use of the blank ink and not hurry with getting the smoky greys in otherwise I wouldn’t be able to paint effective flames.
Additional Elements
I identified some of the areas in the draft that I felt were really lacking and areas I wanted to portray better. I then googled images of fire and hot coals as reference and practised these elements on another spare sheet of watercolour.
Onto the Real Deal!
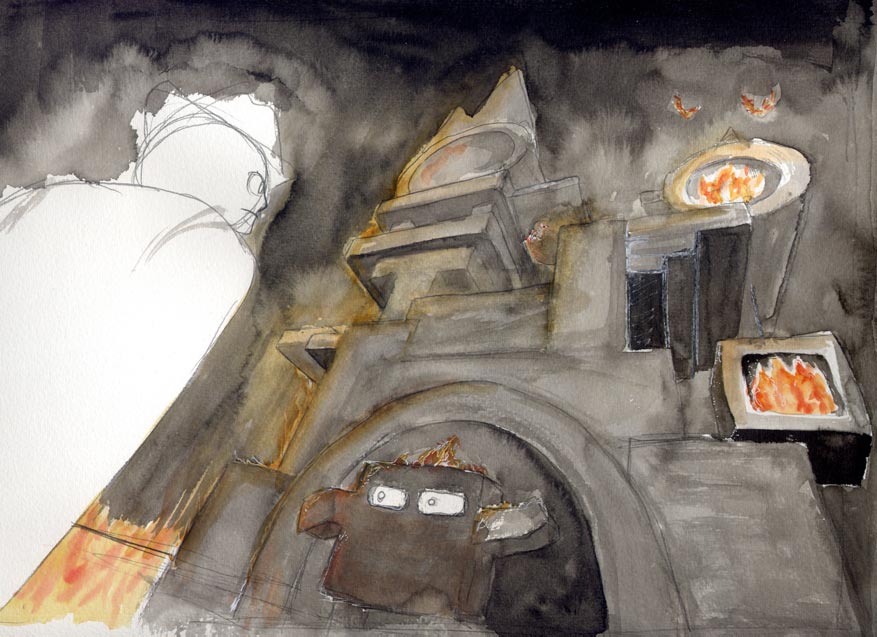
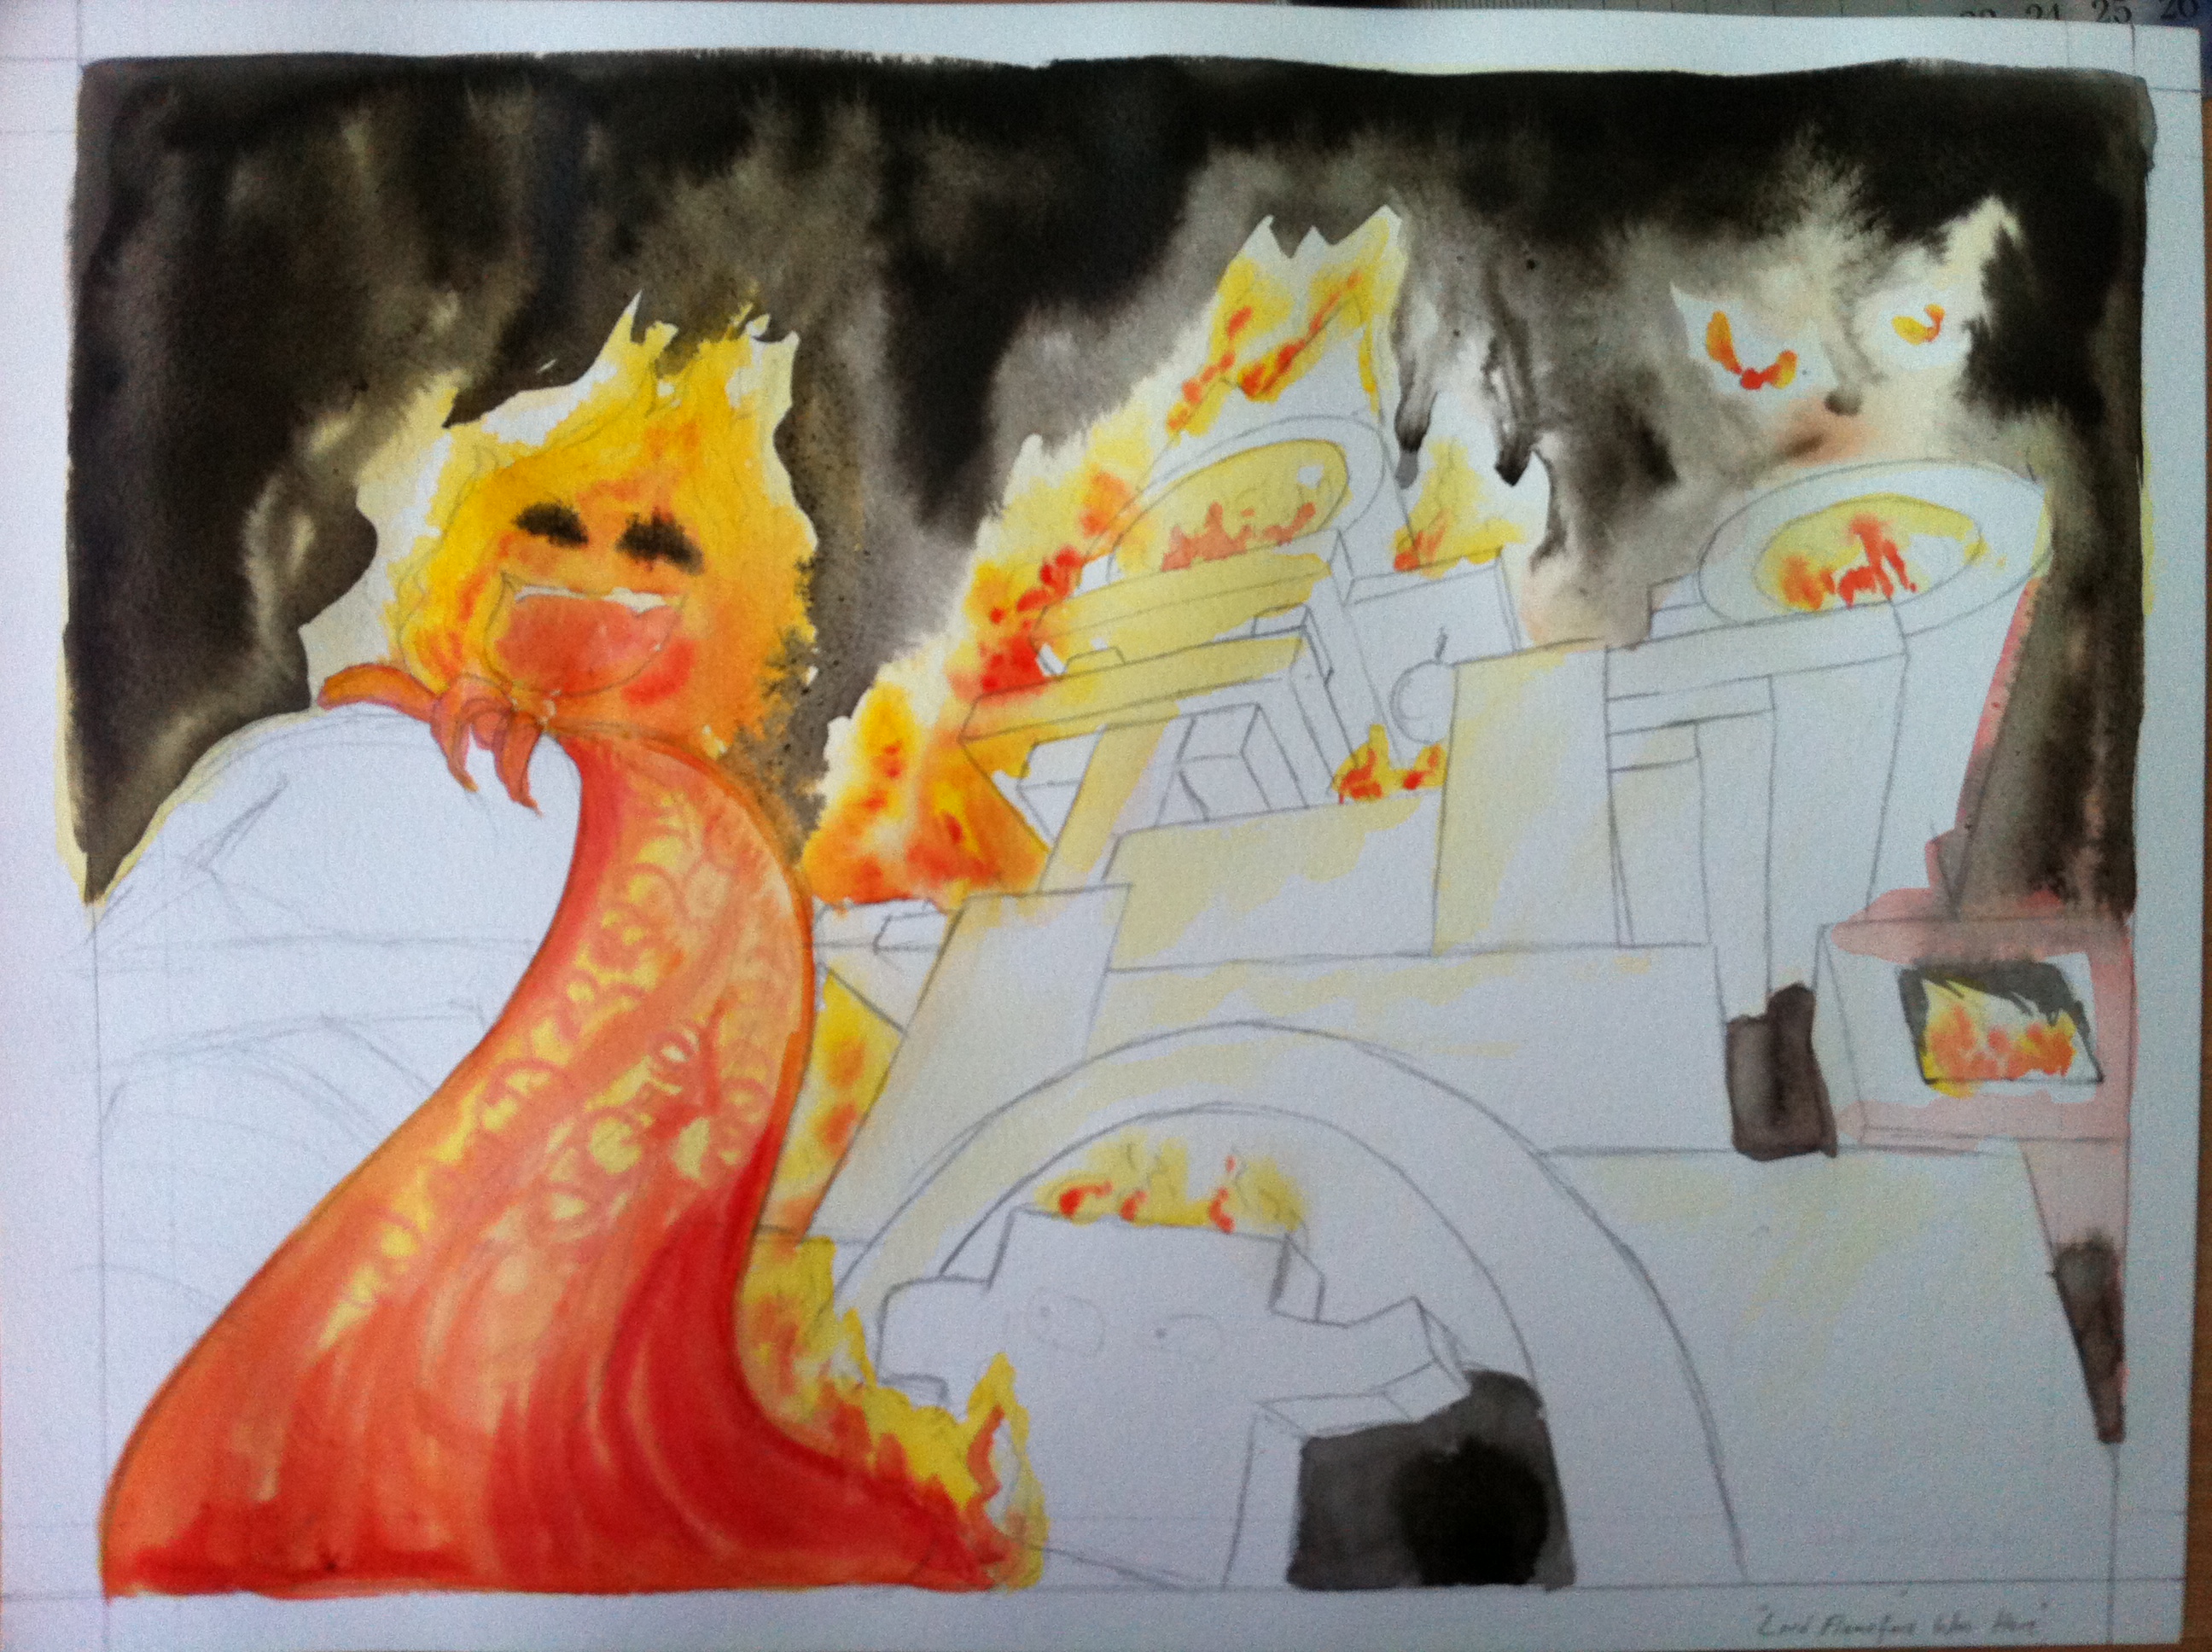
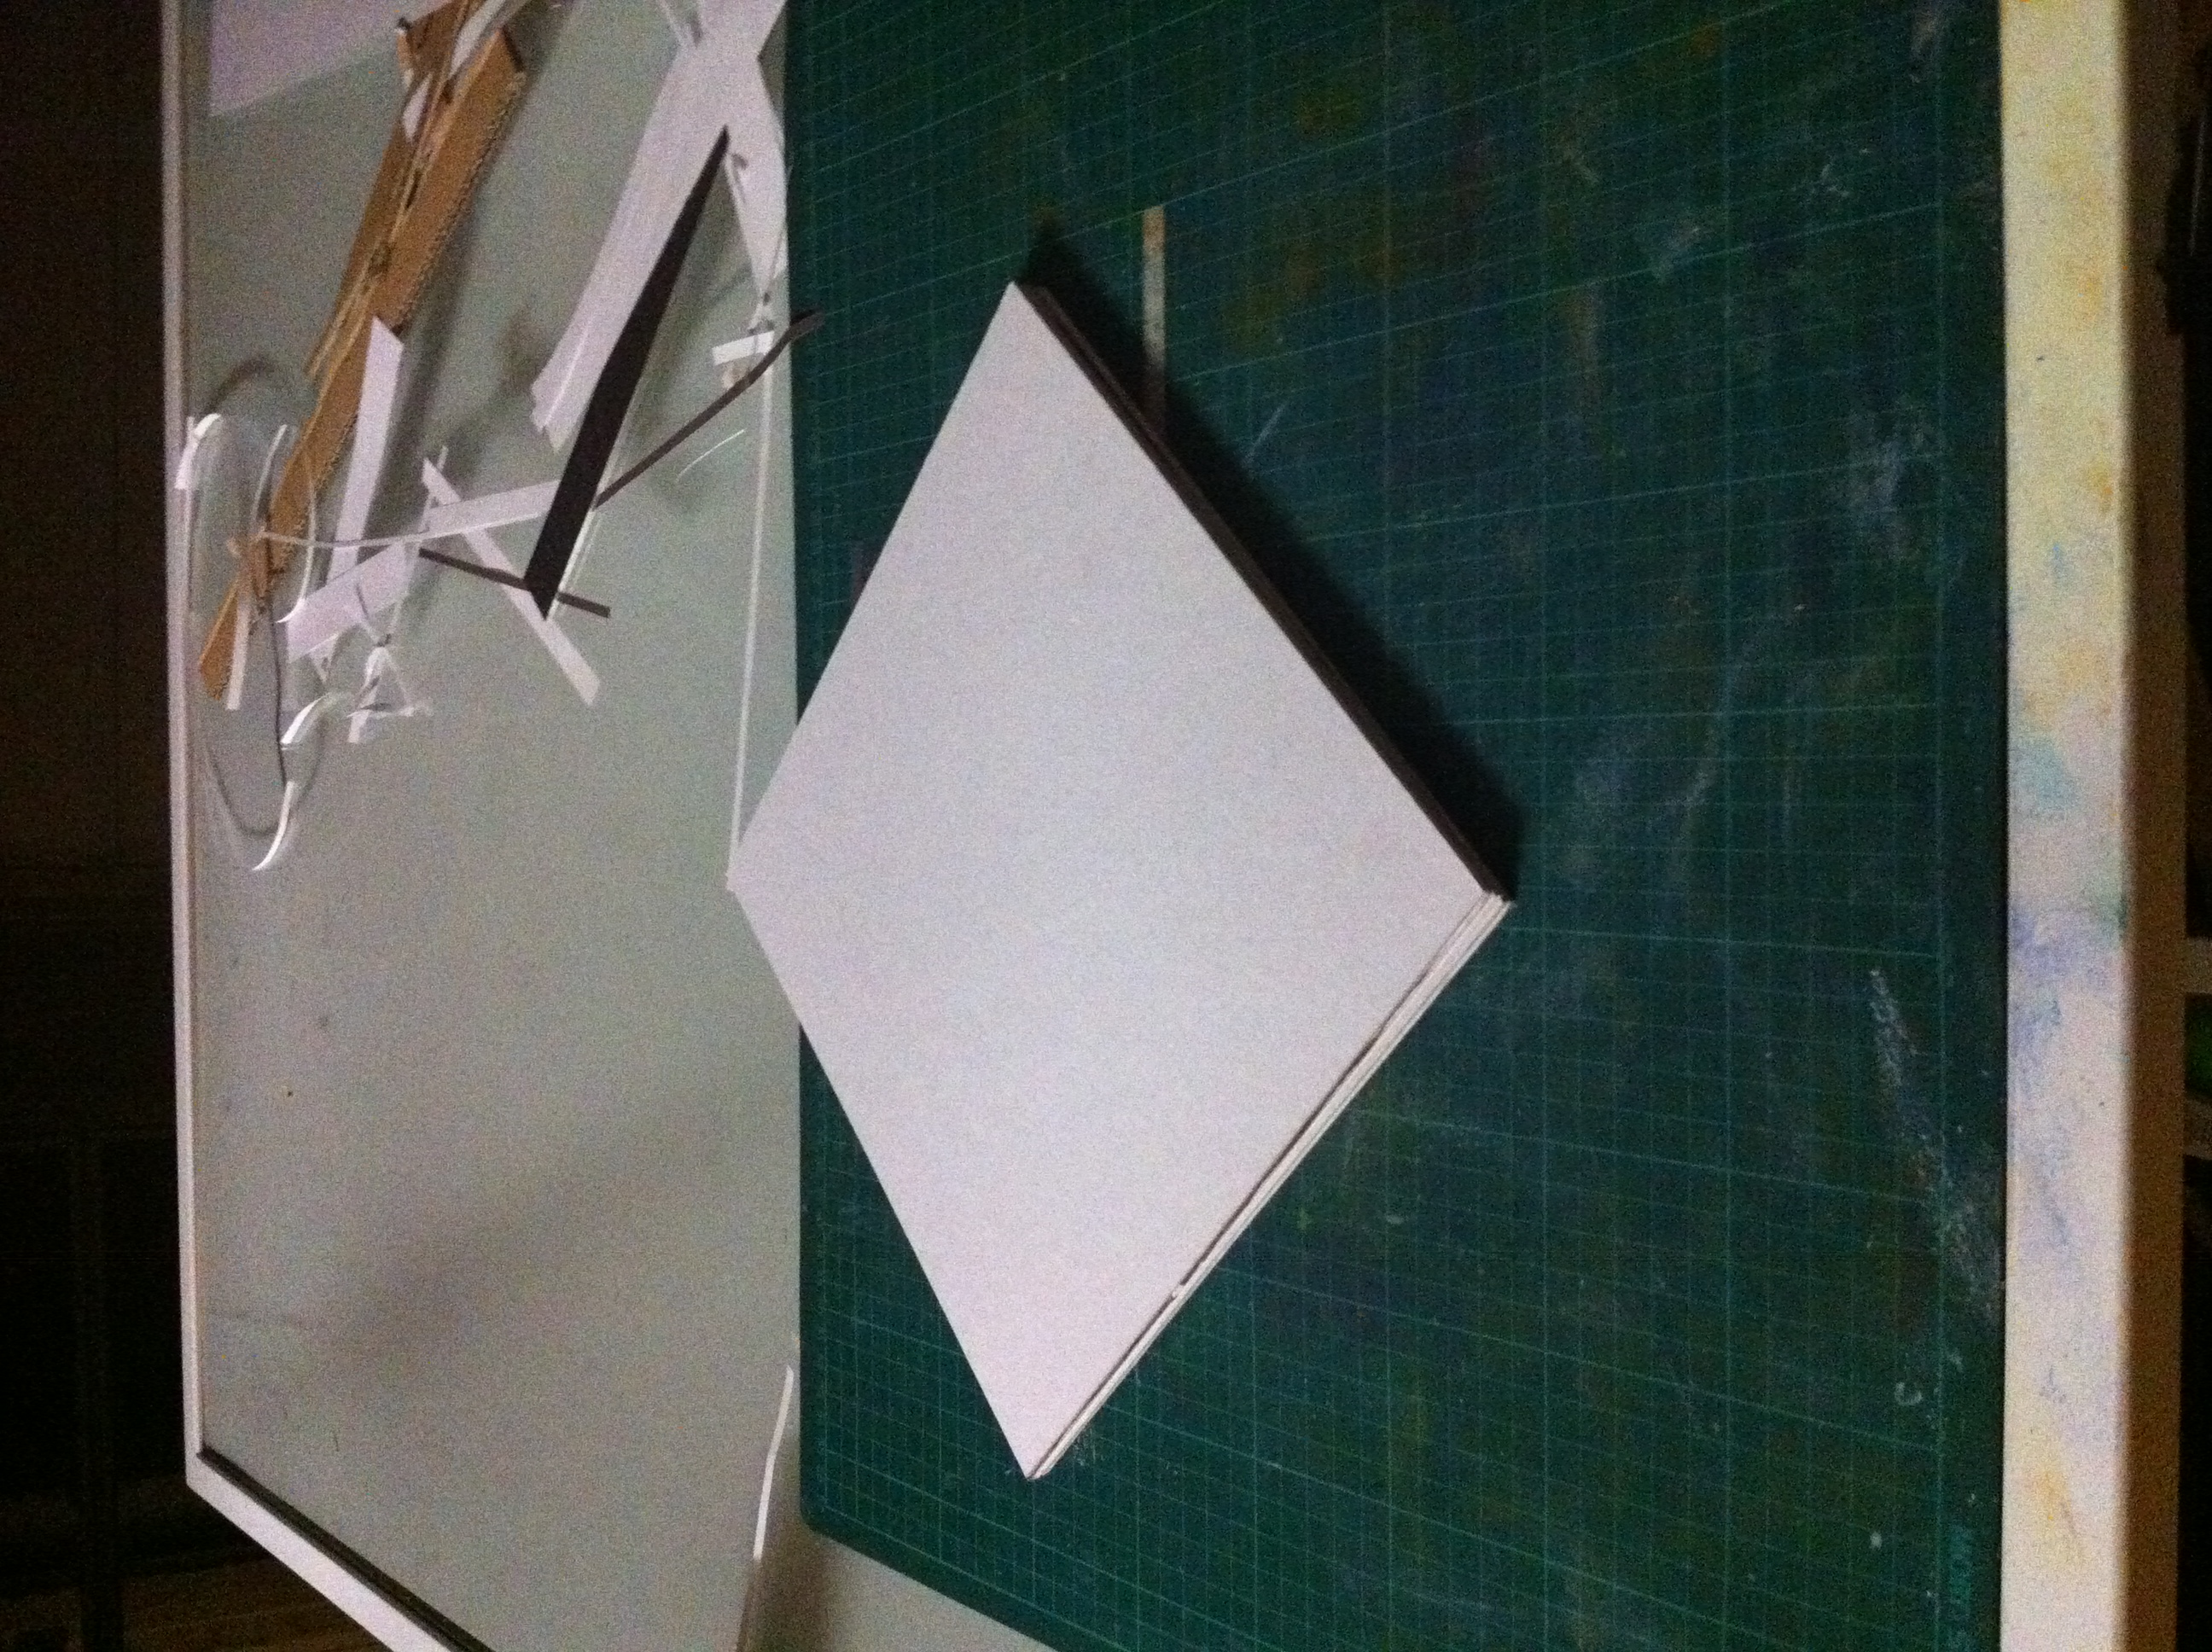
With the title for my painting decided, I opted to swap out the adventurer for Lord Flameface himself. On a new sheet of watercolour paper I marked out my margins and bleed margins, then sketched in Lord Flameface. I also traced in the fortress. Then, it was onto painting!

I used Chinese calligraphy ink for the black, allowing me to drop in a lot of pigment at once and let it bleed about on the page.
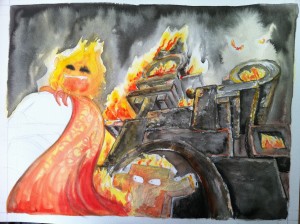
I let the sky dry before working on the fortress, to reduce the chance of the paint bleeding from the fortress into the sky. You can see the sky has dried a bit lighter than it was when the paint was first dropped in.
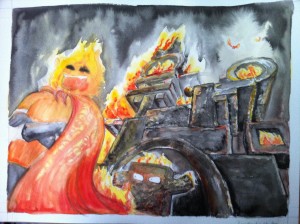
Finally, I scan the image and balance the colours a bit in Photoshop. The final result can be seen in Tuesday’s post.

Ticket to Ride UK
During Thursday-night board games at the house of Leaflocker we were introduced to the game Ticket to Ride. Very simple yet very fun, we were hooked immediately.
With John’s birthday come and gone I was torn about getting him a copy of the game. After all, which version should I get? The superior Märklin set with its wonderful train cards, or a new board? Or perhaps purchasing a copy of the game on Stream would do?
The Steam copy didn’t allow hotseat play, however, so to get any play time together we’d have to buy multiple copies. We resolved to make a copy of the game so we could play hotseat on one computer… though inspired by Thom’s home-made Settlers of Catan set I was equally tempted to build a bootleg board.
…Then, while browsing the Days of Wonder website I found links to a number of fan maps. Building a copy of a fan map felt like a great way to celebrate the game and try a map that isn’t the German map without making an investment. And I could absolve my guilt about bootlegging an official map.
Quickly disappointed by the Australia map, I settled on UK v 2.0 and built myself a copy…
We playtested on Wednesday night. Alex won on 139 points.
Jimmy would have been on 138 given one more turn, he also had the most trains left by far.
I ended the game with no trains left. I would have gotten 136 points instead of 107 had I placed my last train differently, but it didn’t make the difference between me winning so there will only be minor whining, not incessant whining.
Anyway we had good fun on this map, mispronouncing our way through the UK. My next step will be to make up some proper cards for trains and tickets.
Completed Kai
Continuing the trend of art-from-ACSA-homework that I started with last Wednesday’s post, here’s the finished Freud work. (last seen here.) Well, maybe not quite finished, but it’s what I handed up.
Cannelloni
Sunday is the day I chuck some recipes on the blog so that I don’t lose them.
Here’s the cannelloni recipe I currently use. It’s nice but not perfect, so within the next couple of weeks I’m hoping to find a new recipe to try out and post up here. Let me know if you’ve got a good one!
My biggest problem with the recipe is probably not the recipe’s fault. I’m just super slow at preparing it. The real challenge will be to find a recipe I can prepare faster.
Anyhoo, courtesy of Women’s Weekly:
Ingredients
Cannelloni
- 1kg Spinach, trimmed and coarsely chopped
- 500g ricotta cheese
- 2 eggs
- 1 1/2 cups (120g) grated parmesan
- 1/4 cup chopped fresh mint (I usually skip this)
- 2 teaspoons fresh thyme
- 2 teaspoons fresh rosemary
- 250g cannelloni tubes
Creamy Tomato Sauce
- 1 tablespoon olive oil
- 1 medium brown onion, chopped
- 4 cloves garlic
- 1.6kg canned, diced tomatoes
- 1/2 cup (125ml) pouring cream
- 1 teaspoon white sugar
Method
The sauce
- Heat oil in large saucepan; cook onion, stirring until softened. Add garlic.
- Add tomatoes (I frequently blend the tomatoes first for John’s benefit and to skip out on the blending later when the sauce is hot) and bring to the boil.
- Simmer for about 20 minutes or until sauce thickens slightly.
- Cool for 10 minutes, blend or process sauce with cream and sugar until smooth. (Since I’ve blended the tomatoes earlier already, I just add the cream and sugar)
The Cannelloni
- Preheat oven to 180°C
- Cook washed, drained spinach in heated large saucepan, stirring until wilted. Drain; when cool enough to handle, squeeze out excess moisture
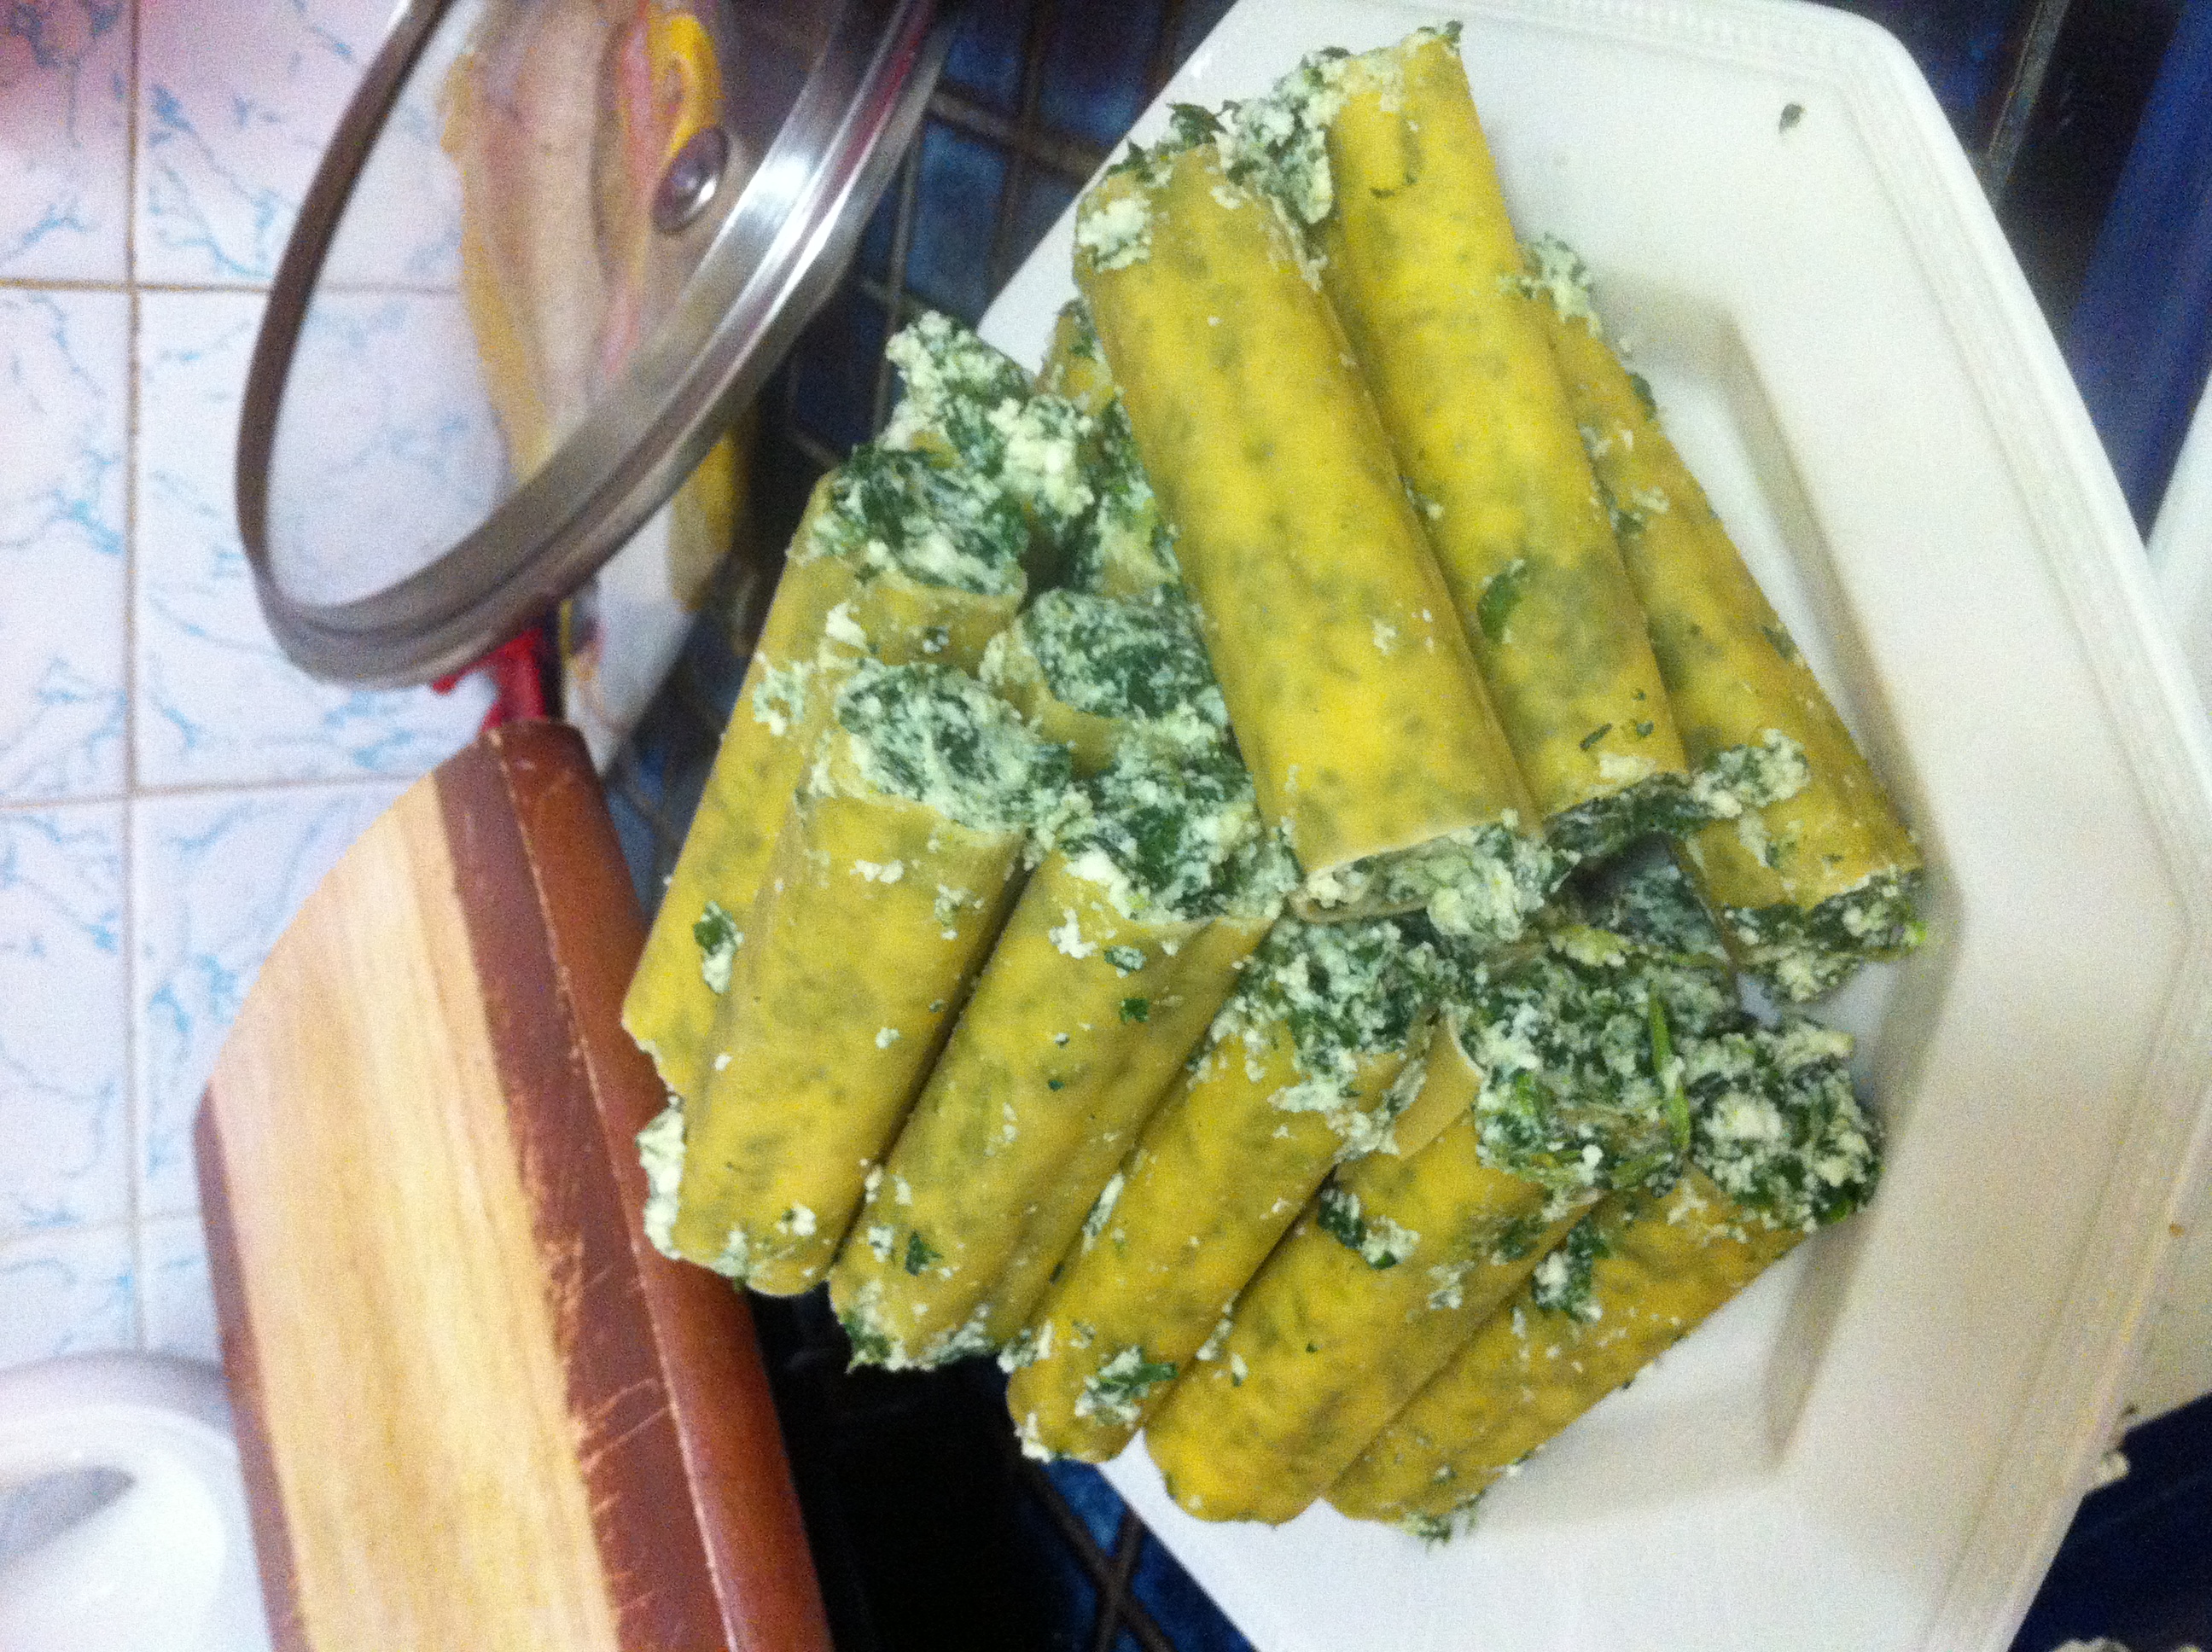
- Combine spinach in bowl with ricotta, eggs, 1/2 cup of parmesan and the herbs. Fill cannelloni with this mixture.
- Spread a third of the sauce into a 24cm x 35cm-ish dish, top with pasta tubes then top with remaining sauce. Because instant pasta tubes are usually tiny, you can usually get a couple of layers of the pasta tubes in.
- Cook, covered, for 20 minutes. Uncover, sprinkle pasta with remaining parmesan; cook for an additional 15 minutes or until pasta is tender and cheese is browned lightly.
The supposed stats:
Prep + cook time: 1 hour (yeah right…)
Serves: 6
Photos to come ‘cos I’ve left my phone somewhere and need to fetch it.
[edit] Photos!
Tune in next week to find out what to do with the cream you’d have left over out of a 300ml container.