More avian august birds
I’ve been posting these daily on Twitter but for posterity’s sake I guess I ought to catalogue them here as well!
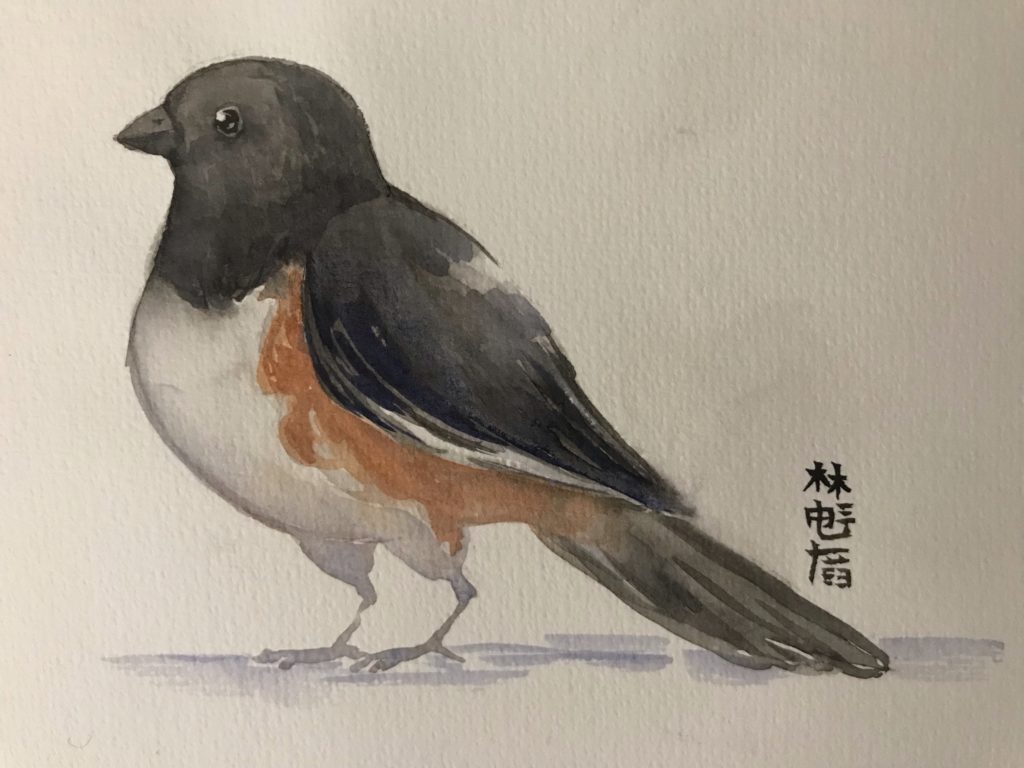
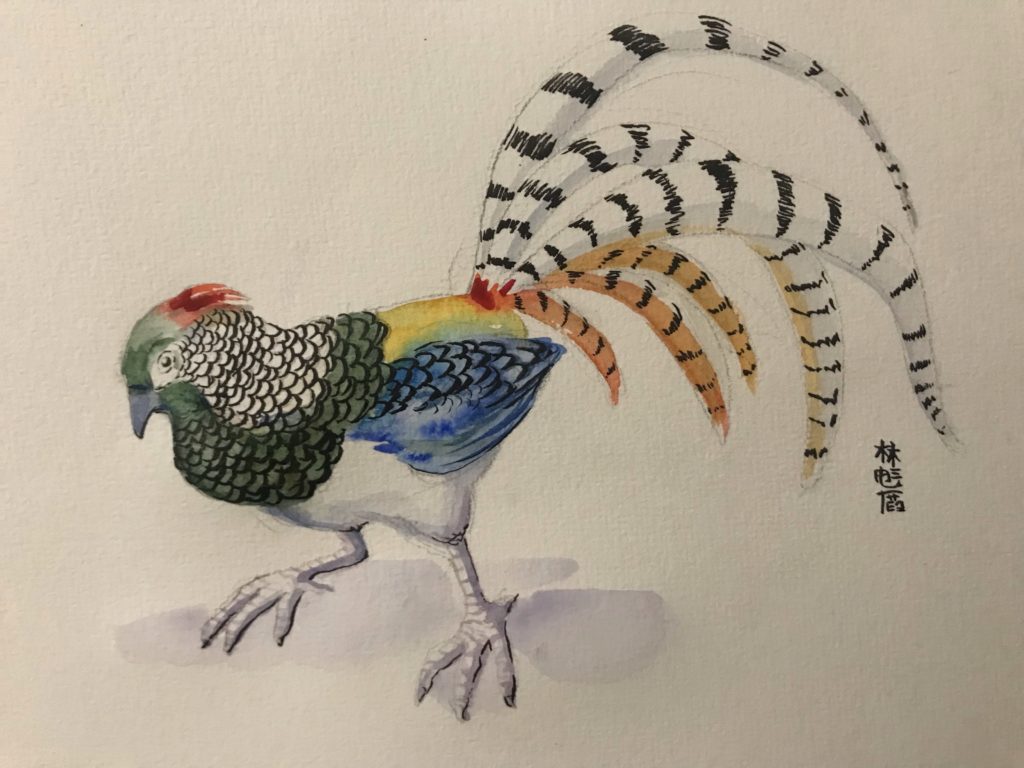
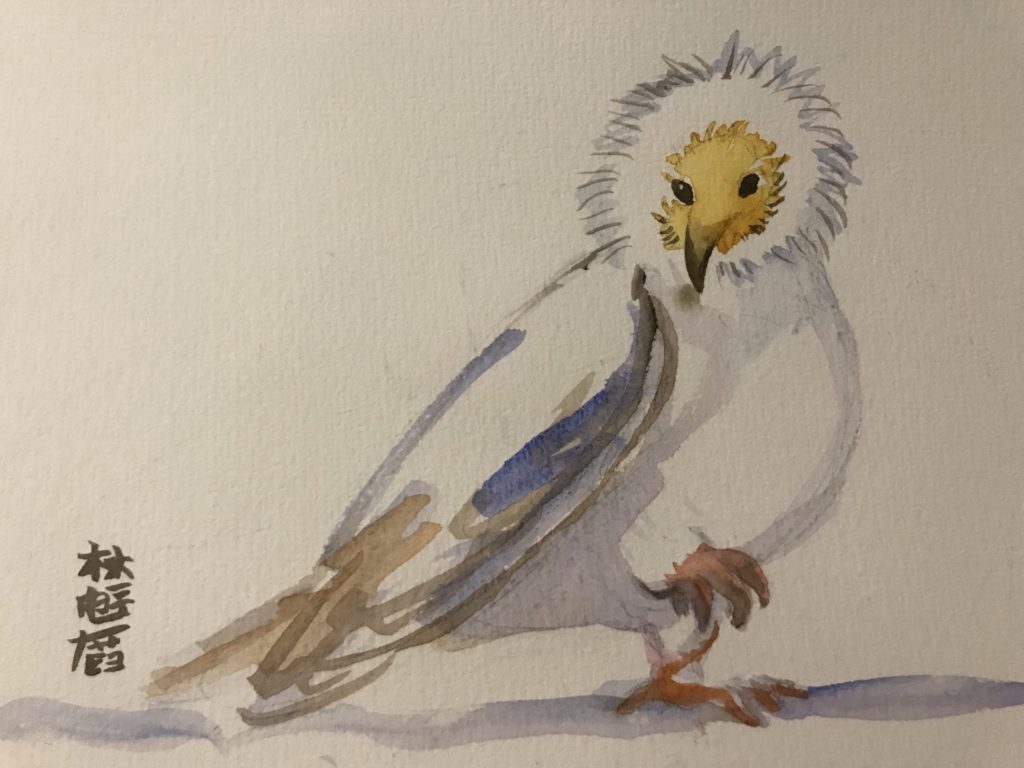
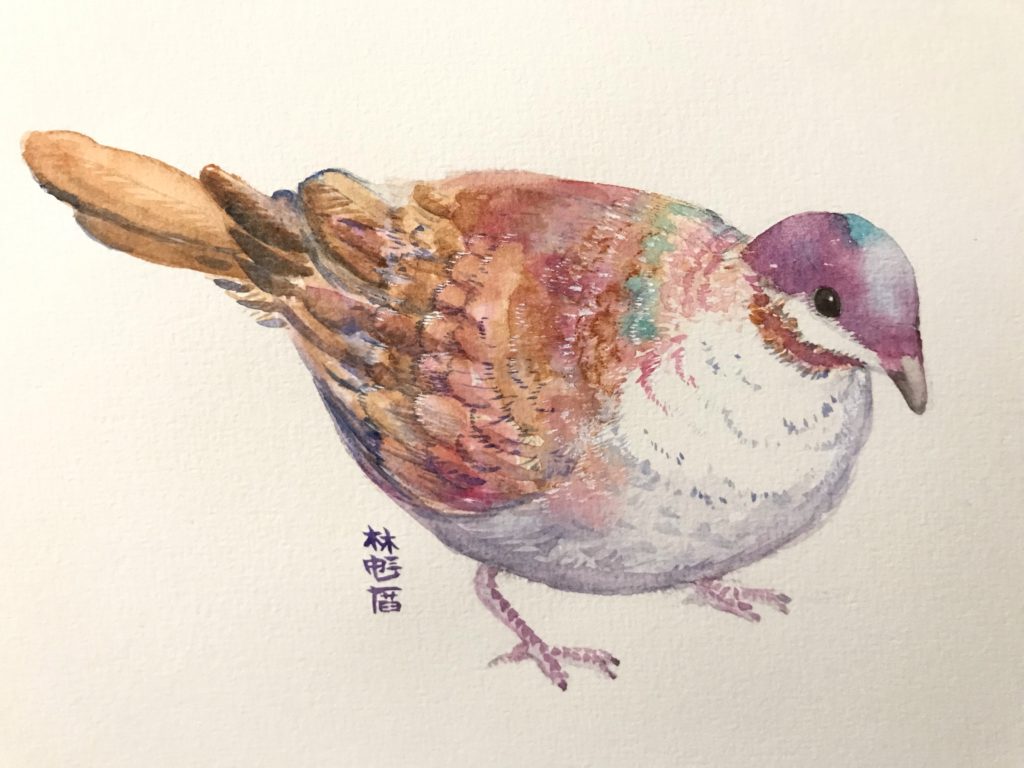

I think I have just five birds left to go after this!
I’ve been posting these daily on Twitter but for posterity’s sake I guess I ought to catalogue them here as well!


I think I have just five birds left to go after this!
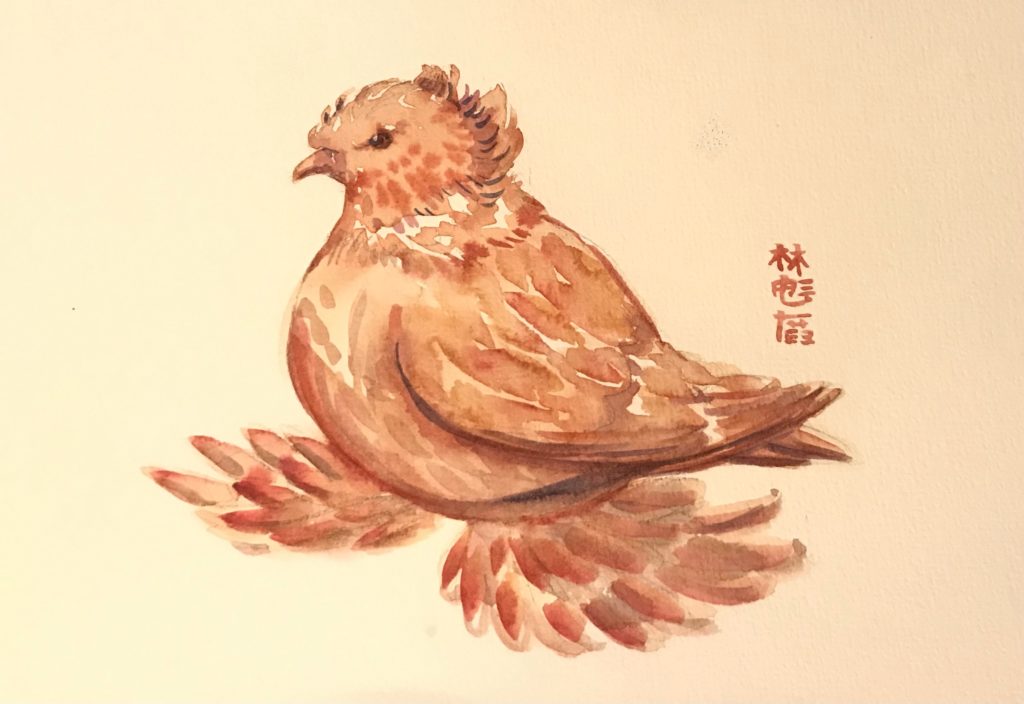
Bonus: completed pelican
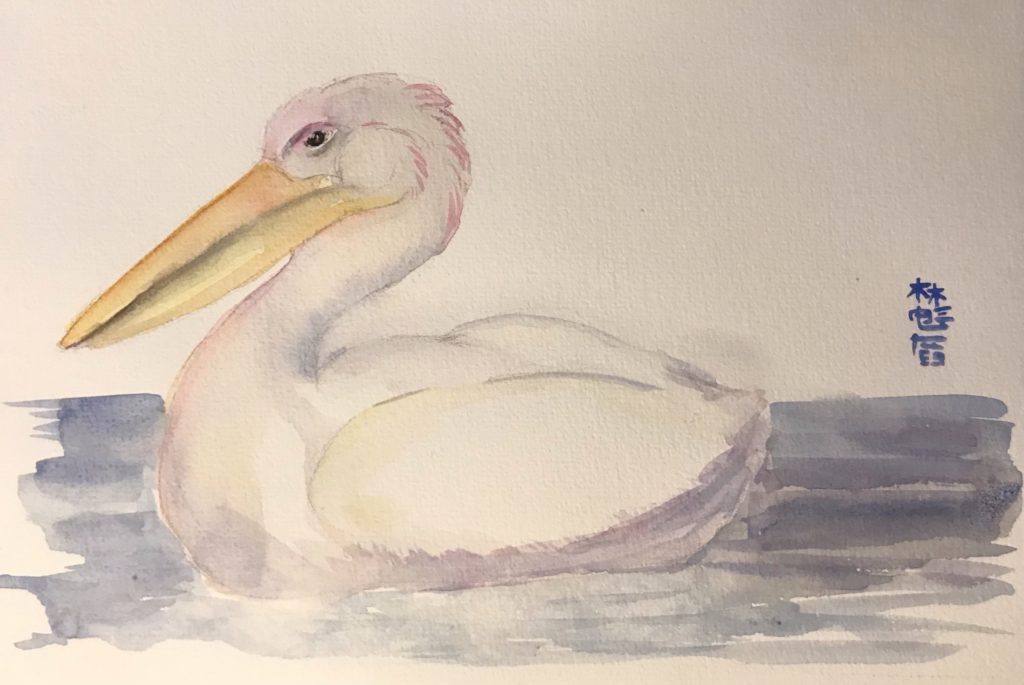

Will finish this one tomorrow
One of the first watercolour brooches I experimented with was of a cardinal, so I thought that for today’s Avian August prompt I would revisit the laser cutter.
Somehow I nailed the design on the first sketch:

And from there I could see that the piece would work either as a painted or acrylic piece!
There was a slight tricky bit to solve with how to depict the eye in the acrylic version – would the whole face piece be black acrylic and the white parts painted in? I instead opted to cut the eye out of white acrylic and to etch a section into that that I painted black.
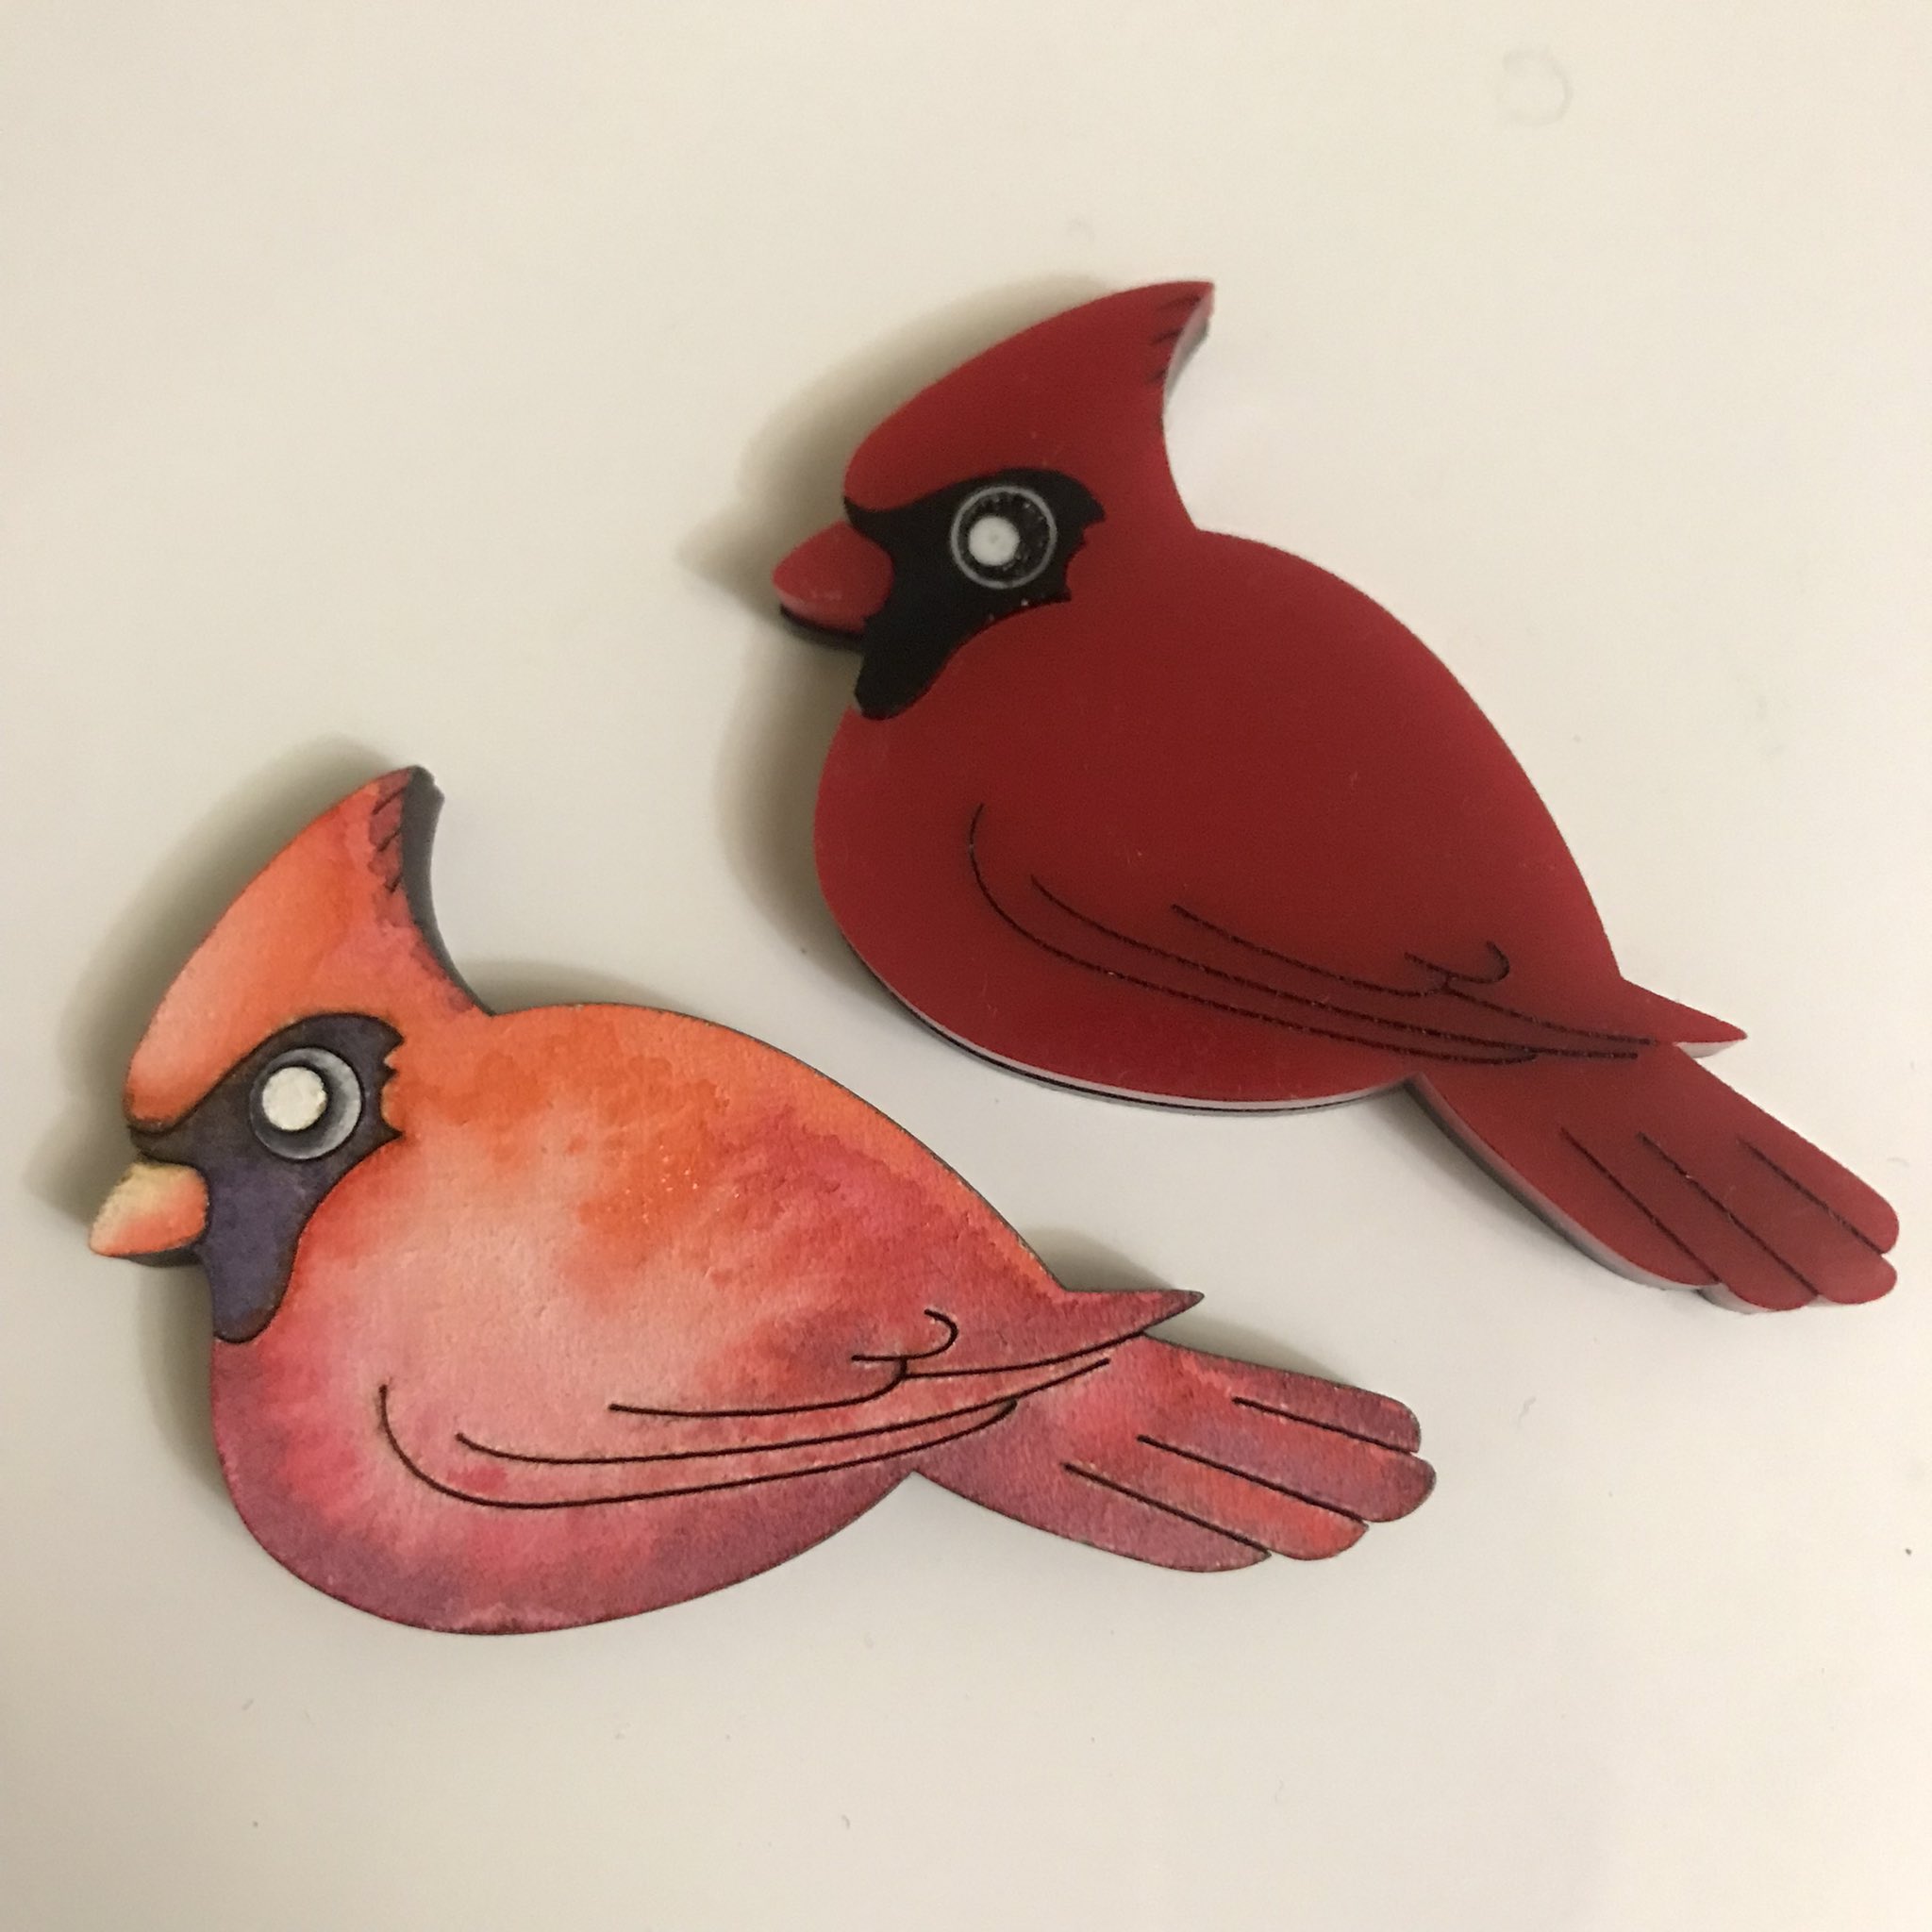
I didn’t realise how dark my sheet of red acrylic was but I didn’t have any alternatives on hand so it’ll have to do. I really like how this little cute birb came out, and it was another speed lasercut build which has me thinking that I might spend September with the aim to do more regular laser work……….

Lately, my dad has been making beautiful carved wooden lamps. And every now and then, he asks me to cut some mirror acrylic on my laser cutter to place into his lamps.
Tonight was one such occasion, and since I was going to head to my parents’ place for dinner, I thought I’d take the opportunity of the laser machine being spun up to also make a lamp of my own and test it out with the LEDs that dad has been using to test his lamps. This is the result.
This is a real speed build. While I’ve been wanting to do something like this for ages, I hadn’t ever managed to bring it to fruition because of the little decisions required. What size should it be? Should I cut tabs for a better piece alignment? What opacity of acrylic should I use? What should the silhouette design feature?
With a tight turnaround time imposed, I threw all those questions aside and went with a simple design. I realised I could also speed up the prototyping by using both the positive and negative shape of the silhouette for the adjacent faces, thus cutting down on wasted test material. The design was drafted on the bus trip home from work, and the light box was test-assembled using sticky tape. It’s very shoddy but proves the concept!
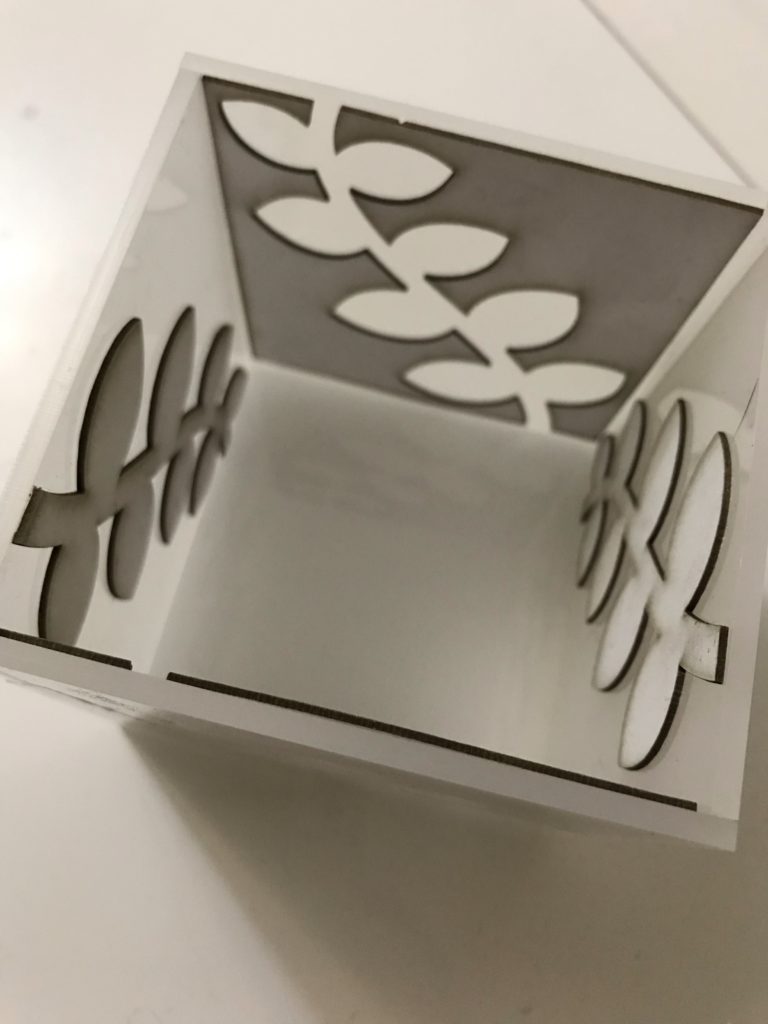
I was planning to use 2mm white acrylic for the leaf shapes, but it turned out I didn’t have a large enough sheet. By chance, I had a bit of cardboard on hand AND I guessed the correct settings to cut it on my laser cutter. The cardboard does the job fine!
From here – I guess I should properly glue up the box and work out how the light will be positioned and how it’d turn off and on; but I suspect that those questions may be left hanging for a while.