Caress – Step-by-step

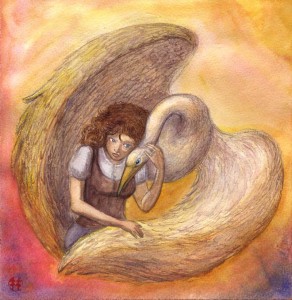
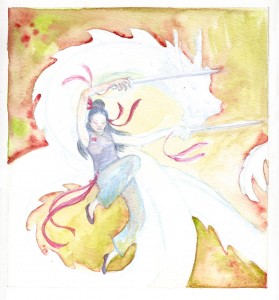
I’ve been trying to do a phoenix picture for a while, but none of my concept sketches were working. Late last night I started on this piece though, and quite liked it. The bird isn’t a phoenix but oh well. Here’s some pictures I took during the painting process.

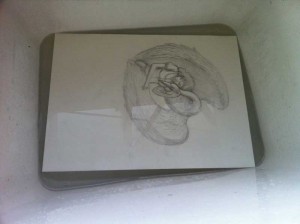
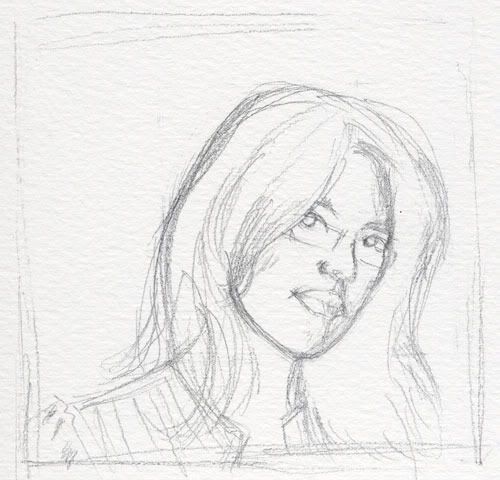
After doodling some concepts for the painting, I choose one I like and working from that concept, draw the image straight onto watercolour paper. I’ve included some shading to give me some information about light and dark areas. I struggled with the face planes for a bit but was able to scribble tests of what looked good for the fall of light by scanning the sketch and putting shadows down digitally in a trial and error manner. Once I was happy with the stark shadows on the girl’s face I copied these shadows over to the sketch.


Here’s the drawing submerged in our laundry sink. This is to stretch the paper – something I don’t normally do but wanted to trial this time. The idea is to get the paper to expand by soaking in all the water…

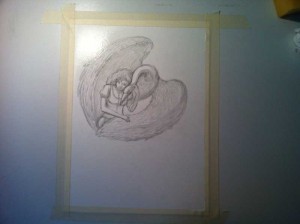
…Then tape it down securely to a board so that it remains stretched. When reapplying water during the painting process, the paper will not warp, or at least if it does warp, it will subsequently dry flat as the tape is keeping the paper stretched.

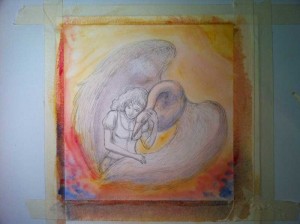
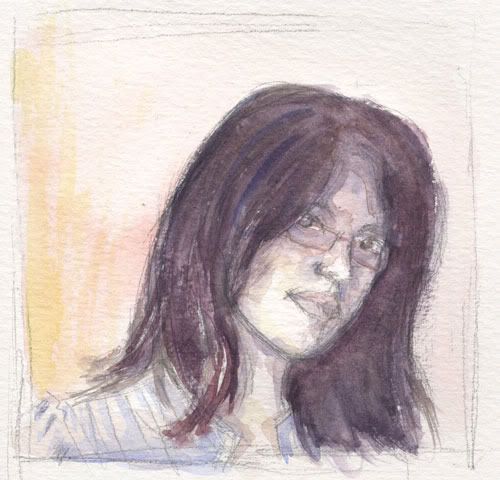
Once I have the image taped down, I put down some initial colours:

Then I let the picture dry (well, force it to dry with some encouragement from a hairdryer) and work mostly wet-on-dry for the rest of the painting process. I have problems with my tape – the paper pulled itself free from the tape as it shrinks and ended up cockling. I use this opportunity to take a progress scan:

I then soak the back of the painting to make the paper expand again and try taping it to my board again. It works okay but the painting still gets unstuck from the tape as it dries. Guess I need stronger tape. I’m not a fan of the gum tape stuff but maybe it’s the way to go…

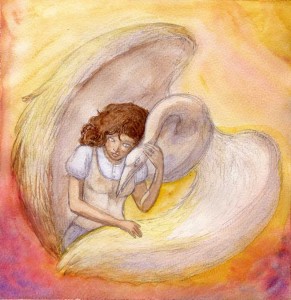
Here’s the finished picture:

My big mistake in this painting was trying to use bruising and scratching techniques to get the feathers done. It really didn’t work out and I spent some time trying to work out how to heal over the paper. Well, that wasn’t going to happen. I’ve also done a pretty dodgy scan, the colours and contrast really didn’t come out great on my scanner. Come visit me and see it in person some time!


An Introduction to Watercolours, Part 1

Based on the panel I put together for AVCon. I had kinda wanted to make the presentation come from the point of view of a beginner learning about the medium but I didn’t have quite enough time to lock down the tone and focus of the presentation. Still went pretty well and I had an interested, engaged audience. Let’s get straight into things.

Advantages of Watercolour:

Watercolours are a surprisingly versatile medium and produce a range of beautiful results. The transparency of the paint means that watercolour paintings often have a light, bright or effortless feeling to them.

There’s also a charming unpredictability about floating pigment in water. While in an acrylic, oil or even digital image you can get a lot of expressiveness into the painting through brush strokes, expressiveness in watercolour paintings is often about walking the line between controlling the medium and letting the unexpected happen.

I enjoy watercolours because they are a tidy medium. All I need is my box of colours, a brush and some water and I can dive straight into a painting. Watercolours are also teaching me discipline and are encouraging me to make careful choices about colour and what I commit to paper. Often there’s no taking back something once it’s put down, which leads to the next section…

Challenges

Watercolour can be quite unforgiving. One of the great skills required by watercolour artists is being able to leave the whites of an image untouched. This way, the white of the paper serves to provide the highlights. Although there is often white paint included in watercolour sets, you will never achieve the same effect as leaving the paper clean. I think of a painting as one that is drawn without white available at all. In short, with watercolours you cannot paint white over your picture like you might do with acrylics, oils, pastels or in a digital image.

Layering colours can also be tricky as the transparency of the paint usually means that the colour beneath is evident. Again, if you have painted over a section in the wrong colour you will have difficulty restoring it and painting over it likely won’t work well. On the other hand, if you’re glazing an area to give it a hint of a new colour, you must be careful to use a thin wash. Although the colour below may be evident even with a thicker wash, details can be lost. A painter also has to be careful to not disturb the pigment that is sitting on the paper on layers of paint they’ve previously applied.

Finally, working with a wet medium of course means dealing with different behaviours as the paper or paint have different wetness. Painting onto a wet sheet of paper will give a vastly different result to painting on a dry sheet. This means that the watercolour painter must learn to gain familiarity with the way that the paint acts. They must also learn patience!

Some art links demonstrating what is possible with watercolour:

  • Reuben Negron – Realism in Watercolours!. Beware most of his gallery is NSFW, but the linked image is fine
  • Stephanie Pui-Mun Law – I love the fantasy art of this artist. An inspiration. She readily shares works in progress and shares her knowledge on her blog
  • Levi Dansam – A recent discovery. The art feels thoughtful, perhaps because of the blend of finely controlled forms and areas where the paint just flows.
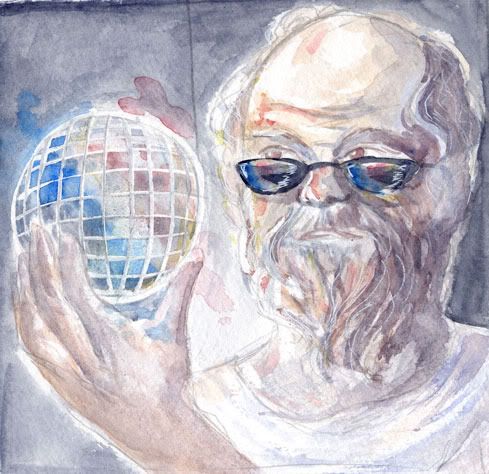
  • Cari Corene – Another recent finding. I wonder if her art gets much digital enhancement… but does it matter? The colours here, even if do they appear duller in real life, are superb

Next up: materials.