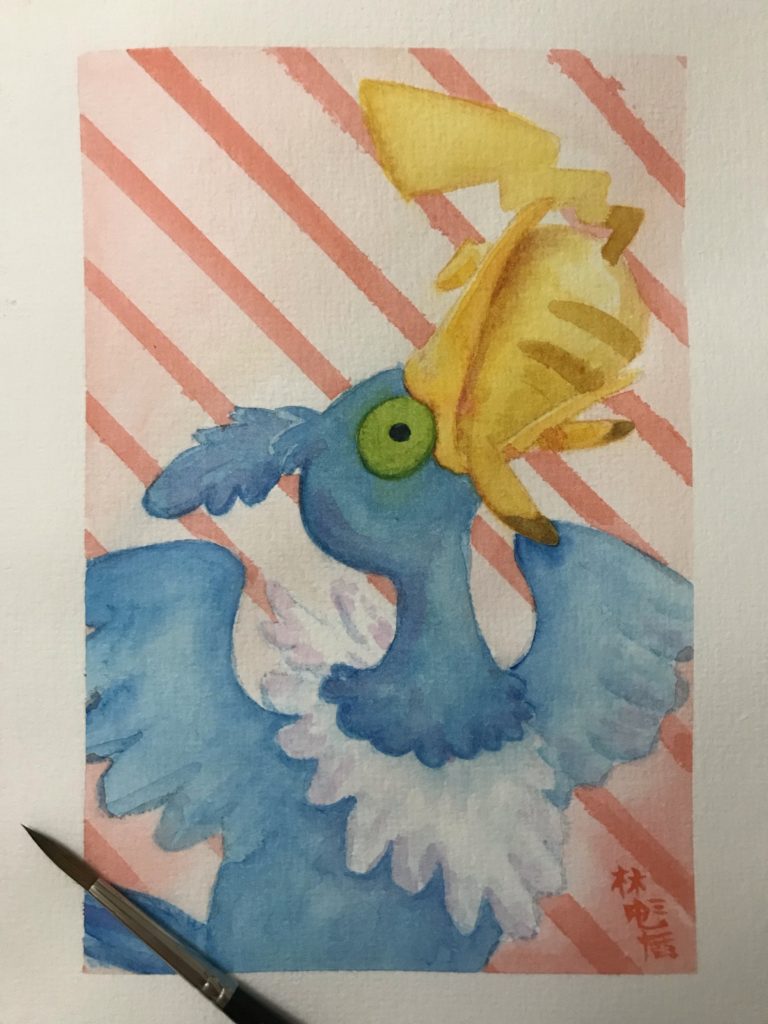
Gulp Missile
I’m happy with this sketch but not really very excited by how the colours ended up. Might have to take another crack at it sometime.
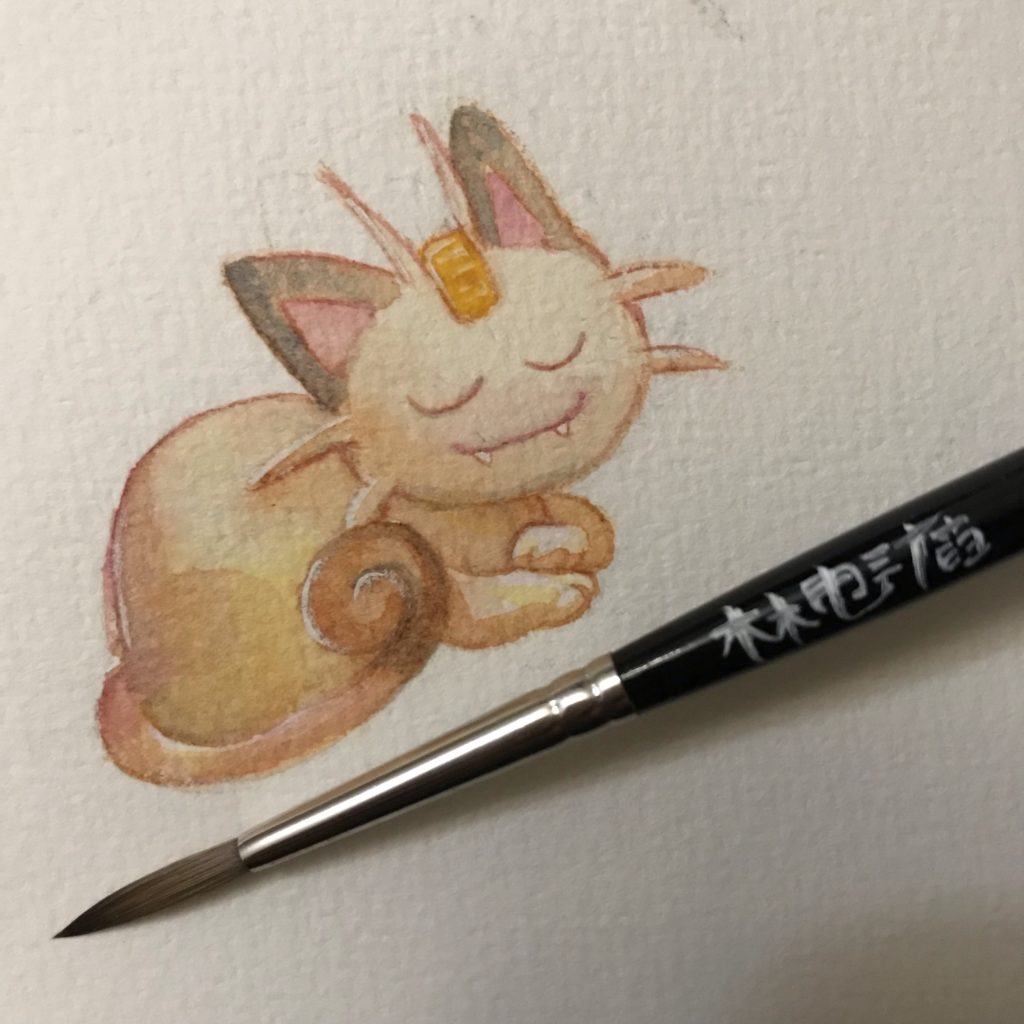
Bonus: here’s how things looked while masked up.
Just some squares
They look simple but I tried masking these with sticky tape and cutting the square stencils from that, which was fiddly. Tore the paper a bit on lifting the masking though, which makes me wary of using sticky tape again in the future. Might just need some more practice or to use slightly different tape.
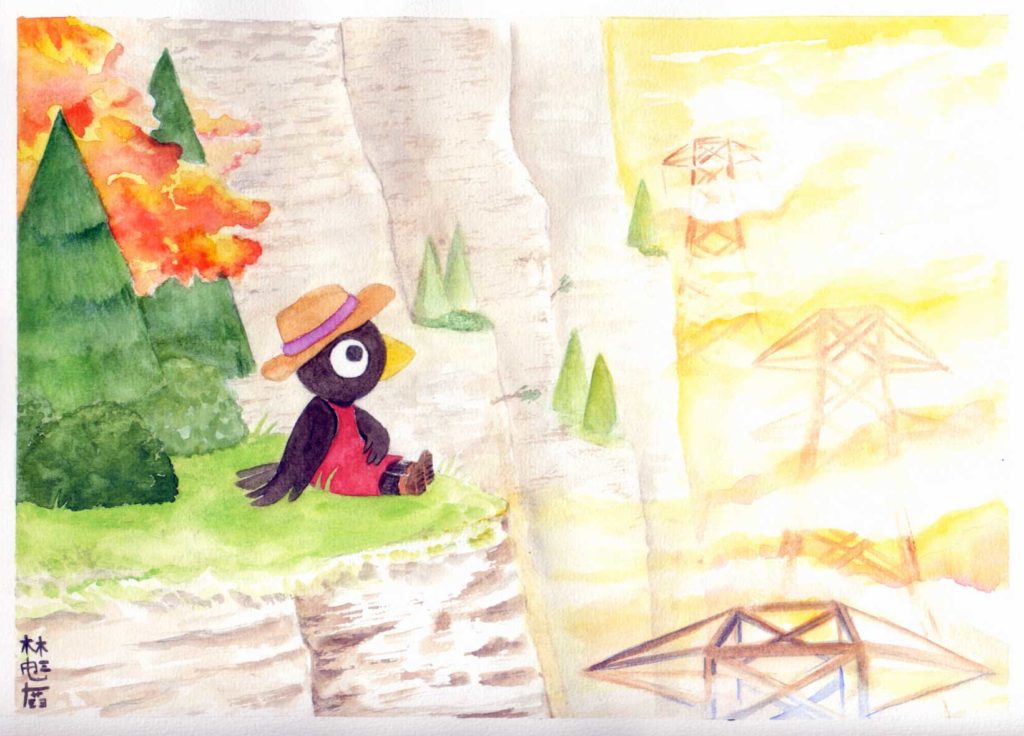
Scenes from ‘A Short Hike’
Two paintings inspired by “A Short Hike” – one from last year, one from more recently. I really love this game and recommend it wholeheartedly! Maybe at some point I’ll draw Claire doing something other than sitting and taking in the sights.
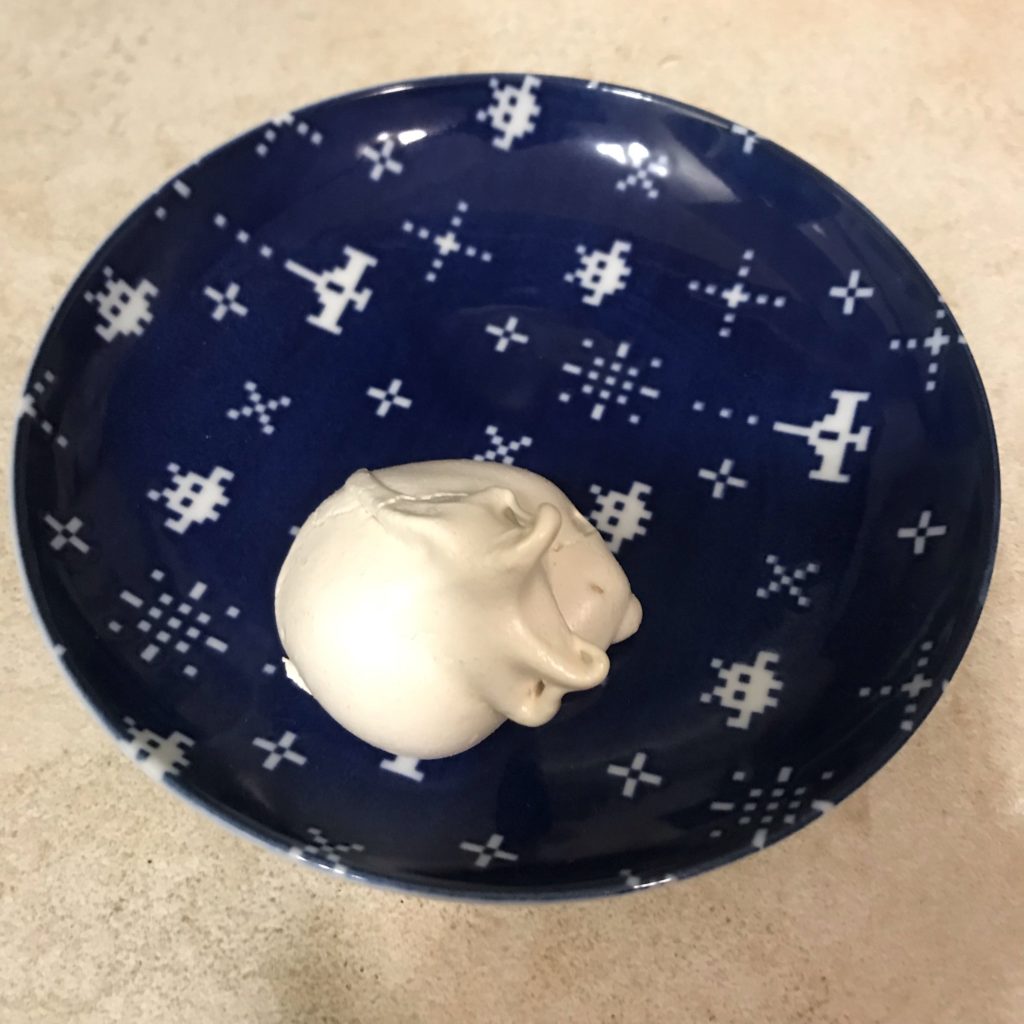
Meringues
Took my first crack at making meringues (or at least, the first try in my adult life). The rest are currently sitting in the oven (recipe says to let them sit in the oven as it cools) but I couldn’t resist grabbing one to try now.
That blaugust thing, huh?
Once again posting just to keep things alive for a little while. Not sure if I’ll be posting regularly during the month (I’m already drafting “August 1st”‘s post after midnight).
I think there are things I could/should be documenting, so we’ll see what happens for the rest of the month…
Splatoon x Mahjong
What started as a flippant remark turned into a little project! Thanks to Toad for inspiring this undertaking.
The suits are:
Eggs, featuring golden eggs from Salmon Run. This is a nice, simple substitute for the original “coin” themed suit.
Bamboo, featuring the old-men of Splatoon. While Captain Cuttlefish is represented via only his bamboozler gun, DJ Octavio stands in proudly as the 1-bam. A traditional Chinese set would depict a sparrow perched on a branch; here Octavio holds a stalk of wasabi. A Japanese set would more commonly depict a peacock – I enjoyed working some of the concentric circle details that might normally go into the peacock’s tail into Octavio’s helmet.
Snails, featuring my morphed rendition of a sea snail, doing its best to look like the character è¬ – ‘myriad’. (Toad said it initially struck him as being a boat – I guess as a nautical theme it works, though it doesn’t scream “Splatoon”). The character suit represents currency increments of 10,000 – when I was thinking about high-value stuff in Splatoon, sea snails sprang to mind!
I think these suits give us a nice little tour around some of the main areas of the game.
It took a bit of brainstorming to work out the dragon tiles but John suggested tying them into their loose suit associations – the green dragon is most often associated with bamboo because of the green hand, which leaves the red dragon paired with characters and the white dragon to go with balls. Luckily by the time he suggested this I had revised the eggs suit to contain more blue, so the colour association was present when he made the suggestion – though now I want to make them even more blue!
Following the colour patterns, John suggested a Steel Eel could be used to depict the frame of a white dragon. He also suggested using Inklings and Octolings for the remaining two suits – while I took an inkling for the red dragon, I decided to try something different for the green.
With the bamboo suit being inspired by the rivalry between Captain Cuttlefish and DJ Octavio, I preferred the idea of giving a little more limelight to Cuttlefish rather than a generic Octoling. In addition, the Octolings you encounter in Octo Canyon tend to be red, so I didn’t really feel right making them green.
I decided to play with the Cuttlegear logo and hint at that while also attempting to mimic the 發 character. The left side of the character is meant to represent one of Captain Cuttlefish’s medals. I’m not totally happy with the current draft but it’ll do for now.
The winds are currently placeholders – I think that my handwriting is a bit ugly. I’d like to think of some thematic stuff to replace them with – so far I’m dwelling on thoughts of locations in Inkopolis Square… or something with the great Zapfish, since it got bumped from being one of the dragons…
Finally it might be fun to include a few extra tiles – perhaps the idols as season/flower tiles? Though I’m not sure how well I’d be able to pull them off with this colour palette.
Yuzu Crème Brûlée
I’ve been on a yuzu kick of late. This lovely citrus was introduced to us at our favourite Melbourne restaurant. With travel seemingly off the cards for a while, and the restaurant itself rotating various dessert items in and out, I decided to address my cravings for yuzu crème brûlée by making some of my own.
Ingredients
3 egg yolks
300ml thickened cream
3 tablespoons yuzu syrup
Pinch salt
Sugar to top
Note: my tablespoon was probably a little closer to 25ml than the 20ml Aussie standard…
The recipe is designed to nicely scale – 1x egg yolk, 1 spoon yuzu for every 100ml cream. Feel free to experiment with the quantities to suit your own preferences!
I don’t own ramekins so I made my crème brûlées in Chinese teacups. These quantities should fill 5 tea-sized serves. The recipe should work in ramekins but I haven’t tested – these quantities would probably would fill 2 Ramekins, maybe use a x5 scale (5 eggs, etc) to fill 4 ramekins?
Method
- Preheat oven to 180°C/160°C fan forced
- Heat 300ml thickened cream in saucepan on the stove with a pinch of salt. As soon as it appears slightly frothy, remove from heat. Do not let the cream boil.
- While the cream comes to heat, separate 3 egg yolks. Whisk together the egg yolks with 3 tablespoons yuzu syrup
- Pour warm (not boiling!) cream into the yolk mix, stirring to combine. Take care to not cook the eggs! I recommend using a spatula to scrape up the yolk mix from the base and sides of the bowl so it can be entirely integrated.
- Evenly portion the custard mixture between teacups/ramekins, place the filled containers in a deep dish/roasting tin
- Pour boiling water into the outer dish until it is 1.5cm from tops of the teacups/ramekins. The custards will be cooked in this water bath
- Transfer the custards in the water bath to the oven – cook for 30 mins or until tops are slightly darkened
- Remove the custards from the water bath and allow to cool before transferring to a fridge to set
- Before serving, top custards with sugar. Spoon half a teaspoon of sugar over the top of the custard, and then rotate it gently to distribute the sugar over the surface. Caramelise the sugar with a kitchen blowtorch
Where to get yuzu
I got my syrup from Mountain Yuzu – they are an Australian grower of yuzu, and they also import a number of yuzu products. Using the syrup makes the recipe really easy – because there’s already beet sugar in the syrup I skip adding any sugar to the custard mix.
My first experiments with this recipe used Yuzu Tea – I was lucky enough to snag the last jar they had in stock at the time. While I ended up deciding that the syrup was easier to use, the yuzu tea has proven itself a tasty accompaniment with toast, cereal and as a drink. I also finally decided to give this Yuzu Ice Cream recipe a shot despite not owning an ice-cream machine, and it came out great!
I’ll add some photos next time I make a batch!