Chenonetta Creations

Find Me On...

  • deviantArt
  • Twitter
  • Mastodon
  • Instagram
  • Facebook
  • Bluesky
  • Home
  • About
  • Selected Works
  • Shop

katamari

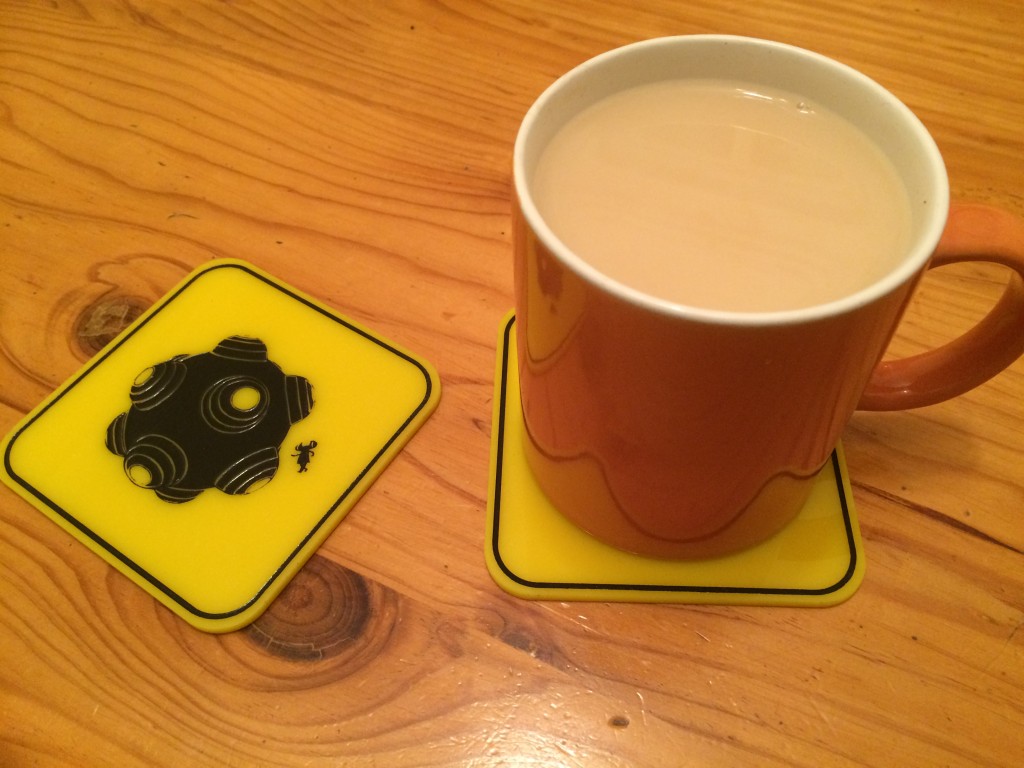
Katamari Crossing Coasters

Posted on August 19, 2015 1 Comment

23

I have had this design complete for… *checks files* FOUR YEARS and somehow I never uploaded it online in any form.

I’ve played with it for a couple of product ideas, first as printed posters on yellow paper and then I toyed with making it as a shirt design.

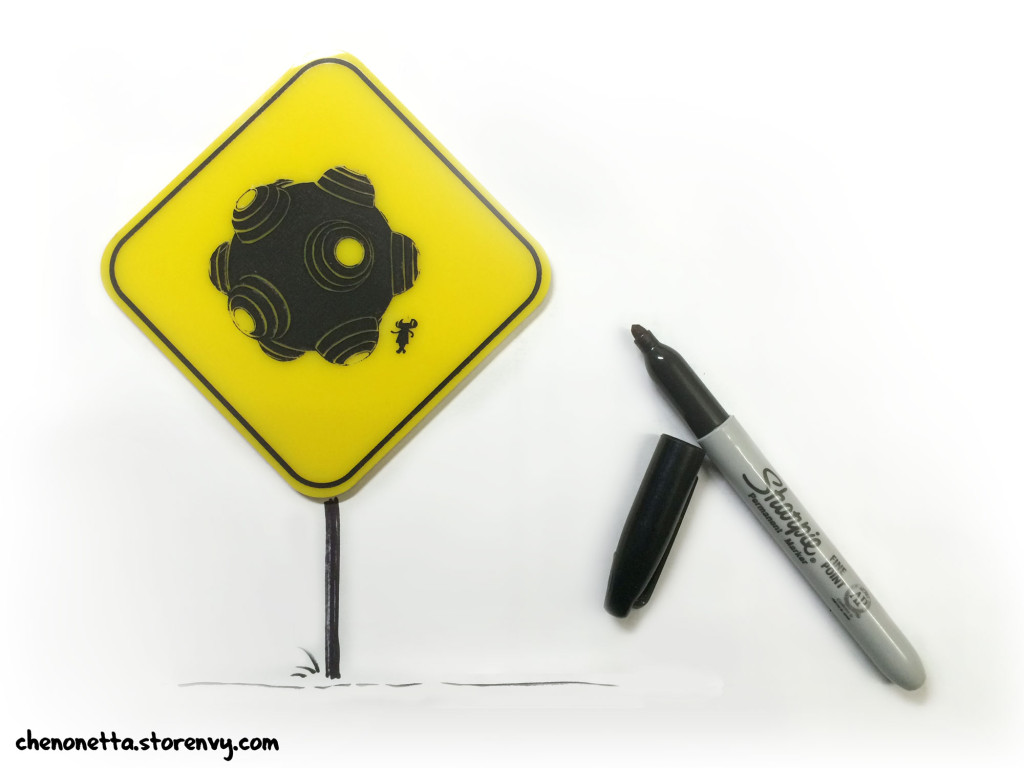
I think these coasters are the perfect incarnation however. The black design on the yellow acrylic really evokes a street sign feel.

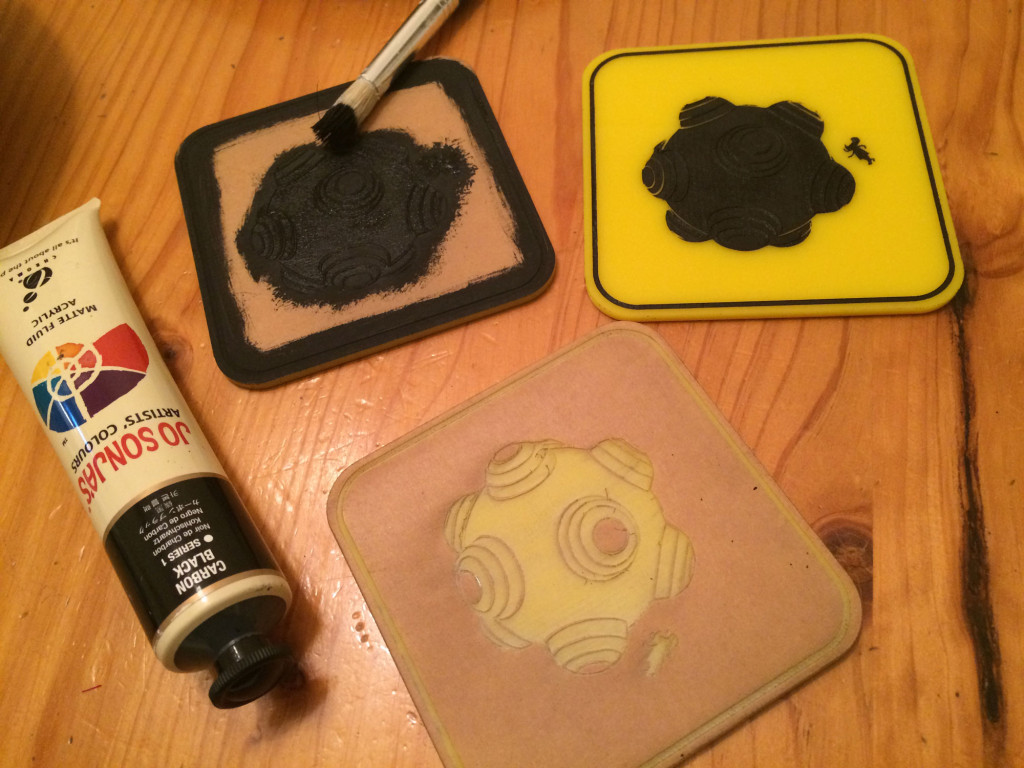
I make these by etching the design on my laser engraving machine. I leave the paper on the acrylic while the design is etched. After the etching is complete, I use black acrylic paint to fill in the etched areas, then lift the paper masking.

17

Pre-orders available in my store now!

26

Posted in: Lasering | Tagged: blaugust, coaster, katamari, katamari damacy, made by me

Light and shade

Posted on April 5, 2010 1 Comment

Some things I’ve learned about depicting objects using tone:

  • Work from light to dark, covering the whole image with each layer of tone.
  • Use circular movements to apply pencil strokes, so that the direction of the strokes don’t interfere with the shading.
  • The human brain is capable of filling in lots of information. There’s no need to use a line to define an edge when the viewer can imagine it.
  • Squint! Let the shapes blur into each other and then work out what the main tones throughout the piece are.

Here are my last three homework pieces, all focused on practising the correct application of tone:

Tone Homework 1

A polystyrene ball and toilet paper roll. Glamorous stuff.

Quite a light application overall, but the shapes are still readable (though my camera might try to convince you otherwise). It was a bit light in the room when I did this one, but it might have been that I was using an HB pencil that resulted in the lightness.

Tone Homework 2

Katamari, soap and mini-dish

Well, my prototype Katamari was an excellent matte white object to draw. Part of me wishes that I composed this differently, with all the objects stuck to the Katamari, but I think this turned out really well. The Katamari was described as a “mutant tennis ball” during last week’s homework review, and other than the soap appearing to tilt upwards a bit (I wasn’t able to erase the pesky lines in the back corner), I got a good response for this one.

Power!

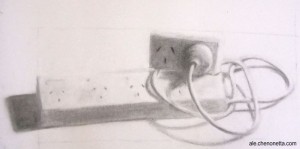
Powerboards in charcoal

I like the composition in this one. It has a little more narrative than random objects put together. The plug caused me lots of troubles and the sockets were no walk in the park either! After taking this photo I tweaked the far left shadow and the shape of the top power block. Taking a step back from things really helps to point out errors and inconsistencies. I’m eagerly waiting to hear my art teacher’s critique tonight!

Posted in: Tone | Tagged: acsa, black and white, charcoal, homework, katamari, Tone

The prototype

Posted on March 23, 2010 2 Comments

Last December, I started making a plushy version of everyone’s favourite crazy clump – the Katamari. To summarise the Katamari games in a few words, “you roll around a ball, picking up anything and everything in your way”.

The Katamari ball is basically a truncated icosahedron (fun fact, “truncated icosahedron” was briefly my nickname in year 5 as I was too nerdy to be a “square”). If you don’t know what a truncated icosahedron is, think of a soccer ball. In the Katamari, the faces that are pentagons become the knobbly nodes. To make my Katamari, I created a truncated icosahedron net based on one from Wikipedia, as my truncated icosahedron would exclude the pentagons.
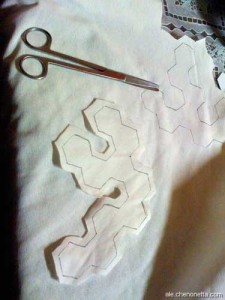
Cutting the material for the Katamari

The two net halves

After cutting out the two main sections of fabric, I started sewing furiously! It took most of the day, but I was able to sew together the nets, and add ten of the twelve knobs.
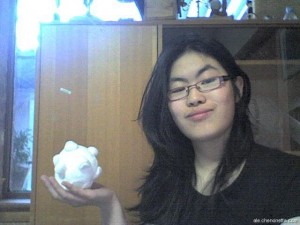
Me and my Katamari

Me and my Katamari

After getting that far, I left it. I wanted to add magnets, but had none on hand. The Katamari went to the back of my mind, and I was lazy in finding where to get magnets from. Anyway, last Thursday, I finally ordered some magnets and have put them in the Katamari. The result is quite satisfying!
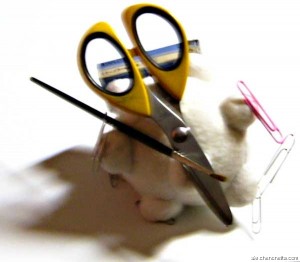
Tidying up in a messy way

Tidying up in a messy way

The Katamari can hold the scissors pretty well! It takes two magnets to hold them quite firmly, but the weight of the scissors can make the Katamari tend to fall over. This might behave a bit better when I add the final two nodes. For objects that it has trouble holding onto with magnetic forces, the nodes are distributed fairly evenly over the surface, so objects can be balanced quite comfortably between them (as is the case with the box of staples in the image above). Objects can also be balanced on ones that are stuck on, like the brush. So there are a few ways to make the Katamari hold objects, and the overall effect is exactly what I was aiming for. The Katamari makes a great pincushion!

There is still some troubleshooting left to go. I will have to think about how to colour the Katamari – whether to use a variety of coloured materials, or to use fabric paints. I will likely have to glue the magnets to the insides of the nodes. And I will have to work out how to get the last two nodes onto the Katamari neatly. After I get those things sorted out, I’ll probably make a number of Katamari and maybe even some Team Fortress 2 Sticky Bombs.

Posted in: Behind the Art, Crafts | Tagged: craft, katamari, process, prototype, sewing

Recent Posts

  • Cricut Hacks #2 – Template frames
  • Rainbow Eagles
  • Cricut “Print and Cut” Hack – print bigger
  • Reflections on Tableturf
  • “Pearl’s Palette” custom keycaps

Archives

  • April 2025
  • November 2024
  • August 2024
  • March 2024
  • November 2023
  • August 2023
  • June 2023
  • April 2023
  • January 2023
  • December 2022
  • October 2022
  • August 2022
  • May 2022
  • April 2022
  • November 2021
  • September 2021
  • August 2021
  • August 2020
  • September 2019
  • August 2019
  • August 2018
  • May 2018
  • September 2016
  • August 2016
  • October 2015
  • September 2015
  • August 2015
  • April 2015
  • February 2015
  • October 2014
  • August 2014
  • July 2014
  • April 2014
  • March 2014
  • February 2014
  • September 2013
  • August 2013
  • July 2013
  • April 2013
  • March 2013
  • January 2013
  • December 2012
  • October 2012
  • September 2012
  • August 2012
  • July 2012
  • May 2012
  • March 2012
  • January 2012
  • December 2011
  • November 2011
  • September 2011
  • August 2011
  • June 2011
  • May 2011
  • March 2011
  • January 2011
  • December 2010
  • November 2010
  • October 2010
  • September 2010
  • August 2010
  • April 2010
  • March 2010

Blogroll

  • Hallucinfection
  • Jp's Lab
  • Leaflocker
  • Telling Stories

Copyright © 2025 Chenonetta Creations.

Theme by themehall.com.