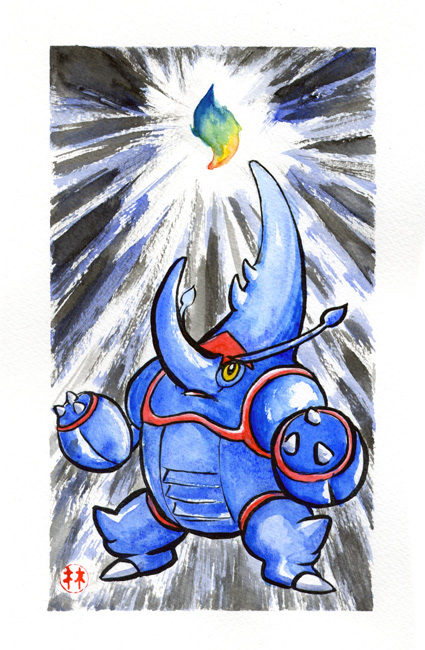
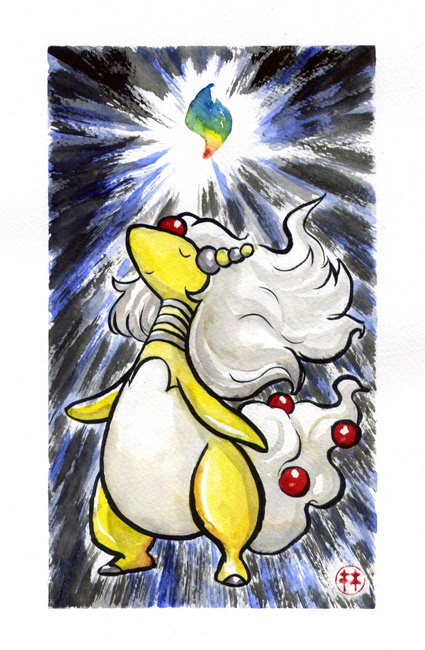
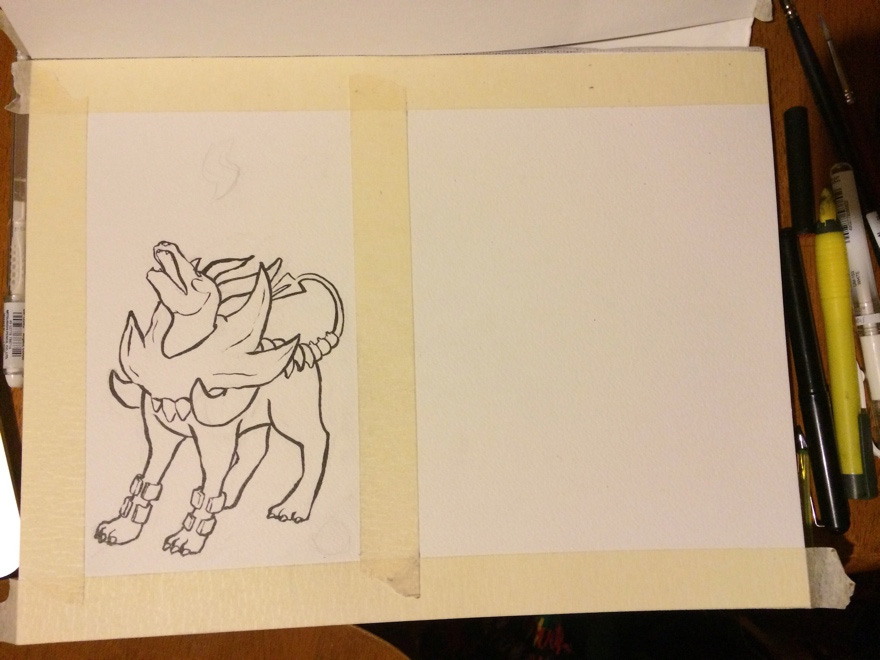
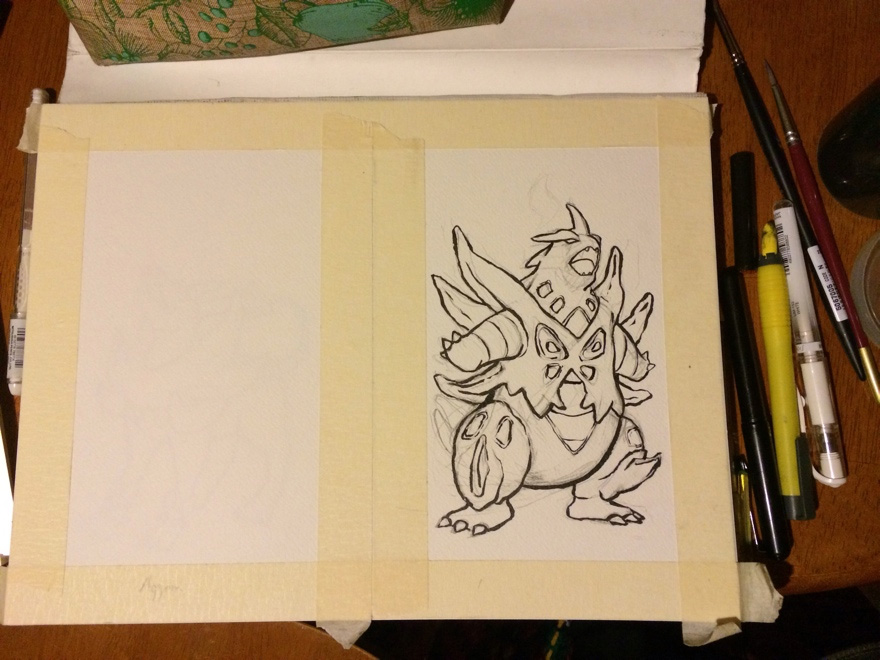
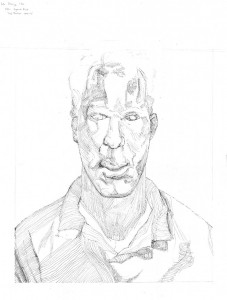
With the KoL calendar contest deadline extended by a week, I had just one weekend to put together a new painting. Here’s some pics from the working process and some explanations of choices I made along the way.
Thinking in 3D
Once I knew that my piece was going to be based on the fire-fighting world event, I knew I had to illustrate Lord Flameface’s castle. And I needed to do so from an awesome angle, showing off the foreboding, smouldering fortress. Lord Flameface’s abode was a delightfully simple assortment of blocks so I knew I’d be onto a good thing if I created a model of the fortress in Google SketchUp first. I’d then use the 3D model to experiment with perspective and composition.
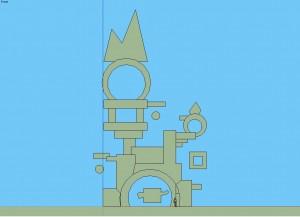
Straight-on view of the fortress model.

The camera angle chosen for the painting.
The Draft
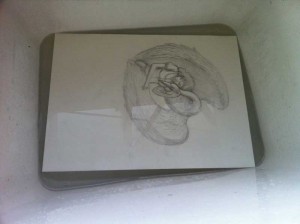
Using my lightbox drafting table, I traced the SketchUp lines onto a sheet of watercolour paper for a test-run. Since this was my first watercolour piece in many months I wanted to get to grips with the paints again, as well as identify any potential problem areas in the image.

I initially planned to place an adventurer at the base of the fortress all kitted out in firefighting gear.
I learned that anywhere I wanted to put the flames down I’d need to leave the white of the paper to shine through. I fiddled with basic portrayals of depth by shading surfaces differently but felt that I’d need something extra for the final thing to make the fortress look hot and fiery.
The draft taught me a bunch of valuable things and particularly helped in setting the pace for the final painting. I realised that I’d have to be patient with use of the blank ink and not hurry with getting the smoky greys in otherwise I wouldn’t be able to paint effective flames.
Additional Elements
I identified some of the areas in the draft that I felt were really lacking and areas I wanted to portray better. I then googled images of fire and hot coals as reference and practised these elements on another spare sheet of watercolour.

Onto the Real Deal!
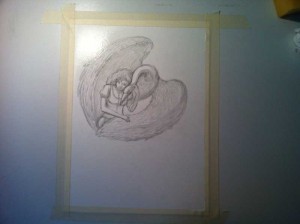
With the title for my painting decided, I opted to swap out the adventurer for Lord Flameface himself. On a new sheet of watercolour paper I marked out my margins and bleed margins, then sketched in Lord Flameface. I also traced in the fortress. Then, it was onto painting!

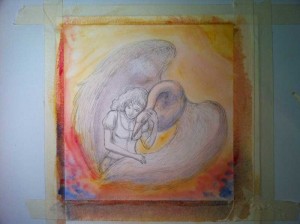
Underpainting in yellow.
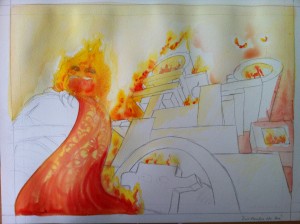
Introducing Reds.

I used Chinese calligraphy ink for the black, allowing me to drop in a lot of pigment at once and let it bleed about on the page.
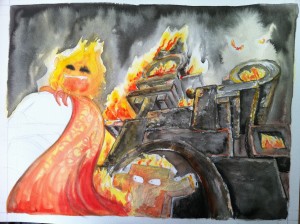
I let the sky dry before working on the fortress, to reduce the chance of the paint bleeding from the fortress into the sky. You can see the sky has dried a bit lighter than it was when the paint was first dropped in.
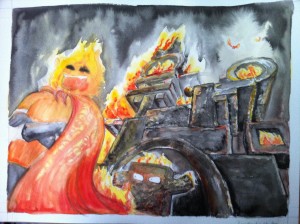
Final pass to finish off Lord Flameface and make changes to produce a cohesive image.
Finally, I scan the image and balance the colours a bit in Photoshop. The final result can be seen in Tuesday’s post.


