
Step-by-step: Faux floorboards using photoshop filters
I had a bit of fun yesterday trying to create a floorboard texture – I wasn’t feeling like drawing because my hands were a bit sore so I set myself the goal of doing things with just photoshop filters! Here’s a guide of how I achieved the look using just the Add Noise and Motion Blur filters.
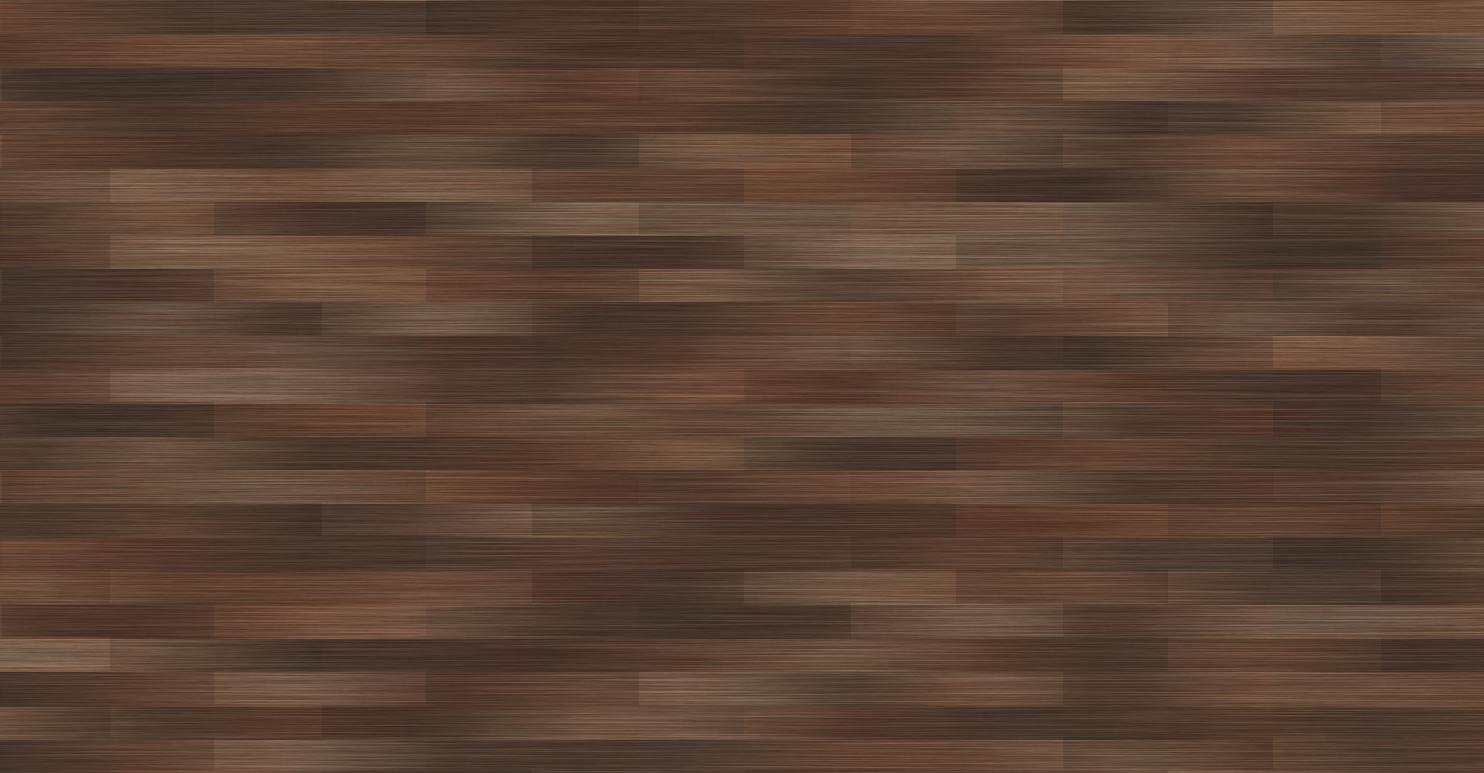
Here are the ones I made yesterday. Below I try recreating the method and providing a walkthrough. I think today’s recreation is a little less successful (I started too dark) but the concepts applied can be experimented with endlessly to create a variety of different fun textures!
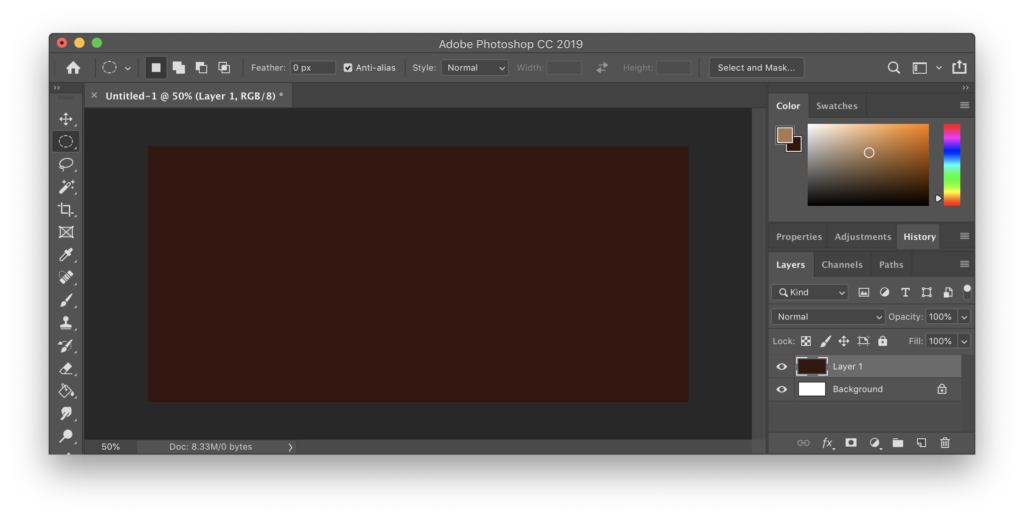
Step 1: Fill the canvas with brown
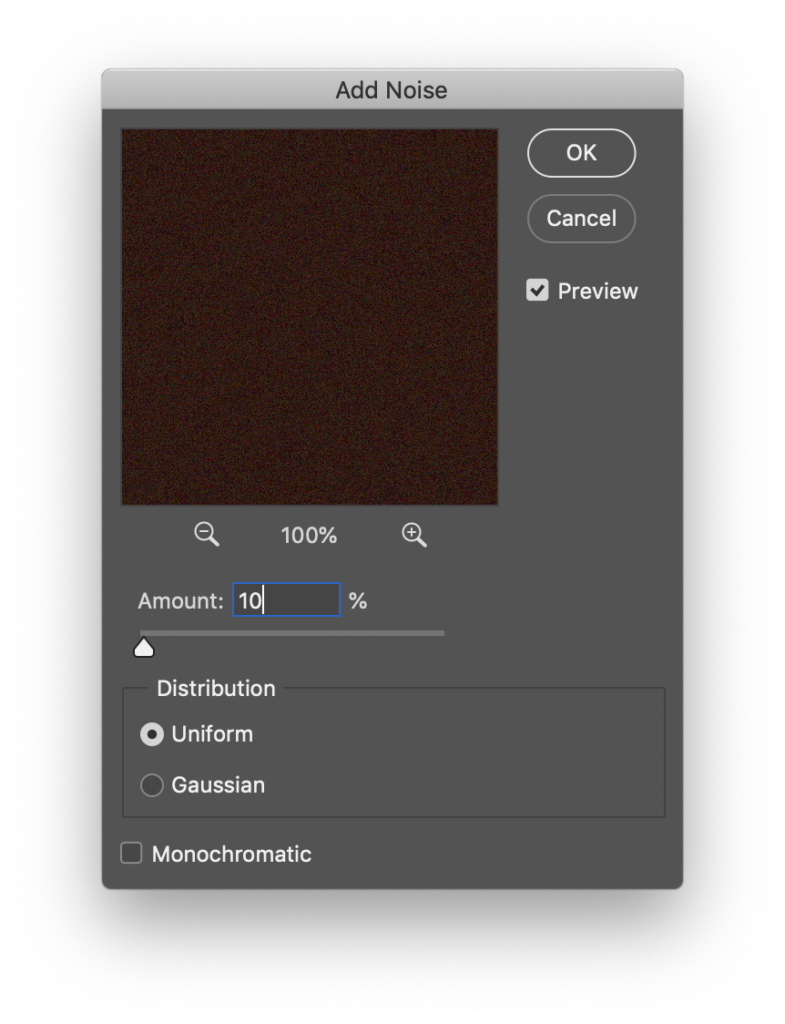
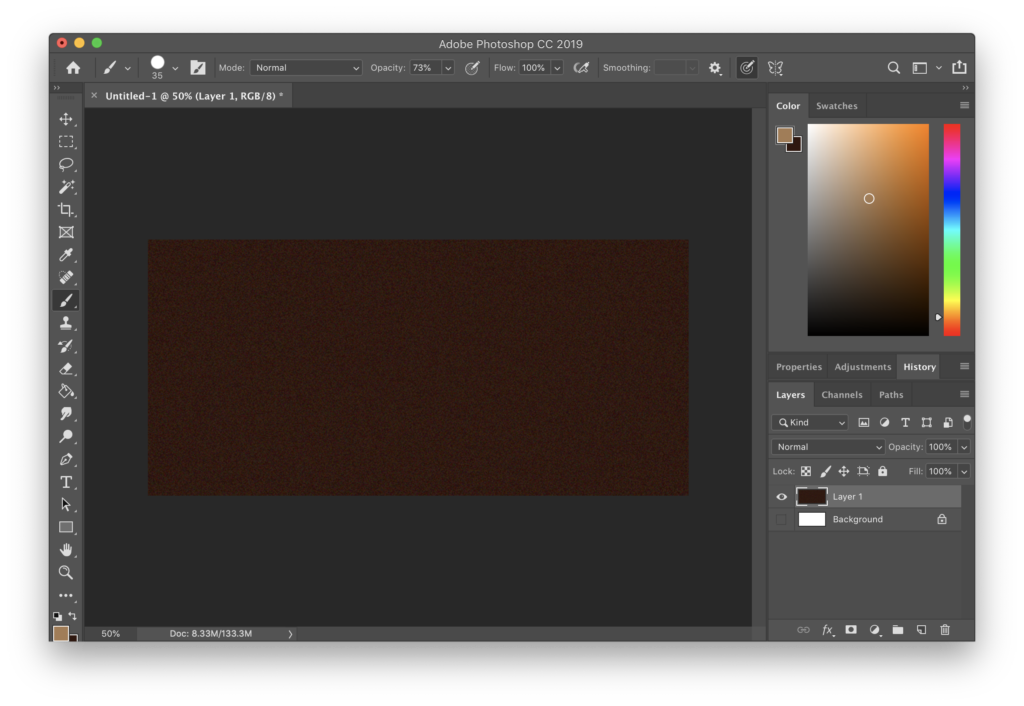
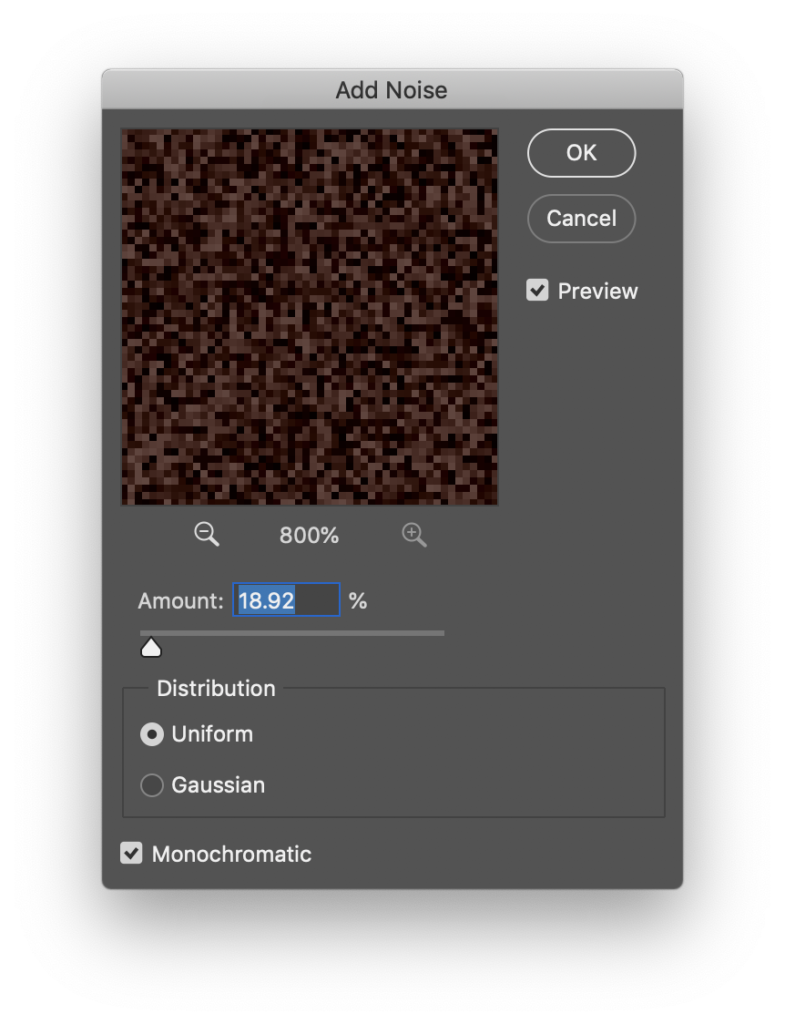
Step 2: Add noise – Leaving Monochromatic unticked at this point will provide a bit of colour variety. A low Amount % will still allow the brown to be the dominant colour.
Step 2.5 (optional): Select the whole area and enlarge it – this one has been scaled to about 400% of its original size. In this step the interpolation mode doesn’t matter as much, in later steps we want to use Nearest Neighbour interpolation to do enlargements.
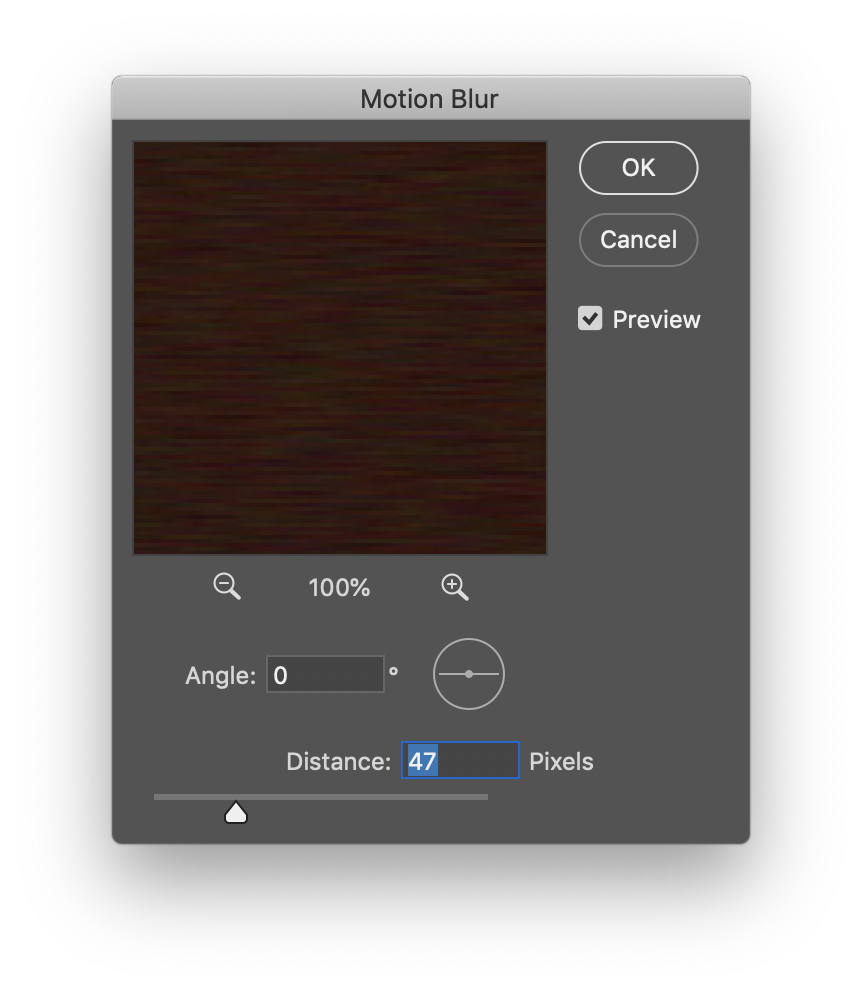
Step 3: Motion Blur. The distance of the blur will affect the grain of the “wood” 🙂
Step 4: Starting on the planks. Fill a new layer with brown again and then enter the add noise menu. This time I create select the monochromatic option
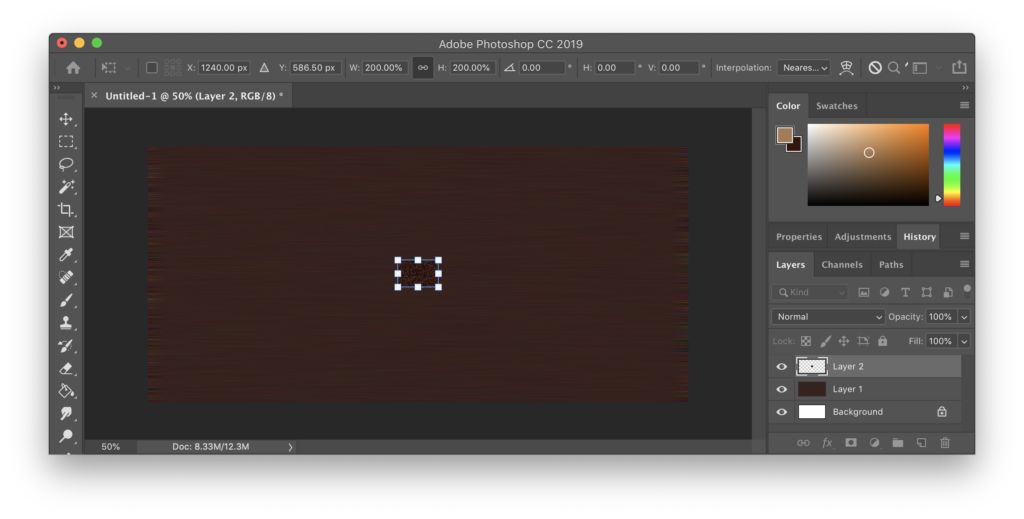
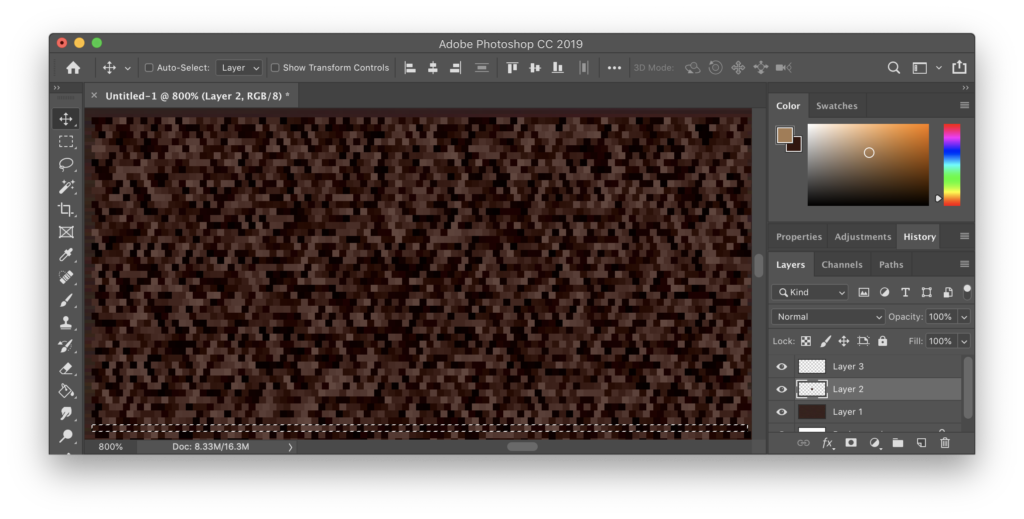
Step 5: Making blocky shapes.
Select a small area of the pixels and then enlarge them to 200% of their original size, making sure to use Nearest Neighbour interpolation.
Step 6: Offsetting blocks
Select every second row and displace them horizontally by one pixel.
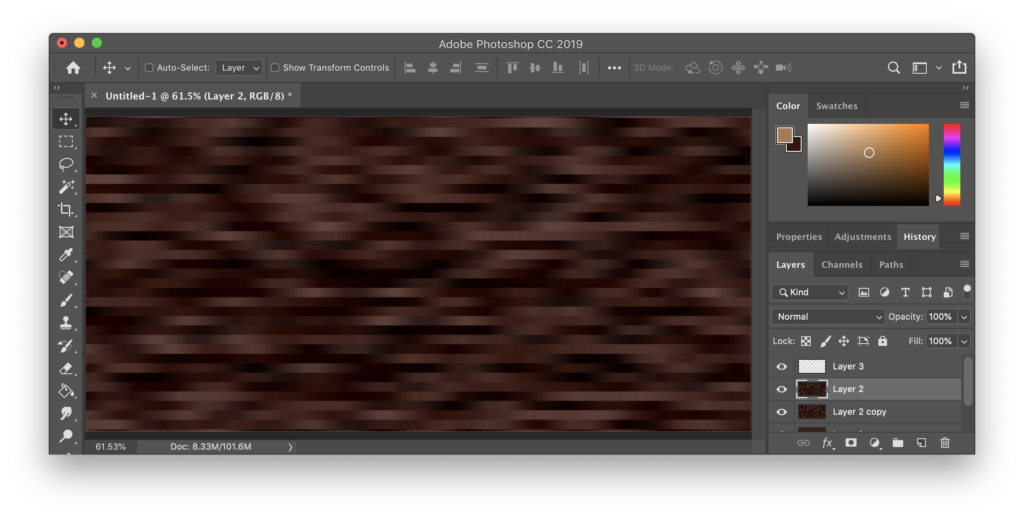
Step 7: Enlarge the planks.
Using nearest neighbour interpolation again, enlarge the planks. You want them to be wider than they are tall.

Step 8: Take a copy of this layer, then apply a motion blur to it.
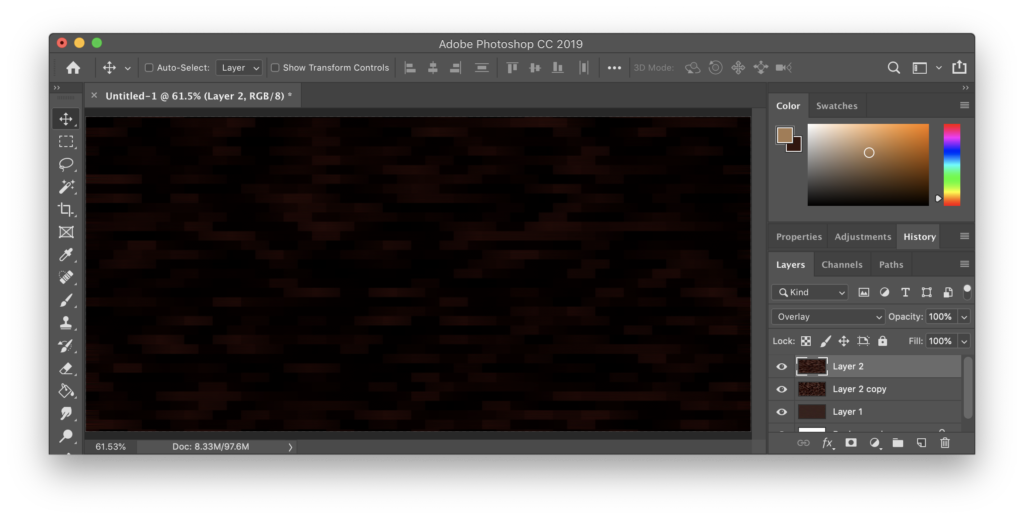
Step 9: Change the blend type on the layers. I recommend experimenting with overlay and multiply! I started this example using very dark colours so I now need to adjust them!
Step 10: Colour adjustments done. For this example I’ve just set the bottom layer to 50% opacity, the middle one to an Overlay blend with 20% opacity and the top layer to Overlay with 60% opacity. I’ve also stretched the middle planks layer so that the floorboards are much longer.
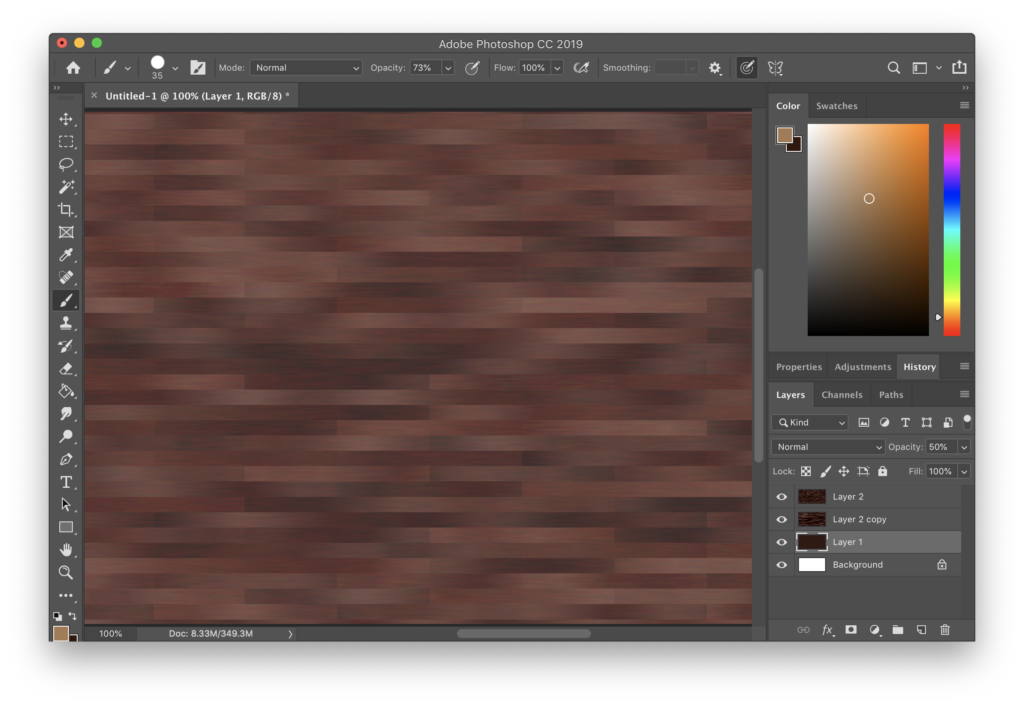
At this point you’re basically done. The edges of your generated floorboards will need to be trimmed, so make sure to plan for that.
You can adjust a few things to tweak the overall look of the floorboards – the lengths of the motion blurs, scaling the noise before the first motion blur, whether or not you add noise with the Monochromatic option ticked, and the pixel offsetting (try offsetting the overlay layers from one another so they don’t have the same highlights and shadows, or even use two completely different noise maps for each overlay layer!)
It’s worth also adjusting the colour balance of the two overlay layers too – the floorboards usually look better if there aren’t some really highlighted or dark ones sticking out.
And of course you can still do some manual adjustments to add more detail to your floorboards – maybe add shadows between them or add irregularities and whorls to the woodgrain.
Happy flooring!