The AVCon Booklet Comic: The Making Of
A step through of the creation of the booklet comic.
Step 0: I write a script. It starts from a bit of stream of consciousness as I play around with what the characters would say. I then split the script into scene and dialogue transitions – working out the pacing. Where would be the best spot to move the panel focus? How do I fit all this text onto the page? My original script gets sliced in a way that needs four pages. I revise and re-revise on this, now that I have an idea of the tone of the comic.
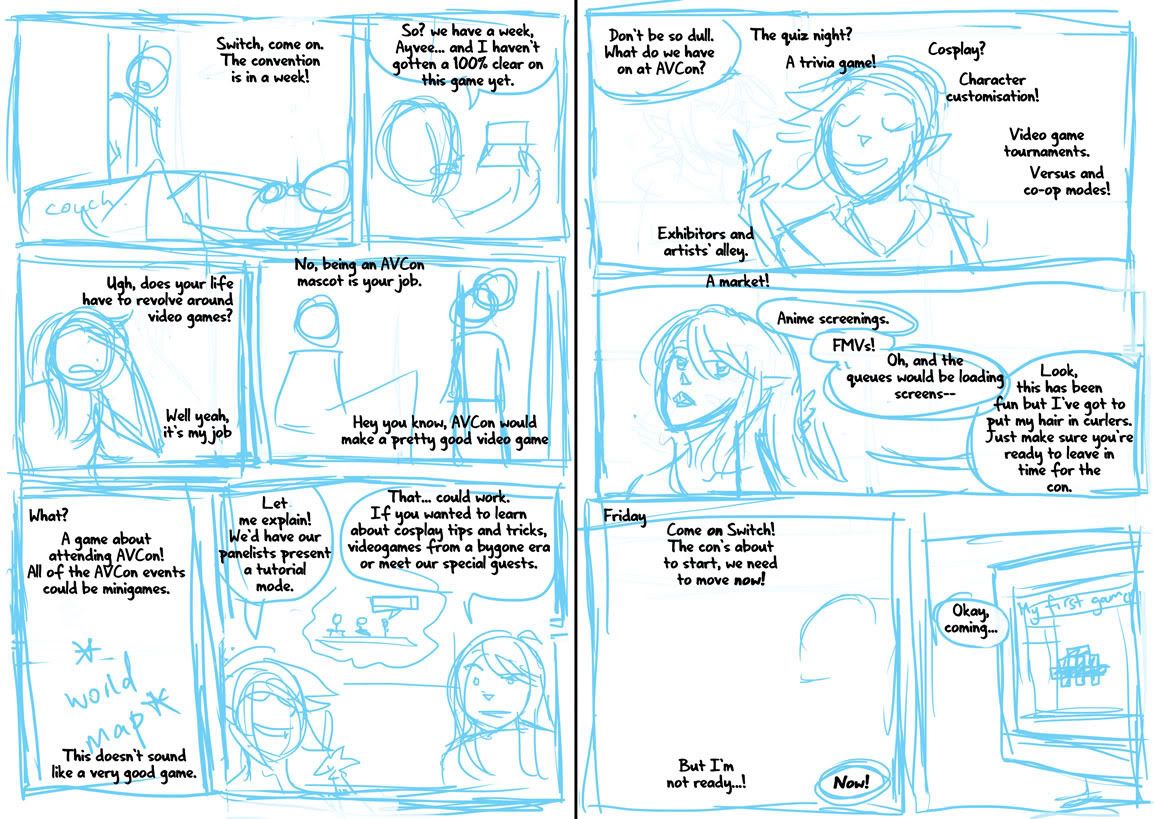
Step 1: Once I’m happy with the script (ie, once I realise that time is short and there’s no point in rehashing it if I’m not going to be able to draw the comic by the print deadline), I rough the panels. This really happens in tandem with step 0, as sometimes it isn’t clear how the dialogue is going to work and how the characters are going to feel on the page without doing some thumbnails.
I drew myself into a corner on my first attempt at the comic exactly because I’d failed to take into account the dialogue when initially imagining my panels. I’ll put up the failed page tomorrow.
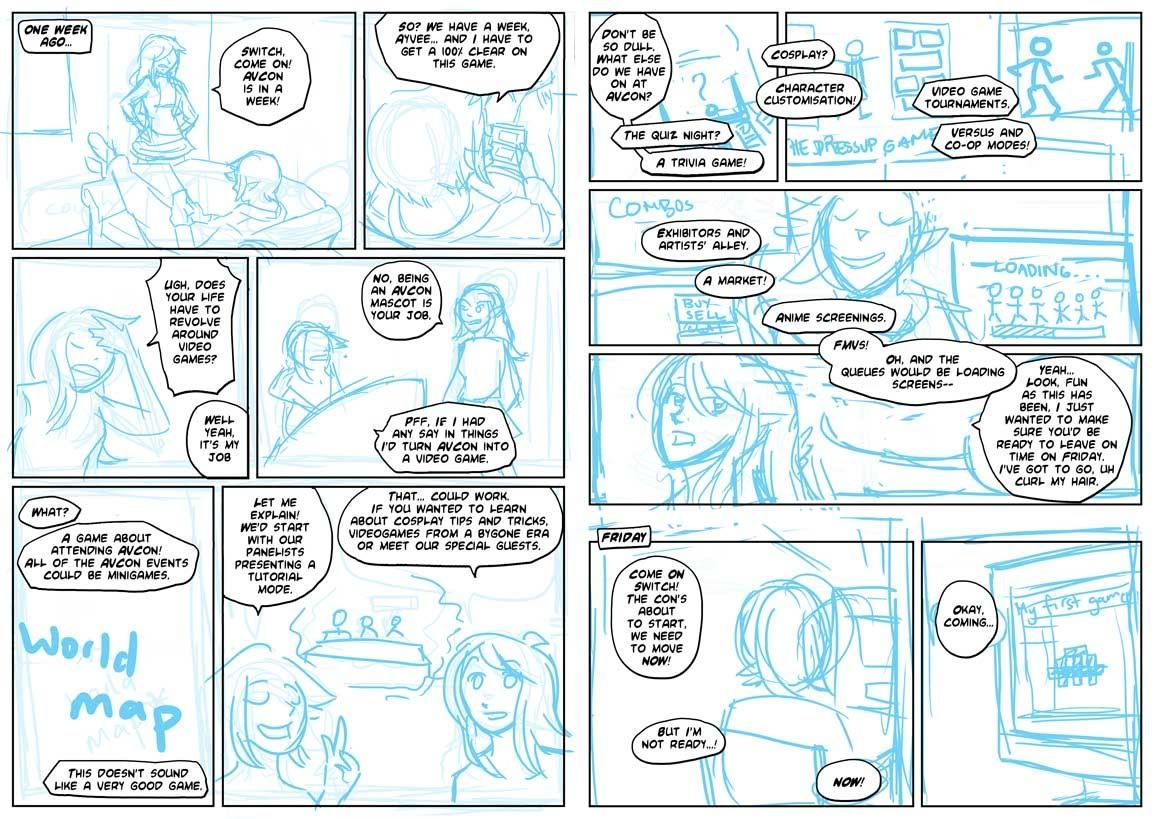
Step 2: I’m fiddling with the speech bubble style. I want to give off a bit of a manga feel, so I do some font-hunting and find one that looks good in all caps and has a lenient publishing/royalty policy. I also put some thought into the design of my word balloons – instead of going for perfectly rounded ones I emulate the dynamic shapes seen in manga. I also choose tall word balloons where possible, like those used to accommodate the vertical dialogue in Japanese works.
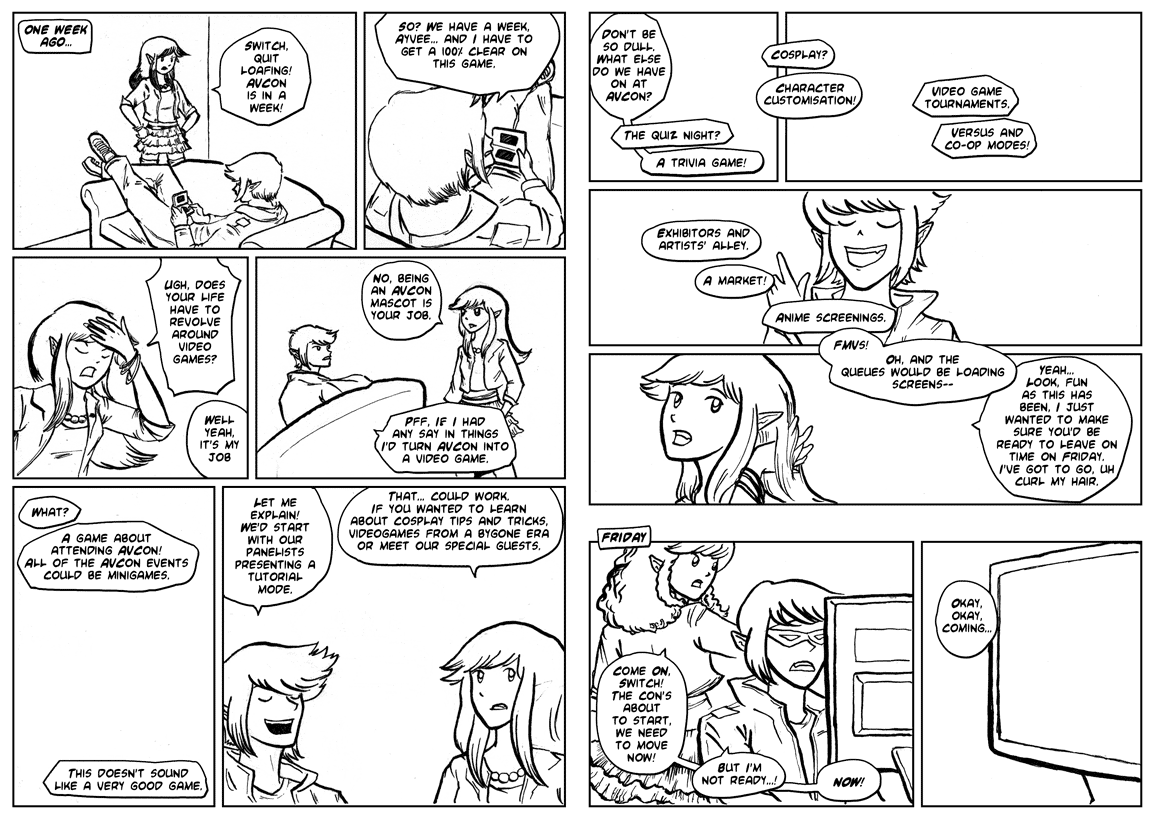
Step 3: Inking. I’ve taken the blue roughs, printed them onto watercolour paper, and inked over them using a dip pen. I enjoy using the dip pen to create the lineart as it’s easy to manipulate line weights and I get a really crisp line. I’m also coming up against time – so my choice to go with real media is to force myself away from obsessiveness about perfection. There are flaws in this lineart, but at least I’ve gotten it done.
Step 4: Corrections. Errors and untidy lines are tweaked in Photoshop.
Step 5: I’ve printed out the new lineart again. The mistake? Doing it on my inkjet printer, which I’d previously found to be acceptably waterproof when working over light print like pale blue, but which has obvious bleed issues when using black ink. I’ve also lost a fair bit of detail in the lineart.
I’d used my inkjet to save time and because I’d had other issues with painting on laser printed lineart in the past. The answer is probably to just work on the one piece of paper from start to end, but I did need to make corrections throughout this piece so it wouldn’t have been the right solution in this case either. Perhaps I should do colours first and lineart last?
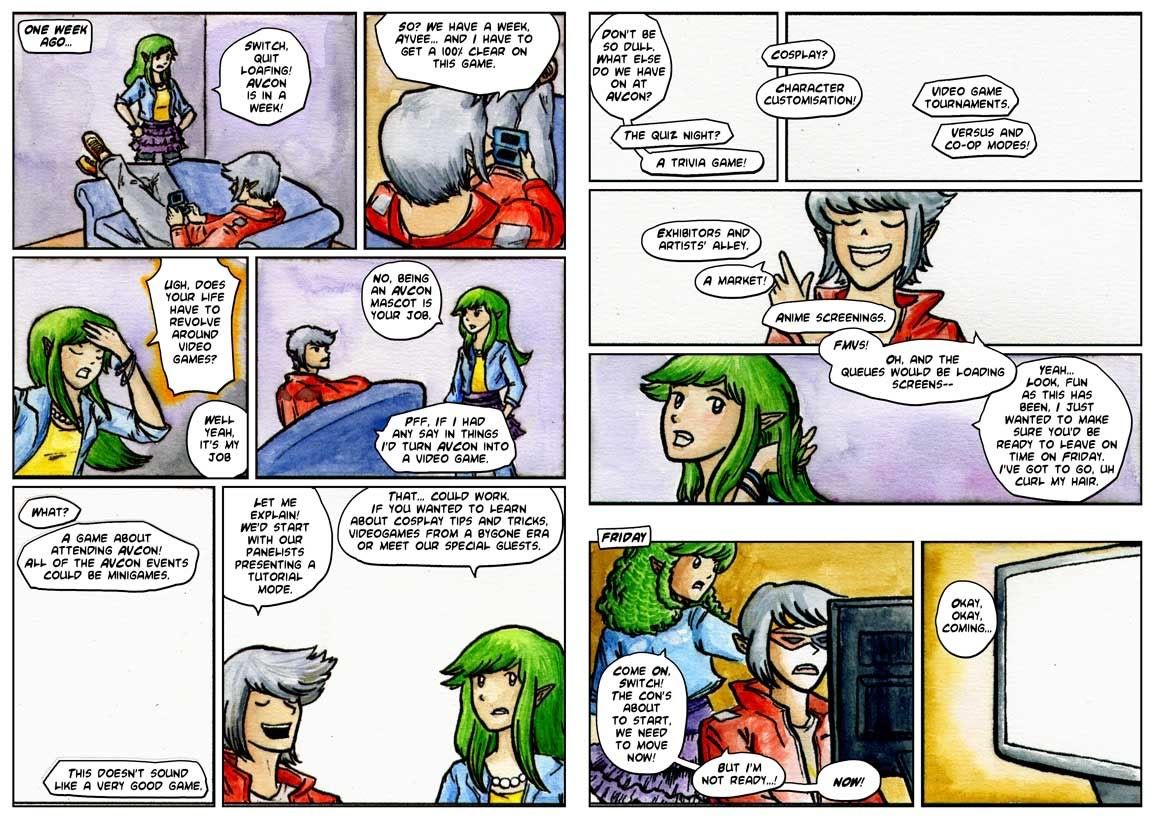
Initial colour choices here. The important one was making the distinction between the first and second scenes. My panel layout shows a passage of time through the wide gap between the third and fourth rows of the comic in the second page. The colours serve to further emphasise that the characters are in a different setting.
Step 6: I’ve finished most of the colours, and this isn’t so much a step as an experiment. Here I’m trying to restore the original lineart that got ruined by the poor print quality and the bleeding of the inks that happened when I was watercolouring over them. I’ve done some Photoshop magic to try fill the blacks in based on the colours around them and have laid the original lineart over the top. It looks crisper, but the colours that were evident where the colour meets the black are lost, and many areas appear washed out or to have a weird rim around them.
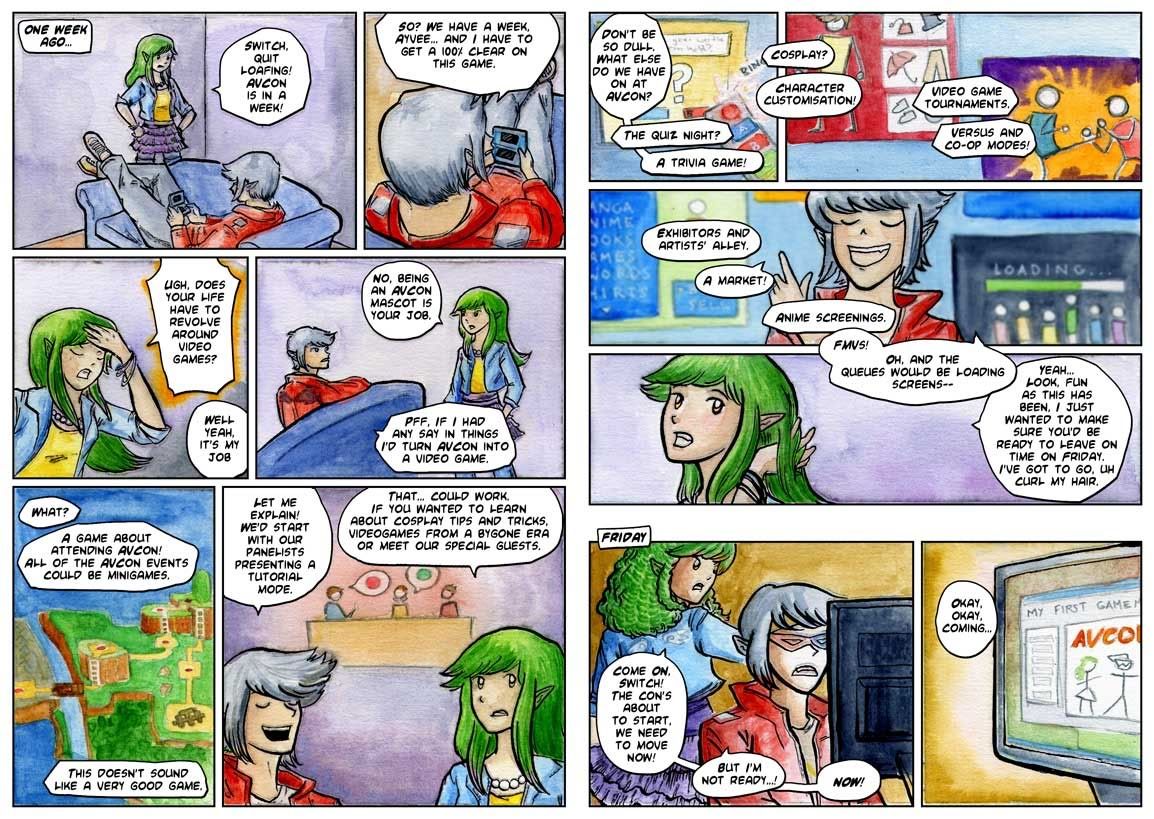
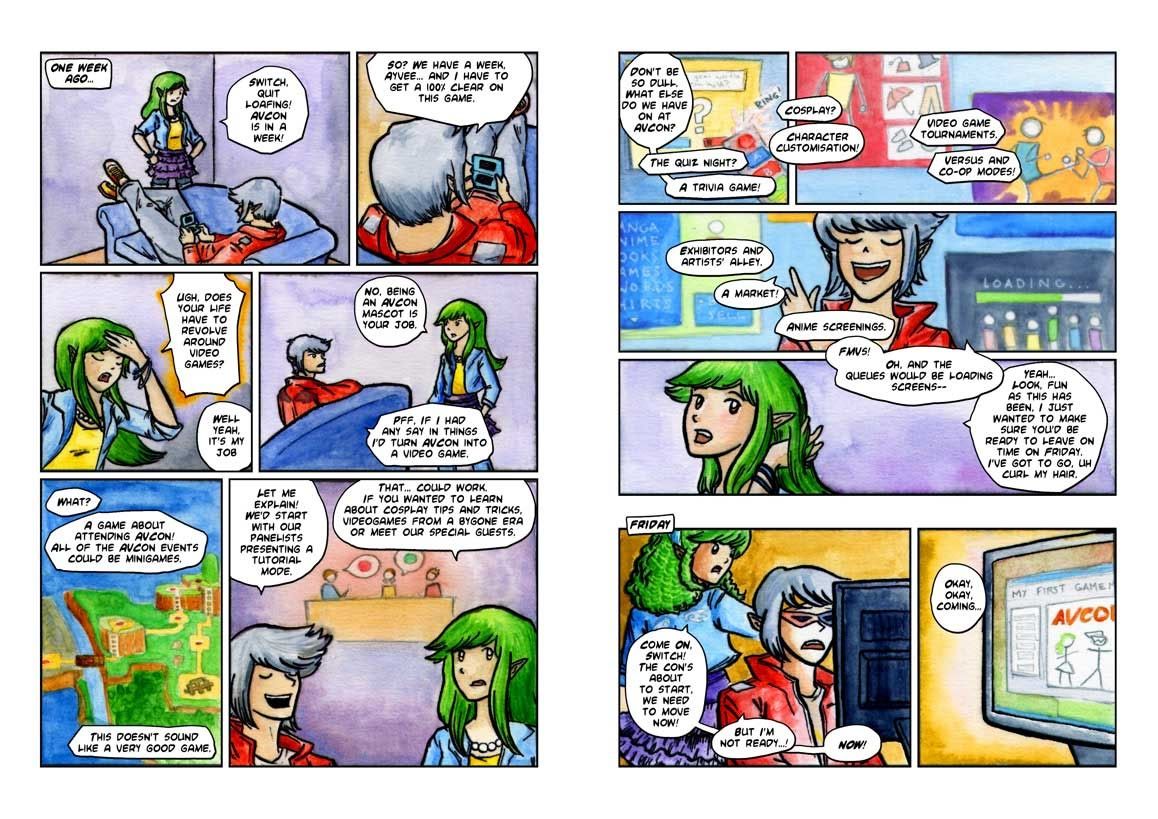
The finished comic
I decide to not bother with a perfect lineart restoration as some areas where the colour meets the lineart actually rather appeal to me. I focus on cleaning up the areas of highest detail and where the restorations are easier. Also, I’ve added Ayvee’s bow in the second-to-last panel digitally, making sure to get the texture of the colouring consistent.

