A little while before Blaugust started, I found myself with the itch to pick up art projects. I guess I saw Blaugust on the horizon and wanted to bulk up on content.
On Twitter, I saw a bunch of animation students needing people to work on content for their animations. That was seriously tempting, then I remembered the pressure of being responsible for people’s uni assignments (something I had some experience with when doing laser cutting jobs a few years ago) and I cooled on it a bit.
After that, I saw someone in the PAX Australia Enforcer group asking for someone to draw up some maps and logos for their DnD game. That sounded pretty nifty, and would flex some skills that are somewhat weak for me.
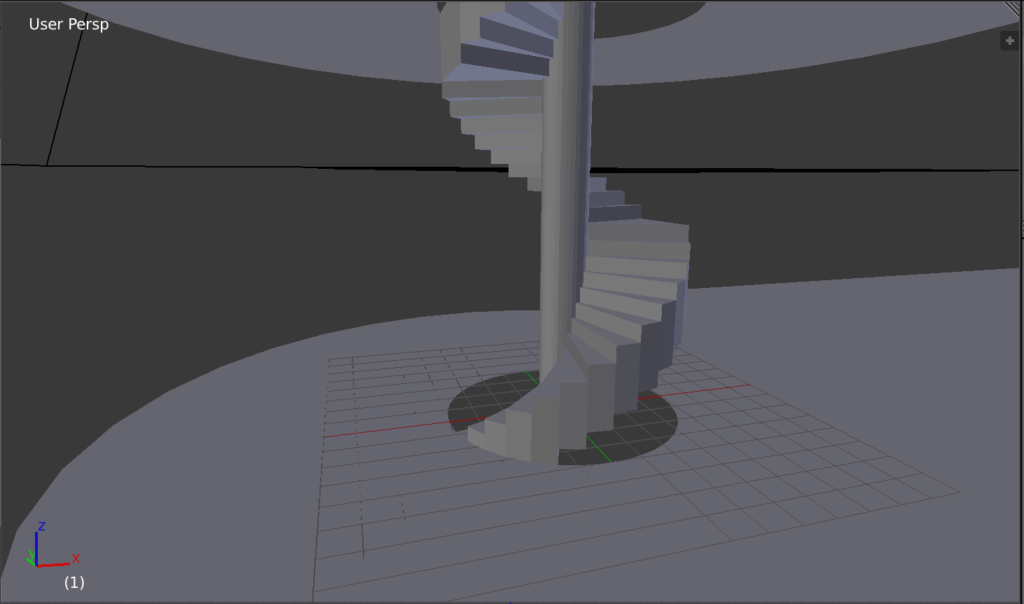
They sent over a hand-drawn map which included descriptions of a building with a number of floors. I initially decided I’d try modelling it in 3D. Here’s a close-up of the staircase, which was a fun little puzzle to try to solve.

The 3D floorplan really wasn’t working and it tripped me up a bit. So I decided to go back to basics – draft out the floorplan in Illustrator and then draw in details in Photoshop. I improvised somewhat with the rooms as the initial sketches just described a run down interior. You’ll recognise the floorboards from an earlier post!

Eventually, working in Photoshop and making adjustments to the actual layout of the building got quite cumbersome, especially when the interior walls needed to be changed to be wooden panels rather than stone. Maintaining both the untextured Illustrator version and the textured Photoshop one became a pain, because my Photoshop layers would no longer match up to my vector outlines.
I moved as much as I could back into Illustrator. For the walls, I used a number of appearance modifiers to create the lines. A single path therefore displayed its texture and a dark outline without me needing to draw in any fills. This made readjusting stuff much easier!

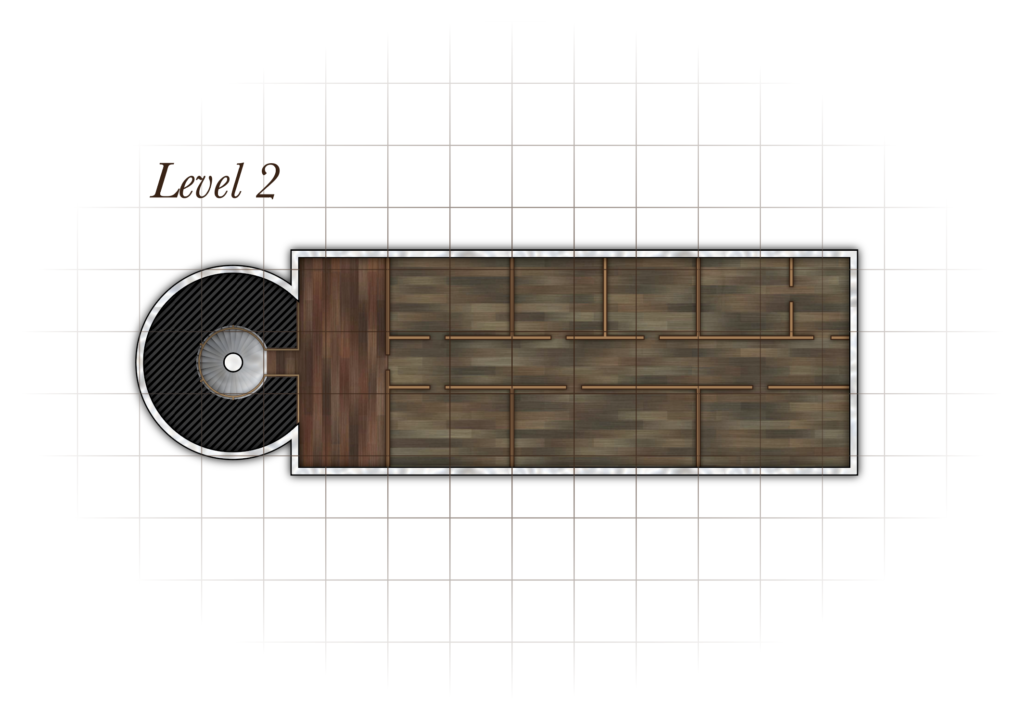
Here’s the completed floor. We left these rooms bare as the players will be furnishing them.
Since this is now a vector artwork I lost the crinkled paper effects that I could achieve by using a displacement map + multiply layer in Photoshop, but there’s nothing stopping me from just doing that as an extra step at the end of the process.

I learned a lot while drafting this floor. However I’ve been quite slow in turnaround time. The requester has been very patient with me!
I’ve since asked for their permission to post the work on the blog so if we do future floors I will be able to utilise them as my daily blog posts. That way I won’t be trying to do a daily sketch AND make revisions in the same evening.
