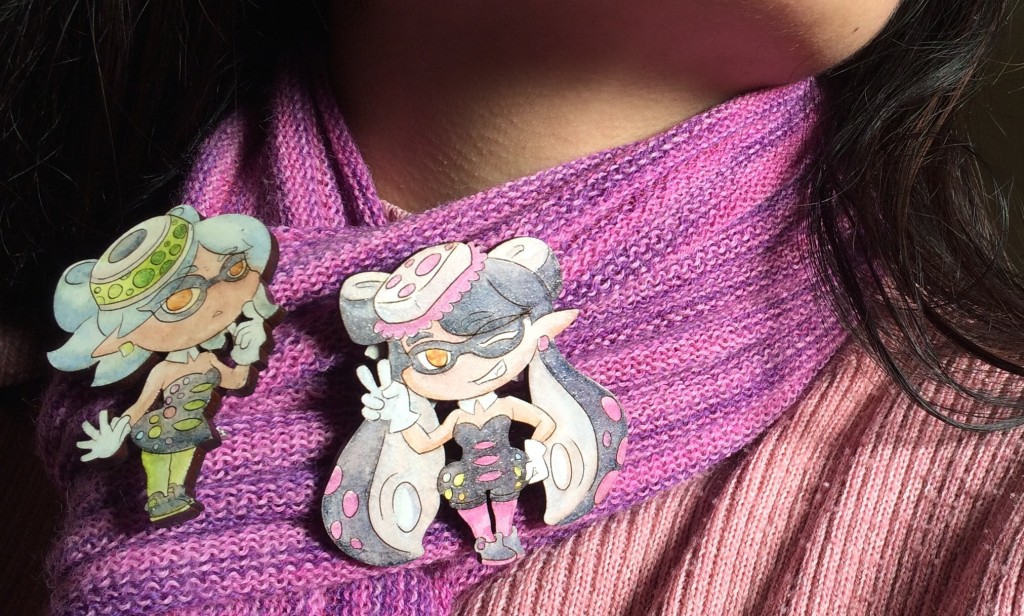
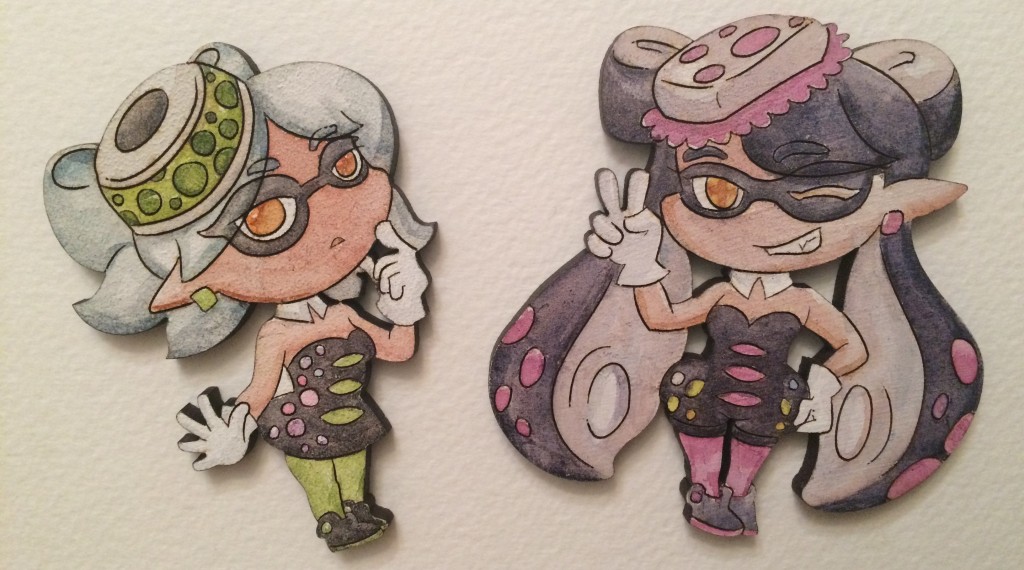
Hand-Painted Callie and Marie Brooches
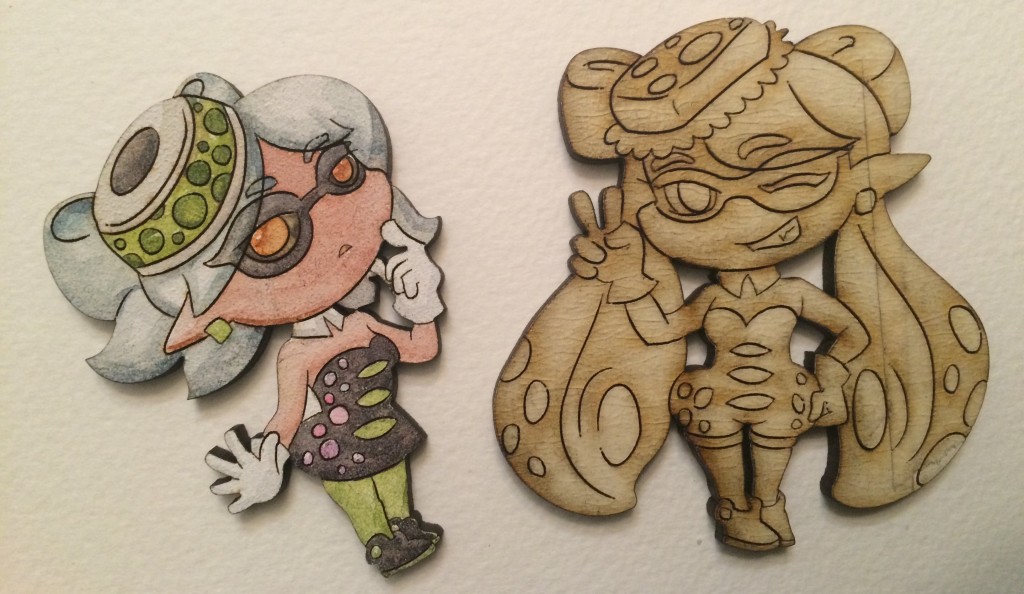
As promised, here’s my next experiment in laser-cutting + watercolour detailing. I’m really happy with the results!
Here are some extra pictures to show you the process from idea to finished product.
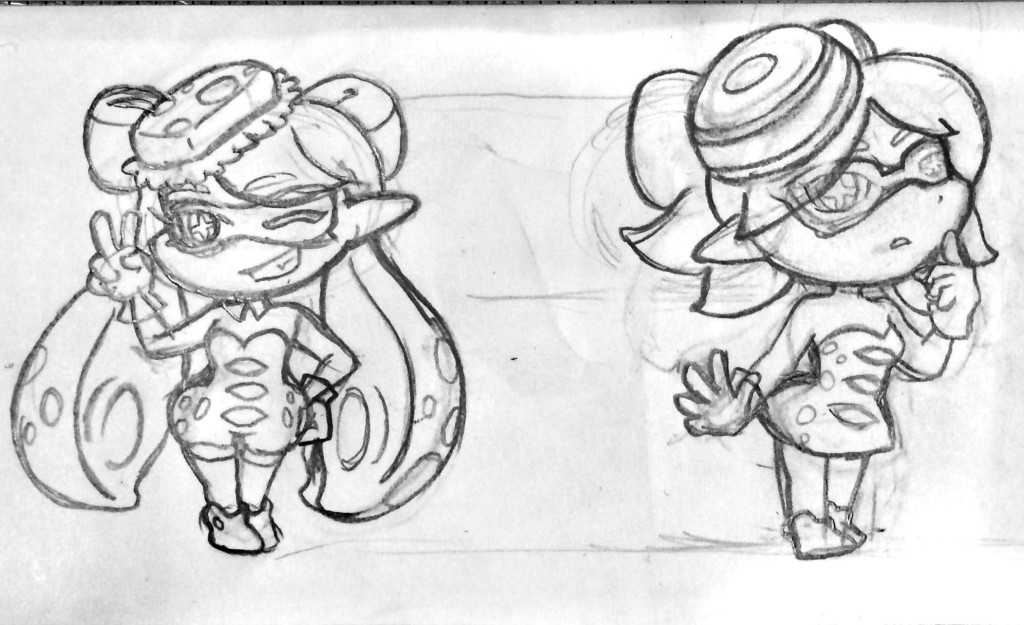
As usual, it all starts with a sketch!
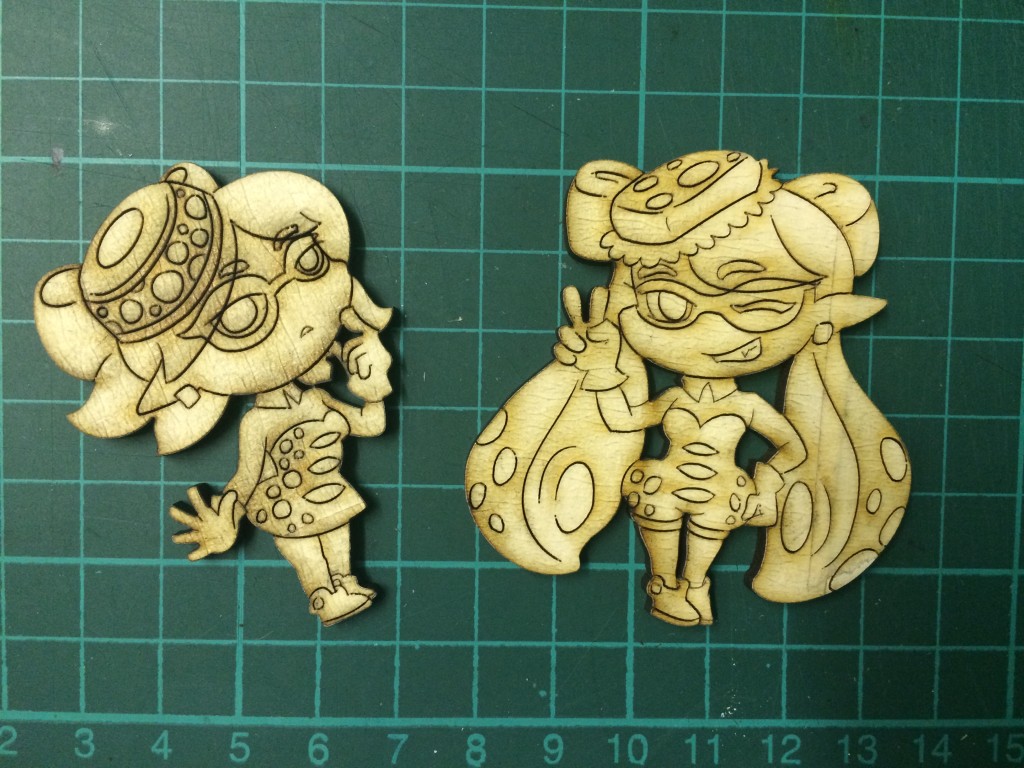
Once I’m happy with the sketch, I trace over it with vector lines in Illustrator and use these to laser cut my designs. Remember what I said yesterday about priming the MDF and masking it? I do the exact same thing with these!
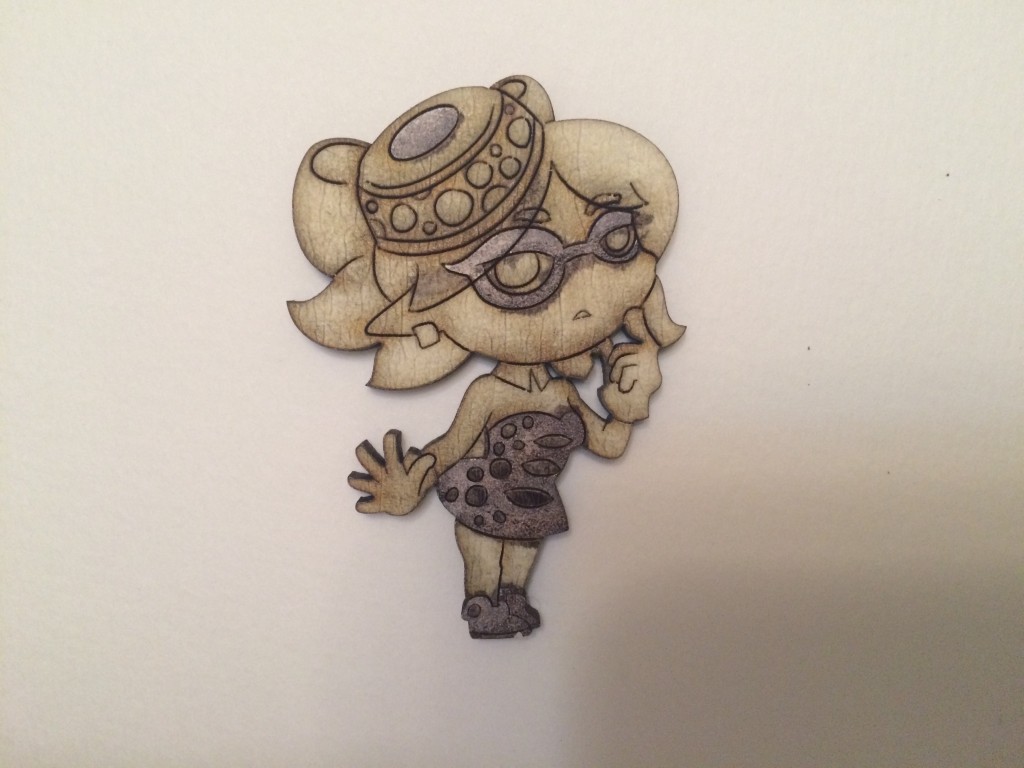
The technique for painting these is also the same as in yesterday’s post! I peel the masking off each area that I want to paint, going from darker colours to lighter ones. I then apply colour in careful washes of watercolour paint.
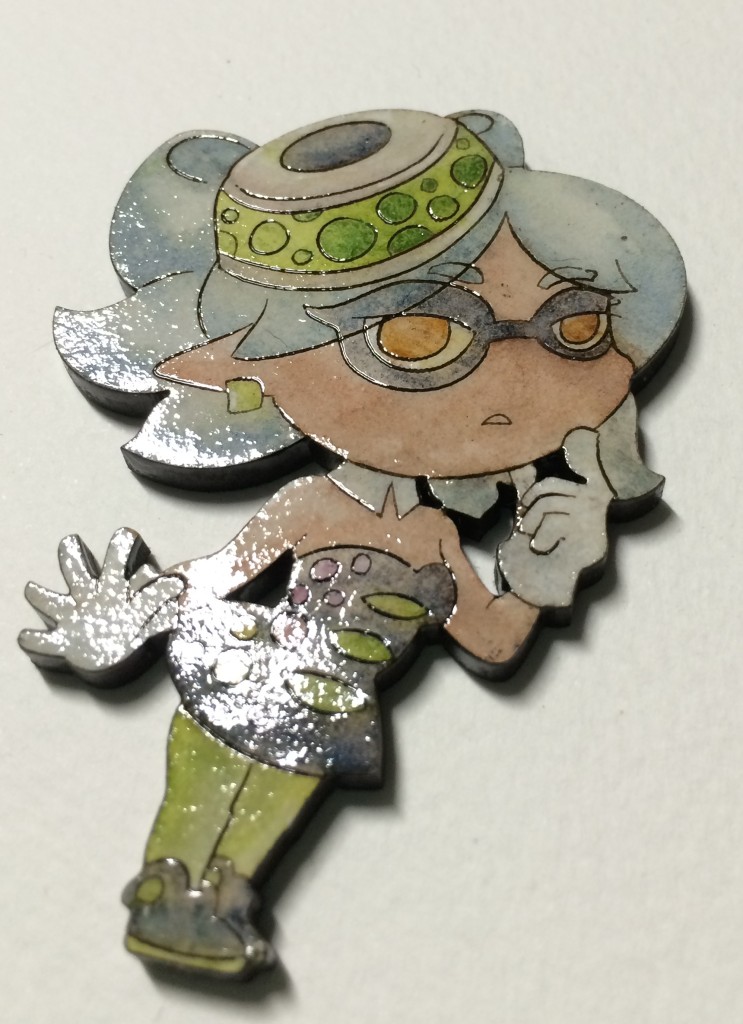
Once they’re done, I apply a gloss varnish over them. This protects the watercolour paint and gives things a nice smooth feel.
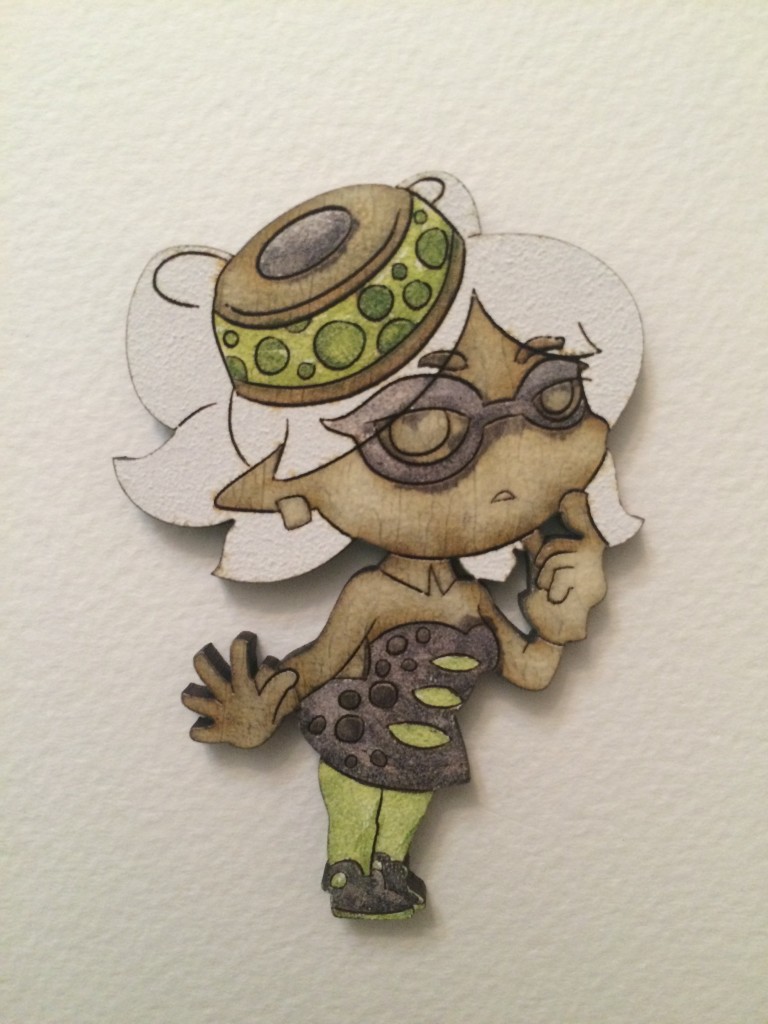
I need to work out a good process for sealing the paint before putting the varnish on, as you can see with the picture below some of the colours bled or faded a bit when I put the varnish on.
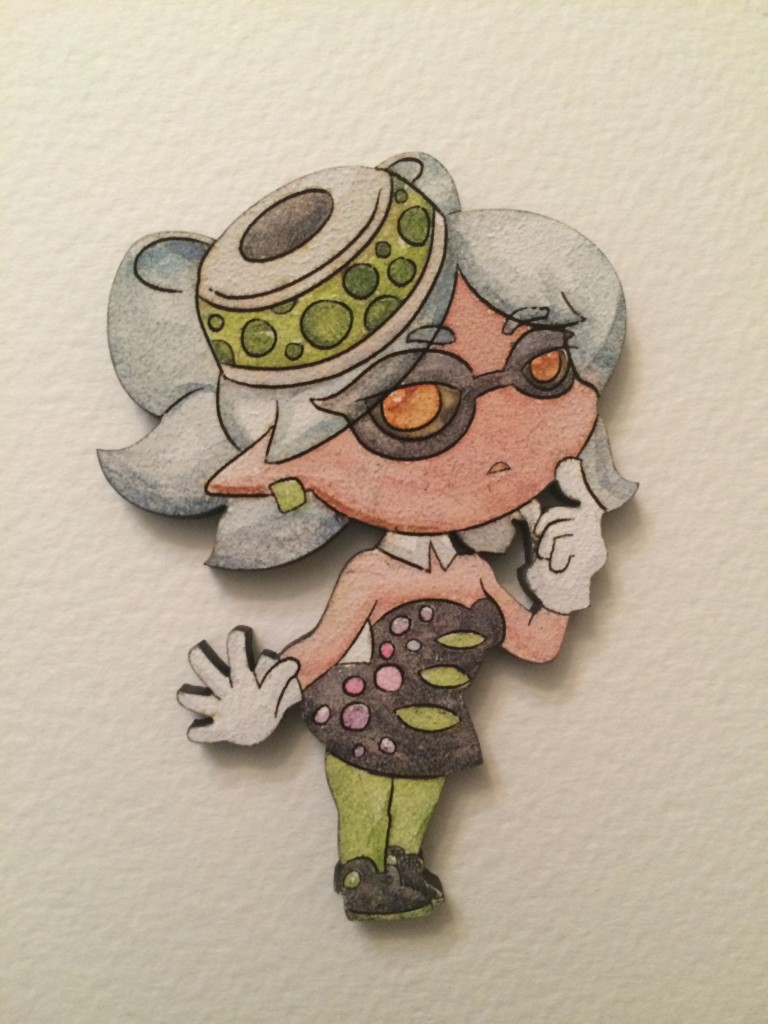
There’s some variation between each piece – even though they have the same lineart they are each hand painted and finished!
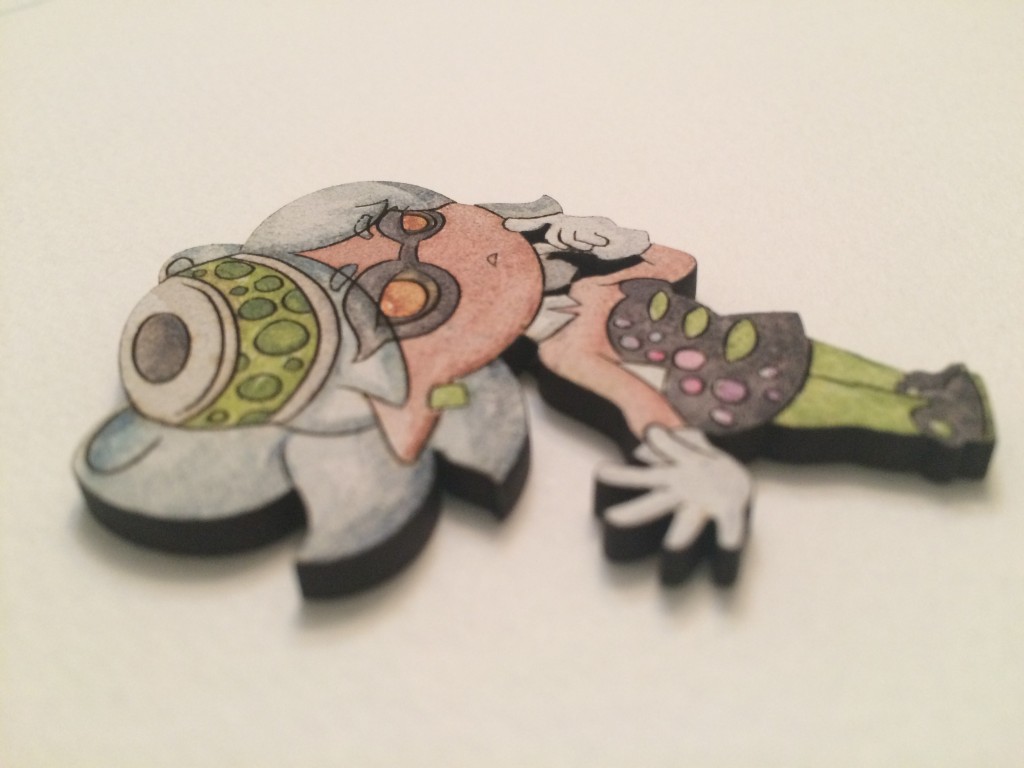
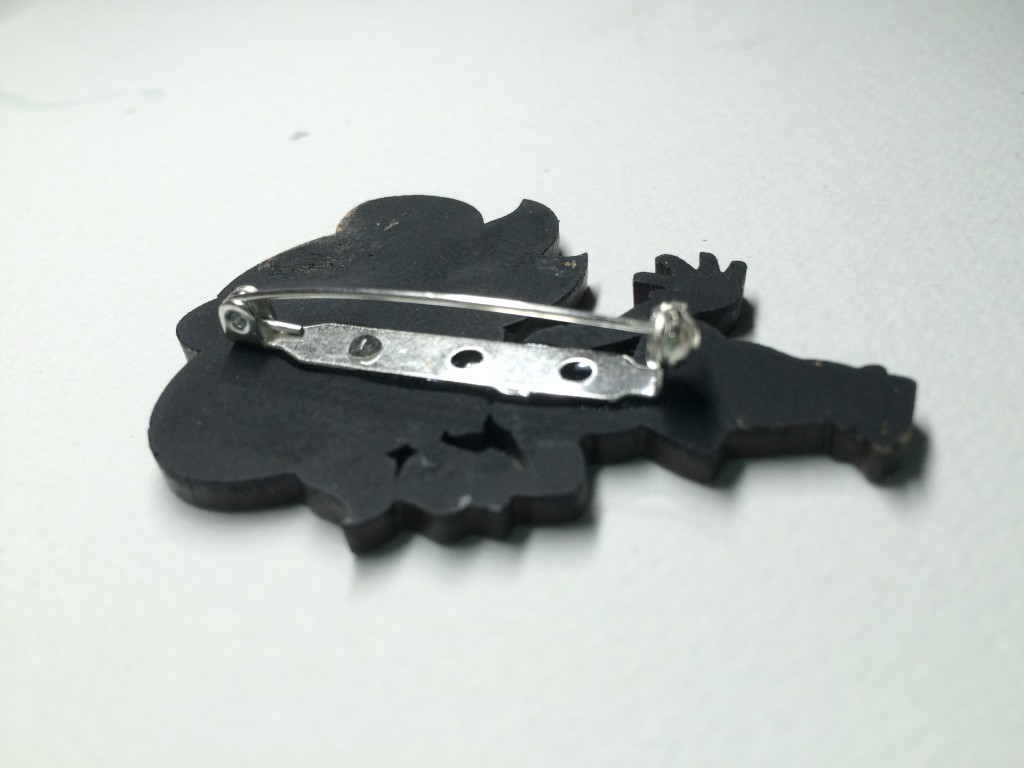
Pins on the back so that I can use them as brooches. I’m also testing to see if they are durable enough to use on keyrings.
Okay that’s all for today – Stay Fresh!

