I’ve frequently felt constrained by the registration marks that the Cricut uses.
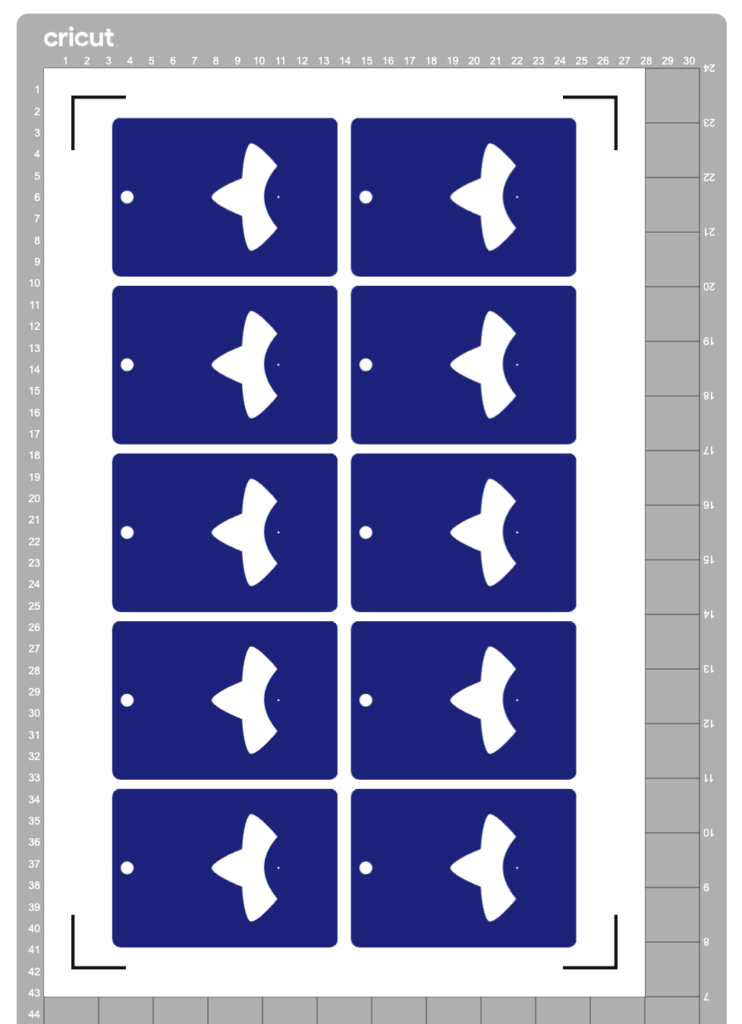
Understandably, they need to be bold and have a quiet region around them so that the cutter can determine where to line up its cuts.
Cricut also currently only provides 4 preset page sizes to print on, and again seems to assume rather generous print margins.
All these things added up mean that sometimes it’s not possible to place as many pieces on a page as you want. In the example above, I had to use a Tabloid paper size to convince Cricut to let me place the ten objects.
I reckon I should be able to fit even more of them in, and I should be able to do it on an A3 page. But Cricut says this layout is too large, despite the design itself being comfortably smaller than an A3 sheet.
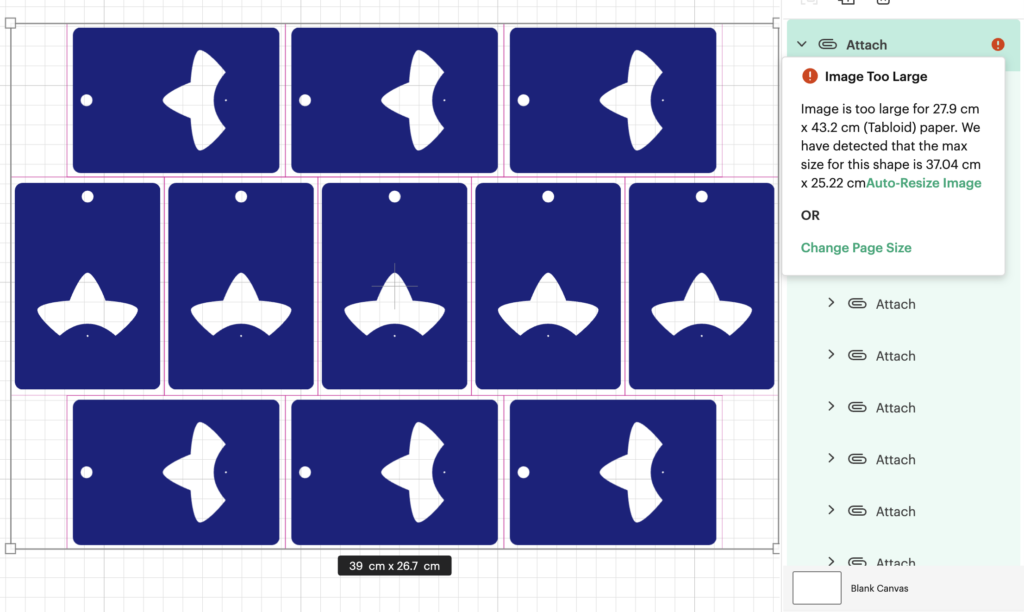
(I’d actually love to fit even more than 11 onto an SRA3 page but making that layout work has so far eluded me, so let’s start with this hack first before trying anything more extreme.)
I discovered this hack by accident. I had taken my sheets to be printed at a print shop and they messed up the scaling. My pages came out about 3% smaller, but my Cricut didn’t complain. It happily executed the cutlines 3% smaller too. Evidently, there’s a generous margin of error for scaling.
So let’s use that to our advantage.
Step 1: Downsize the design in Cricut Design Space
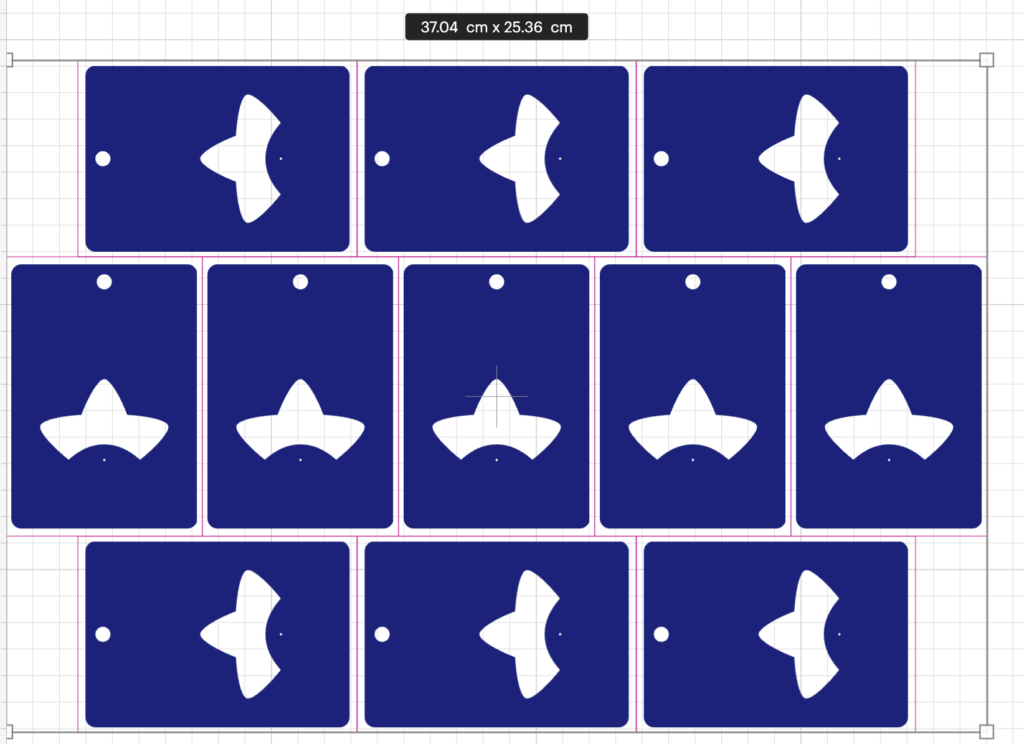
Let’s humour Cricut by scaling the offending design to its recommended size.
(I suggest also keeping a copy of your original design to the side, in case you want to make changes at the original scale. To prevent the app from blocking you from proceeding to the “Make” step, hide the oversized objects.)
Step 2: Print to PDF
Click the “Make” button to proceed to the mat preview.
Do not move the designs on the mat – leaving things in their default position makes for the easiest alignment if you want to exit the Make step and return back to it again. Click “Continue”.
Open the “Print Setup” panel by using the “Send to Printer” button.
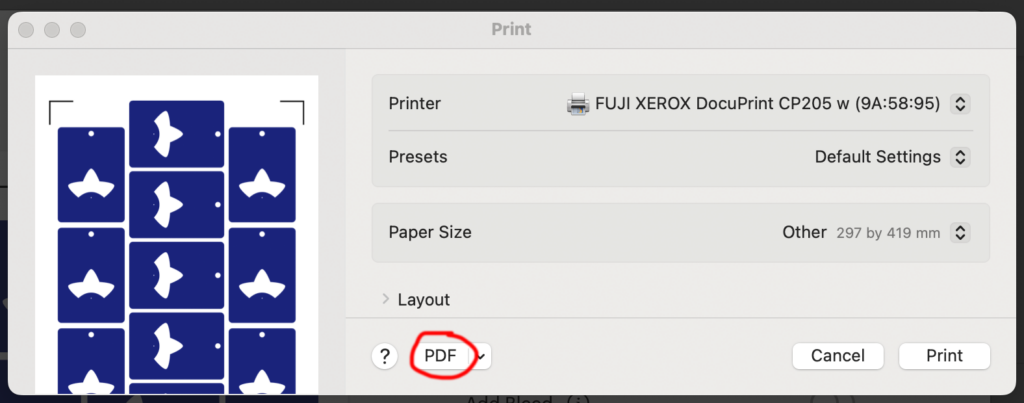
In this panel, select “Use System Dialog” to print your file to a PDF
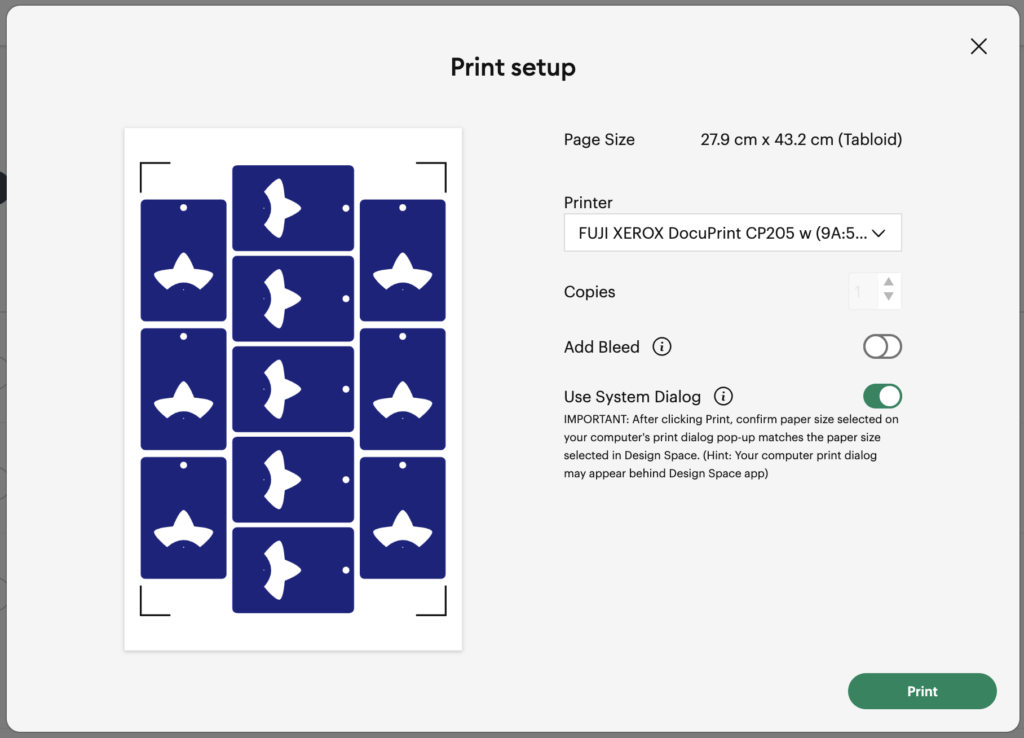
On MacOS, the print dialog always appears behind the Design Space app, so drag the Design Space window out of the way when the “Preparing Print” spinner appears. Now save your file as a PDF instead of printing it.
Step 3: Scale up the PDF
It’s time to do some maths.
We originally had a design that was 39cm on its long edge, but we scaled that down to 37.04.
That means we now want to scale this file up again to be 39cm.
39 / 37.04 = 1.05291576674
This is a little more than 5% larger, which so far I have been able to make work. I don’t know what the upper limits of this technique are.
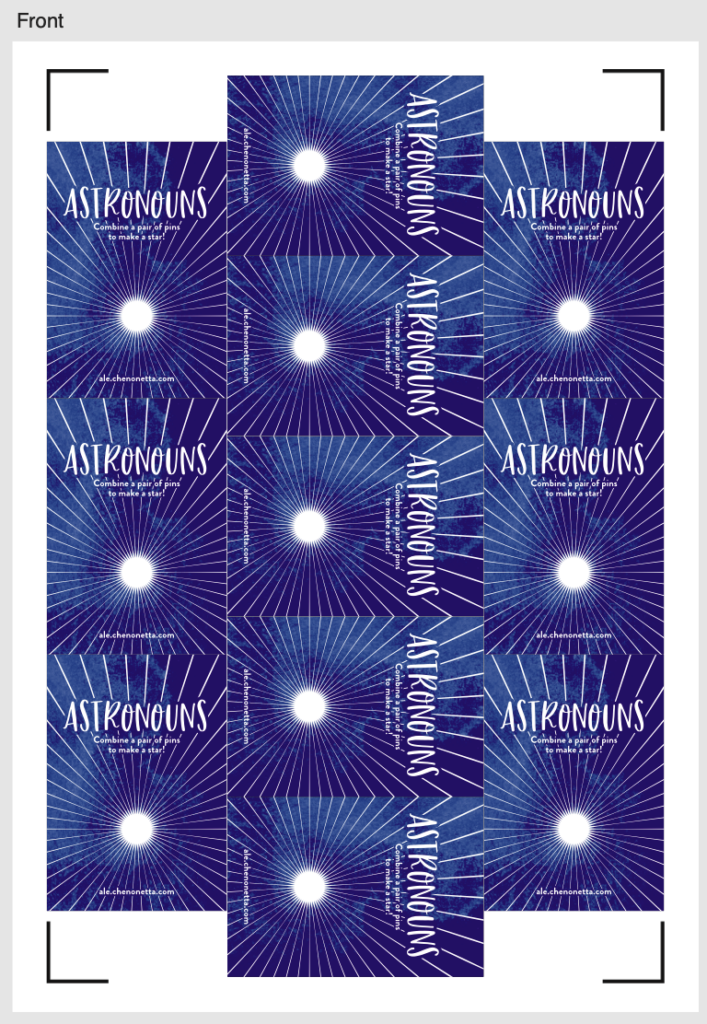
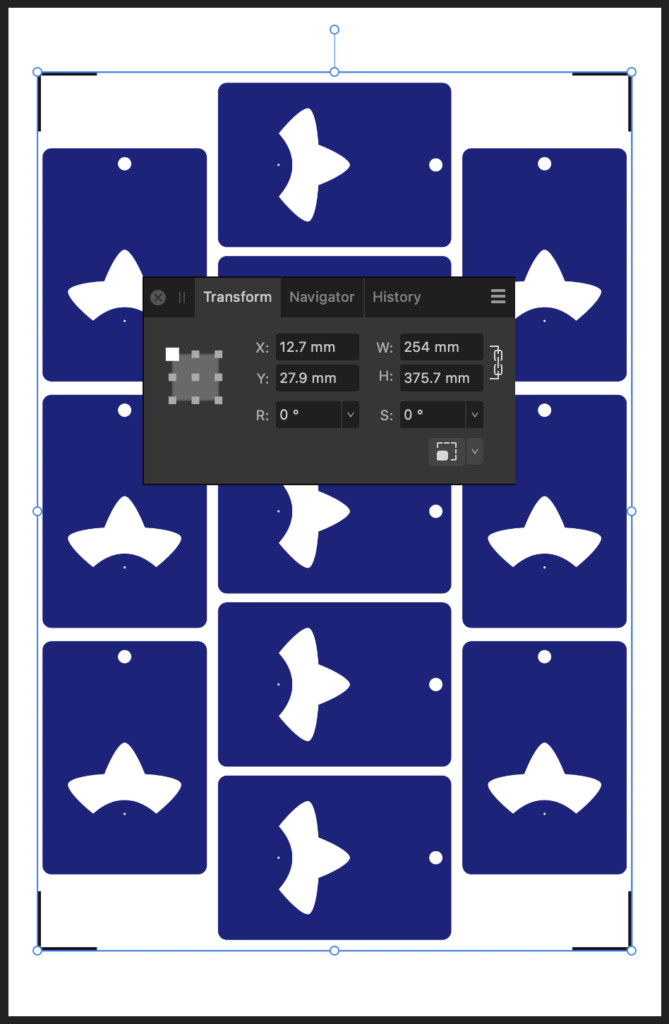
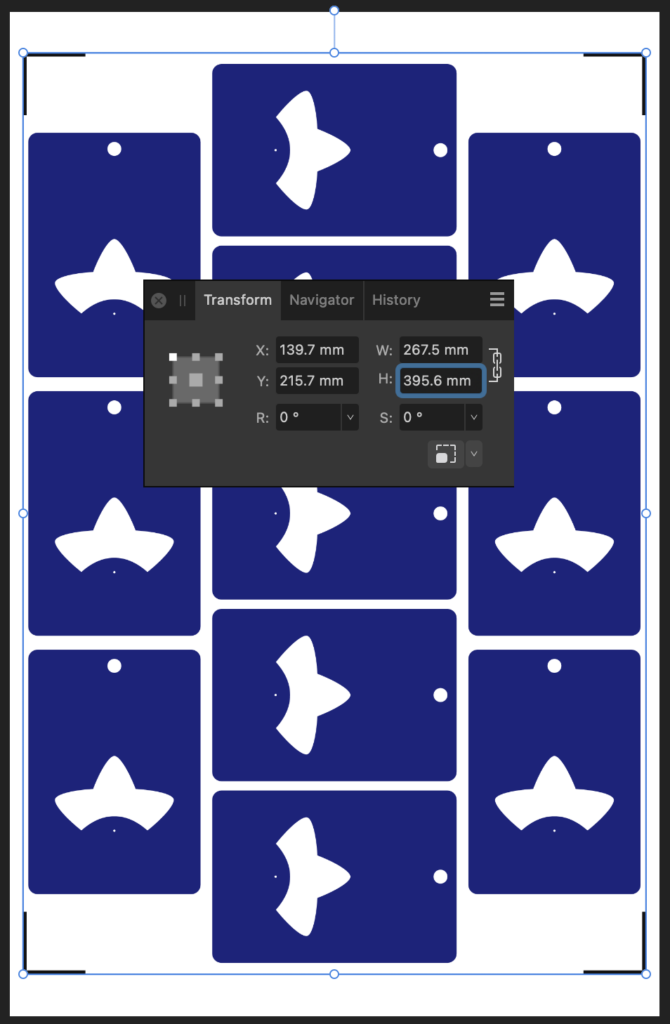
I’m editing the output file in Affinity Designer. The file that Cricut output has a long edge of 375.mm, so let’s type 375.7mm * 1.05291576674 into the H dimension field to get a new image of size 395.6 * 267.5mm.
While I’m here, I’m also going to set up my print graphics, allowing me to have better control of the bleed than using the normal Print & Cut workflow.
Step 4: Print
Print the file – I don’t have an A3 printer at home so I take my files to a print shop.
Step 5: Cut
Back in Cricut Design Space, choose your material. (You may need to select “I’ve already printed” so that the app lets you do so).
Affix your printed sheet to your cutting mat and load the mat. Press “Go” on your Cricut machine and let it do its cutting magic!
Another tip: If you’ve put graphics too close to the registration corners, you can temporarily place a sheet of white paper over them while the machine does its calibration. I usually just slide the white paper around by hand so I can remove it before the cutting begins. Coincidentally, the layout I’m demonstrating doesn’t use the edges so there’s plenty of “quiet” space to distinguish the registration marks from the artwork.
All done!
Here’s my cut pieces, at the scale that Cricut claimed I couldn’t have.
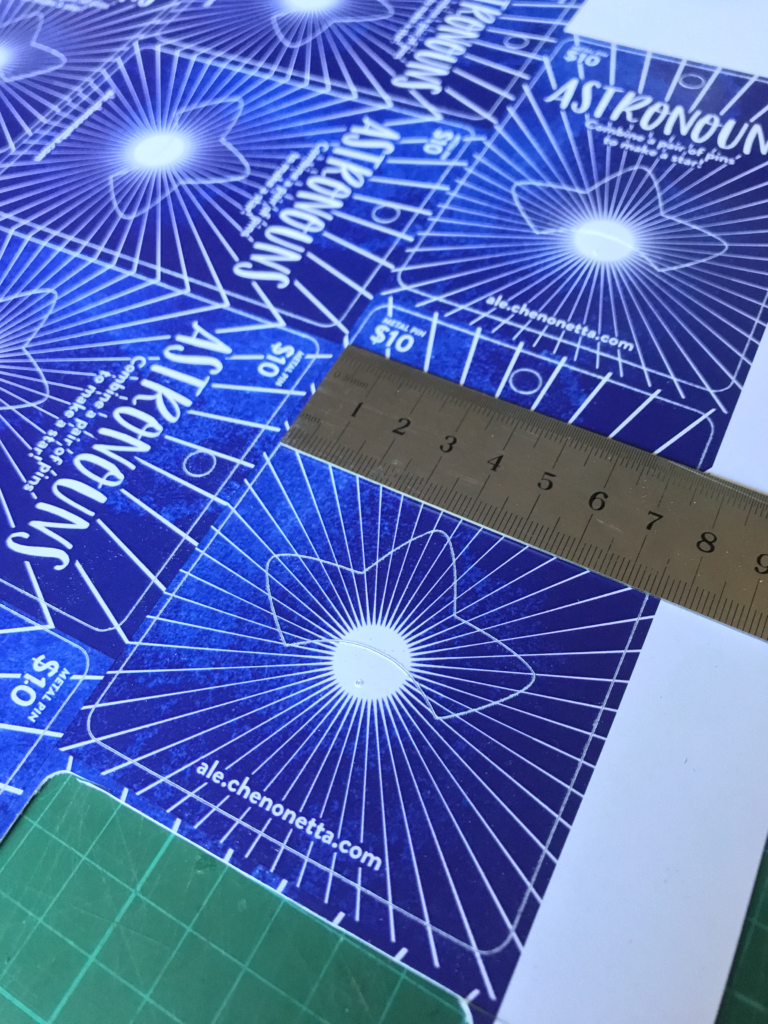
Actually, the vertical axis is a little bit off but this is good enough for my purposes and the bleed areas did their job. If I wanted to be a bit fussy about things, I would try moving around some of the cut lines, but do not move any cutlines that would change the outer bounds of the print, otherwise you’ll need to update your print file and recalculate its sizing too.
In summary:
Big Cricut wants to stop you from printing big. But follow these steps to break out from their boundaries!
- Step 1: Downsize the design in Cricut Design Space
- Step 2: Print to PDF
- Step 3: Scale up the PDF (optionally, update any graphics)
- Step 4: Print
- Step 5: Cut
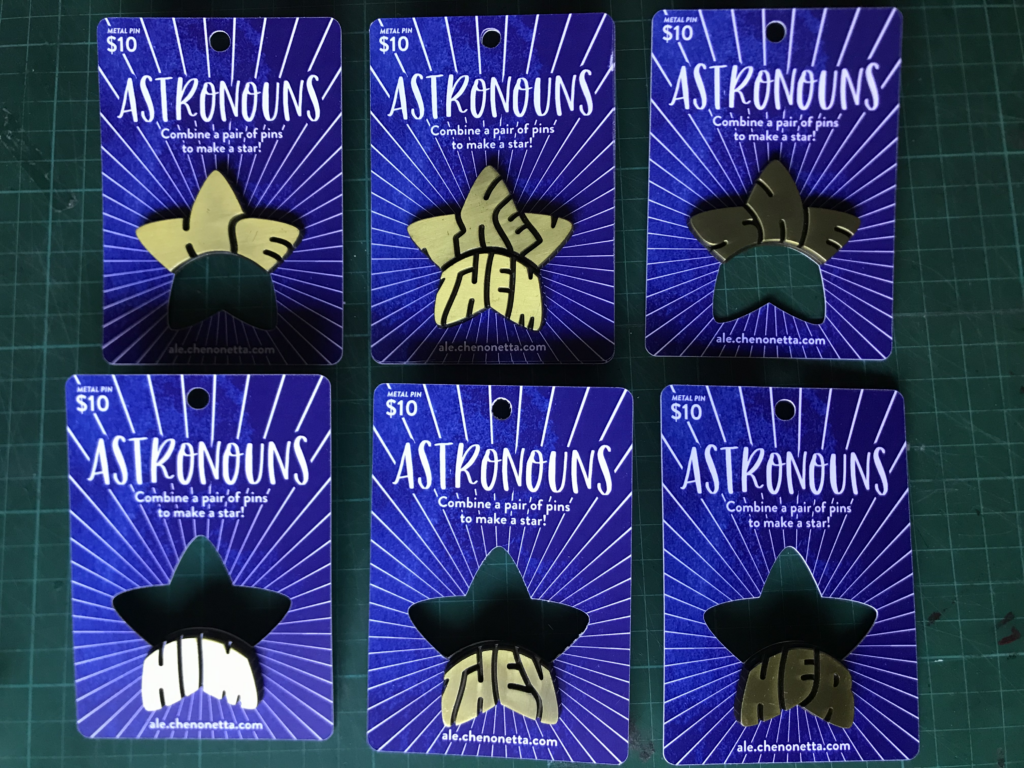
Please let me know if this guide was useful to you! Happy cutting!

This is a really cool hack and I don’t see why it wouldn’t also work with the Silhouette Cameo. Definitely gonna give it a shot next time I’m using registration marks, it feels so bad wasting all the outer material
Let me know how it goes! I would be curious to know how much of an error margin the various different software allows. The 5% tolerance seemed pretty extreme to me!
Cricut Hacks #2 – Template frames
[…] Last time on Cricut Hacks we took advantage of Cricut’s scaling calibration to cut our graphics at a larger size than they were actually designed at in Cricut Design Space. […]